
1PZ CW8-P01
1PZ CW8-P01 Carburetor Kit Instruction Manual for Yamaha PW80 / BW80
1. Introduction
This instruction manual provides essential information for the proper installation, operation, and maintenance of the 1PZ CW8-P01 Carburetor Kit. Adhering to these guidelines will help ensure optimal performance and longevity of your motorcycle's fuel system.
Product Compatibility:
- Yamaha Y-Zinger PW80 (1983, 1985, 1991-2006)
- Yamaha Big Wheel BW80 (1986-1988, 1990)
Replaces OEM Part Numbers:
- 21W-14101-01-00
- 1RY-14101-02-00
2. Package Contents
Verify that all components listed below are present in your 1PZ CW8-P01 Carburetor Kit:
- 1x Carburetor
- 1x Air Filter
- 1x Fuel Filter
- 1x Throttle Cable
- 1x Choke Cable
- 1x Fuel Line
- 2x Hose Clamps

Figure 2.1: Overview of the 1PZ CW8-P01 Carburetor Kit components.
3. Specifications
| Feature | Detail |
|---|---|
| Model Number | CW8-P01 |
| Item Weight | 1.9 pounds |
| Package Dimensions | 9.37 x 5.39 x 5 inches |
| Fuel Type | Gasoline |
| Vehicle Service Type | ATV |
4. Setup and Installation
Proper installation is crucial for the carburetor's function. It is recommended that installation be performed by a qualified technician if you are unfamiliar with motorcycle fuel systems.
4.1. General Installation Steps
- Preparation: Ensure the engine is cool and disconnect the battery. Drain any remaining fuel from the fuel tank and old carburetor.
- Remove Old Components: Carefully disconnect the old fuel line, throttle cable, choke cable, and air filter from the existing carburetor. Remove the old carburetor from the engine manifold.
- Install New Carburetor: Mount the new 1PZ CW8-P01 carburetor onto the engine manifold, ensuring a secure and airtight seal.
- Connect Cables: Attach the new throttle cable and choke cable to their respective points on the carburetor and handlebar controls. Ensure smooth operation without binding.
- Install Air Filter: Connect the new air filter to the carburetor's air intake.
- Install Fuel System Components: Attach the new fuel line and fuel filter. Secure all connections with the provided hose clamps. Ensure the fuel filter is oriented correctly for fuel flow.
- Refill Fuel: Add fresh, appropriate fuel to the tank.
- Initial Checks: Before starting the engine, visually inspect all connections for leaks and ensure all components are securely fastened.

Figure 4.1: Exploded view of the carburetor components.

Figure 4.2: The 1PZ Air Filter, designed for durability and performance.

Figure 4.3: The 1PZ Choke Cable with specified dimensions.

Figure 4.4: The 1PZ Throttle Cable with specified dimensions.
Video 4.1: A visual overview of the 1PZ Carburetor Kit components, including the carburetor, air filter, and fuel filter.
5. Operating Principles
The carburetor's primary function is to atomize fuel and mix it with air, creating an air-fuel mixture that is supplied to the engine for combustion. This process is essential for the engine to run normally.
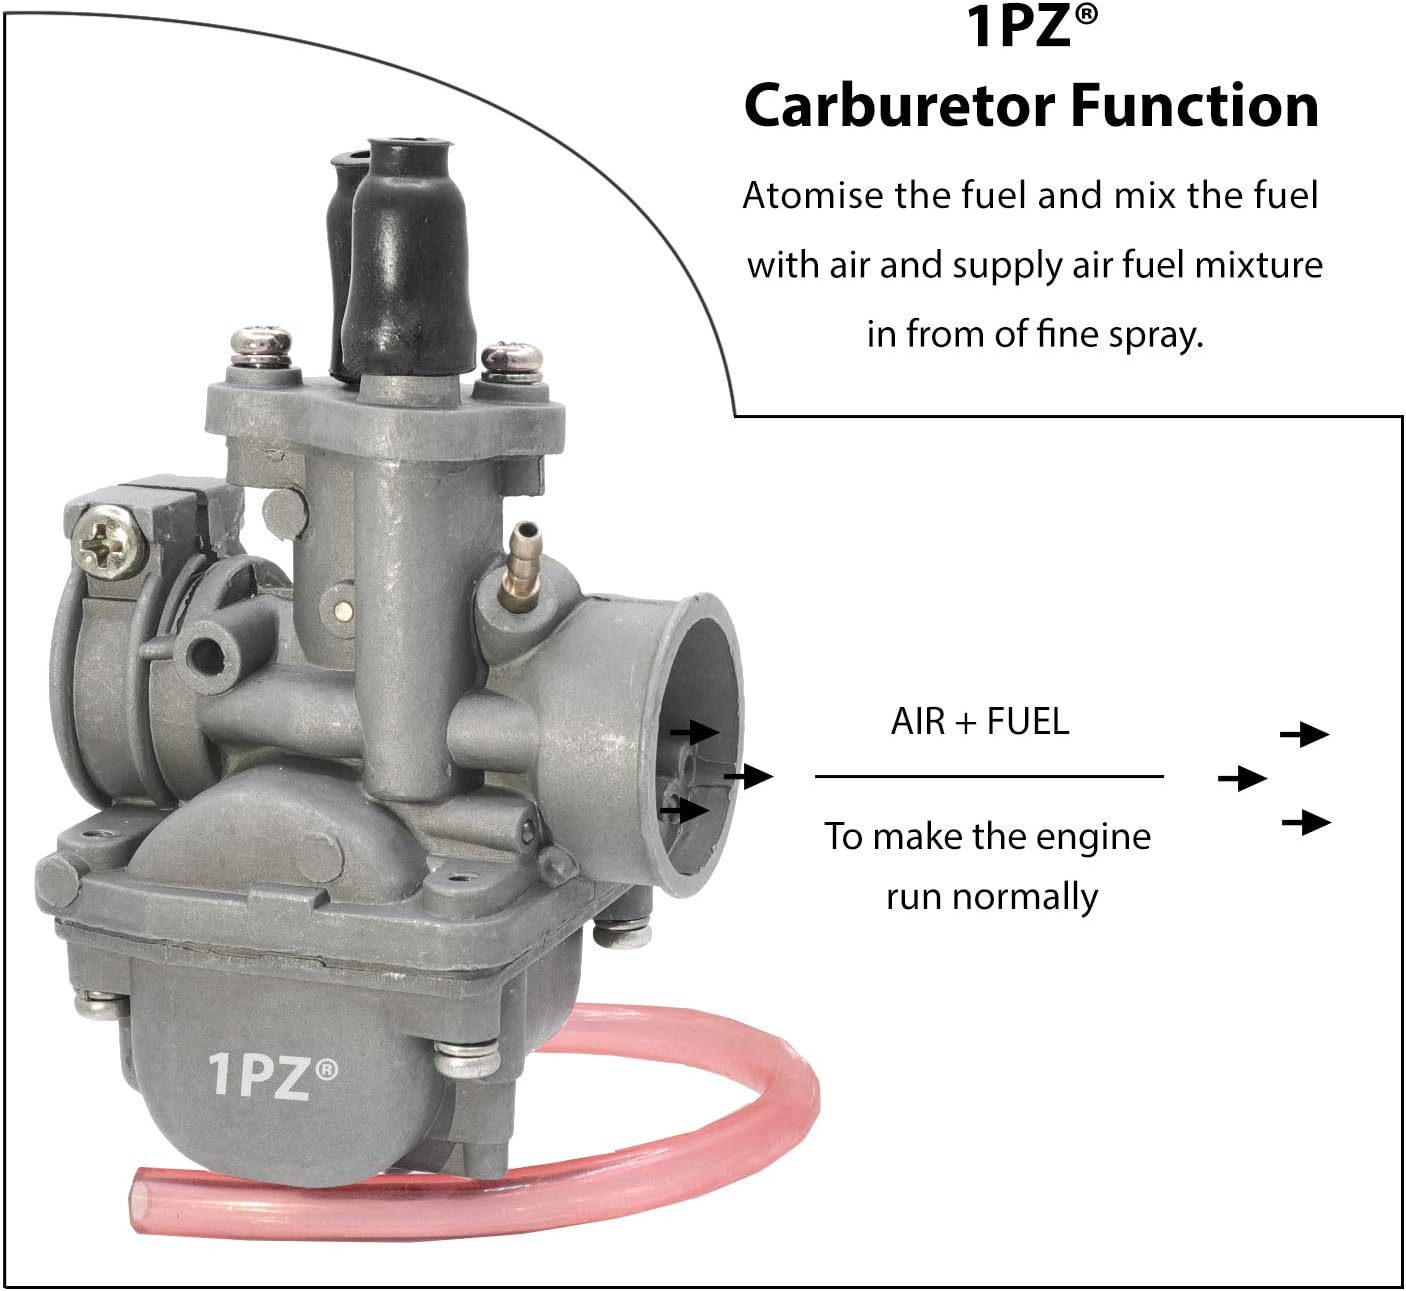
Figure 5.1: Carburetor Function Diagram.
6. Maintenance
Regular maintenance of your carburetor kit components will extend their lifespan and ensure consistent engine performance.
6.1. Air Filter Maintenance
- Inspect the air filter regularly for dirt and debris.
- Clean or replace the air filter as needed to prevent restricted airflow to the carburetor.
6.2. Fuel Filter Maintenance
- Periodically check the fuel filter for contaminants.
- Replace the fuel filter if it appears clogged or dirty to ensure a clean fuel supply to the carburetor.
6.3. Carburetor Cleaning
- If the engine experiences performance issues, the carburetor may require cleaning.
- Disassemble the carburetor carefully, clean all jets and passages with carburetor cleaner, and reassemble with new gaskets if necessary.
7. Troubleshooting Common Issues
This section addresses common issues that may arise with carburetor operation.
7.1. Fuel Leakage
Fuel leakage after a new carburetor installation can be caused by several factors:
- Debris in Float Valve: Old debris from the gas tank can interfere with the float valve's ability to close and seal properly. Ensure the fuel tank is clean and the fuel filter is effective.
- Incorrect Fuel Line Connection: Verify that the fuel line is connected to the correct port on the carburetor.
- Defective Float Valve Assembly: Inspect the float for any holes that may cause it to fill with gasoline, or check the float valve's taper for malformation that prevents proper sealing.
- Carburetor Angle/Float Level: An incorrect carburetor angle on the engine or a float level set too high from the factory can cause fuel overflow. Adjust the float level as needed.
7.2. Engine Bogging or Dying
If the engine bogs over bumpy terrain or dies when coming to a stop, the float level may be set too high. Adjusting the float level can resolve this issue.
8. Warranty and Support
1PZ is committed to providing quality products and customer satisfaction. For any issues, replacements, refunds, or technical assistance, please contact our support team directly via email or message.
Contact Information: Refer to your purchase documentation or the 1PZ brand store on Amazon for current contact methods.
Ask a question about this manual
Ask about setup, troubleshooting, compatibility, parts, safety, or missing instructions. Manuals+ will review the question and use this page’s manual context to help answer it.