Introduction
This manual provides detailed instructions for the installation, operation, and maintenance of your CO-Z Automatic Sliding Gate Opener. Please read this manual thoroughly before beginning installation or operation to ensure proper function and safety. This system is designed for heavy-duty sliding gates up to 40 feet long and weighing up to 1400 pounds.
Important Safety Information
- Always disconnect power before performing any service or maintenance.
- Ensure all electrical connections comply with local codes and regulations. If you are not experienced with electrical wiring, consult a qualified electrician.
- Keep children and pets away from the gate area during operation.
- Do not allow anyone to ride on the gate.
- Regularly inspect the gate and opener for signs of wear, damage, or misalignment.
- In case of power outage or emergency, use the manual release key to operate the gate.
- The gate must be installed on level ground and is not designed for operation on an incline.
Package Contents
The CO-Z Automatic Sliding Gate Opener kit includes the following components:
- 1 x Gate Opener Motor Unit
- 2 x Remote Controls
- 1 x Manual Release Key
- 2 x Magnetic Limit Switches
- 2 x Chain Ends / Latches
- 20 ft. of Chain (additional chain may be required for longer gates)
- Mounting Hardware (bolts, nuts, washers)
- Installation Manual

Image: All components included in the CO-Z Automatic Sliding Gate Opener kit, laid out for inspection.
Product Specifications
| Max. Gate Length | 40 ft. |
| Max. Gate Weight | 1400 lb. |
| Motor Power | 280W AC |
| Operating Speed | 43 ft./min |
| Noise Level | < 56 dB |
| Remote Control Range | 100 ft. |
| Power Supply | 110V |
| Safety Features | RF Hopping Code Technology, Manual Release Key |
| Construction Materials | Aluminum base, Copper worm-gear |
| Certifications | CE Approved |
Installation Guide
The installation process may vary slightly depending on your specific driveway and gate setup. Some installations may require additional tools or professional assistance for welding, masonry, or electrical work.
1. Prepare the Chain
Connect the ends of the provided chains using the included clips and washers. Ensure the chain length is appropriate for your gate, cutting off any excess if necessary. The connection should be secure and flat.
Image: Hands wearing blue gloves connecting two ends of the chain using a small clip and washer. A flathead screwdriver is shown nearby, useful for securing the clip.
2. Attach Chain Latches to Gate
Securely attach the two chain latches to both ends of your sliding gate. These latches will hold the ends of the chain, connecting the gate to the motor's drive system. Measure the height from the ground to ensure proper alignment with the motor.
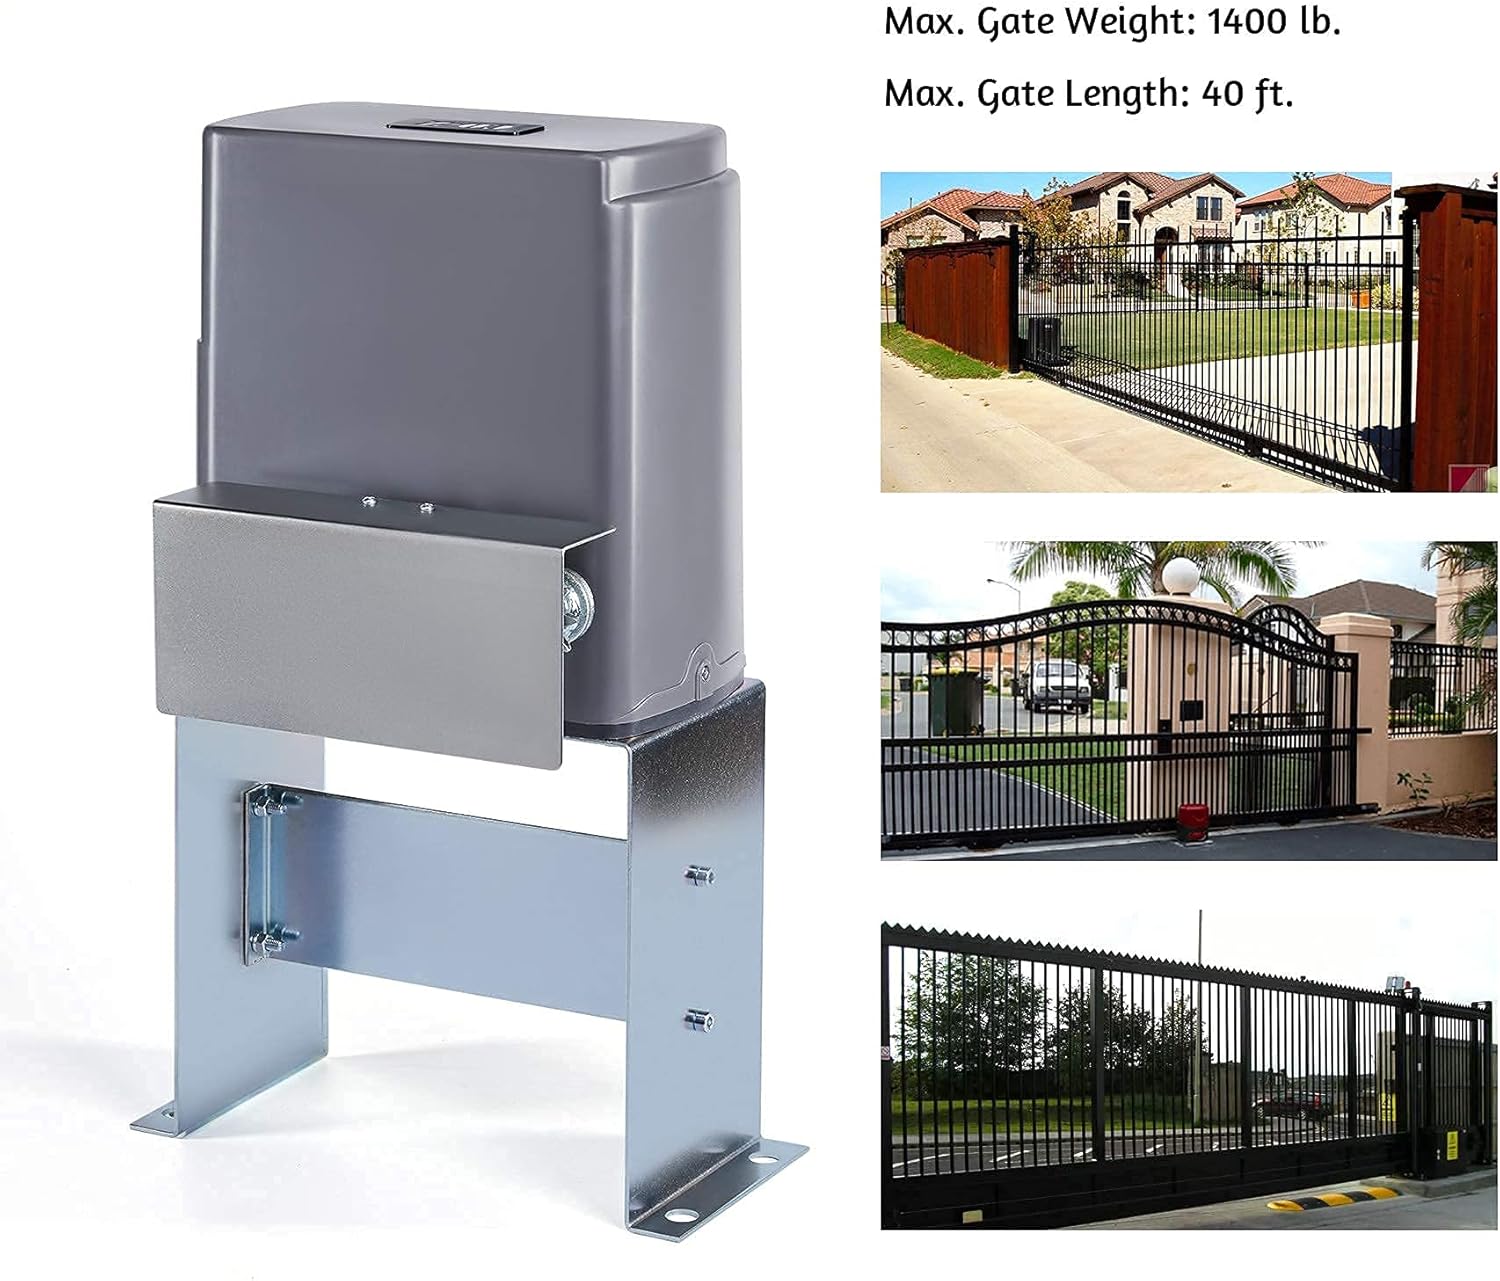
Image: A person attaching a metal latch piece to a vertical bar of a gate using bolts and nuts. This latch will connect the gate to the drive chain.
3. Run Chain Through Motor Gears
Carefully run the prepared chain through the motor's gears. Ensure the chain is straight and correctly seated on the gears. It should pass up one gear, down the next, and then up the third, maintaining a straight alignment to prevent issues during operation.

Image: Close-up view of the gate opener motor's internal gears with the drive chain correctly threaded through them. The chain is positioned to engage with the motor's mechanism.
4. Attach Chain to Other Latch
Once the chain is correctly routed through the motor, attach its other end to the second latch on the opposite side of the gate. Trim any unnecessary chain links to achieve proper tension and fit.
5. Mount Motor Base to Concrete
Position the motor unit with its base on the concrete foundation. Use a hammer drill to create holes for the anchor bolts. Securely fasten the motor base to the concrete using all four anchor points. Proper anchoring is crucial for stability and safe operation.

Image: The CO-Z gate opener motor unit securely mounted on a concrete base, with the drive chain visible and connected to the gate. This image shows the robust installation of the main motor unit.
6. Electrical Connection
Connect the electrical wiring to the motor's motherboard. This typically involves running conduit and wire from your breaker box to the motor unit. Ensure all connections are secure and follow electrical safety guidelines. If you lack experience with electrical wiring, it is highly recommended to consult a qualified electrician to prevent hazards and ensure correct functionality.
Image: Close-up of the gate opener's motherboard with various colored wires connected to terminals. Red indicator lights are visible, indicating power is supplied to the unit.
7. Install Magnetic Limit Switches
Install the two magnetic limit switches, one on each end of the sliding gate. These switches are crucial as they signal the motor when the gate has reached its fully open or fully closed position, prompting the motor to shut off. The placement of these magnets depends on whether your gate closes from the left or right side of the motor. There are sensors within the motor unit that detect these magnets. Ensure the magnets are positioned correctly to align with the top and bottom sensors in the motor's box when the gate is at its open and closed limits.
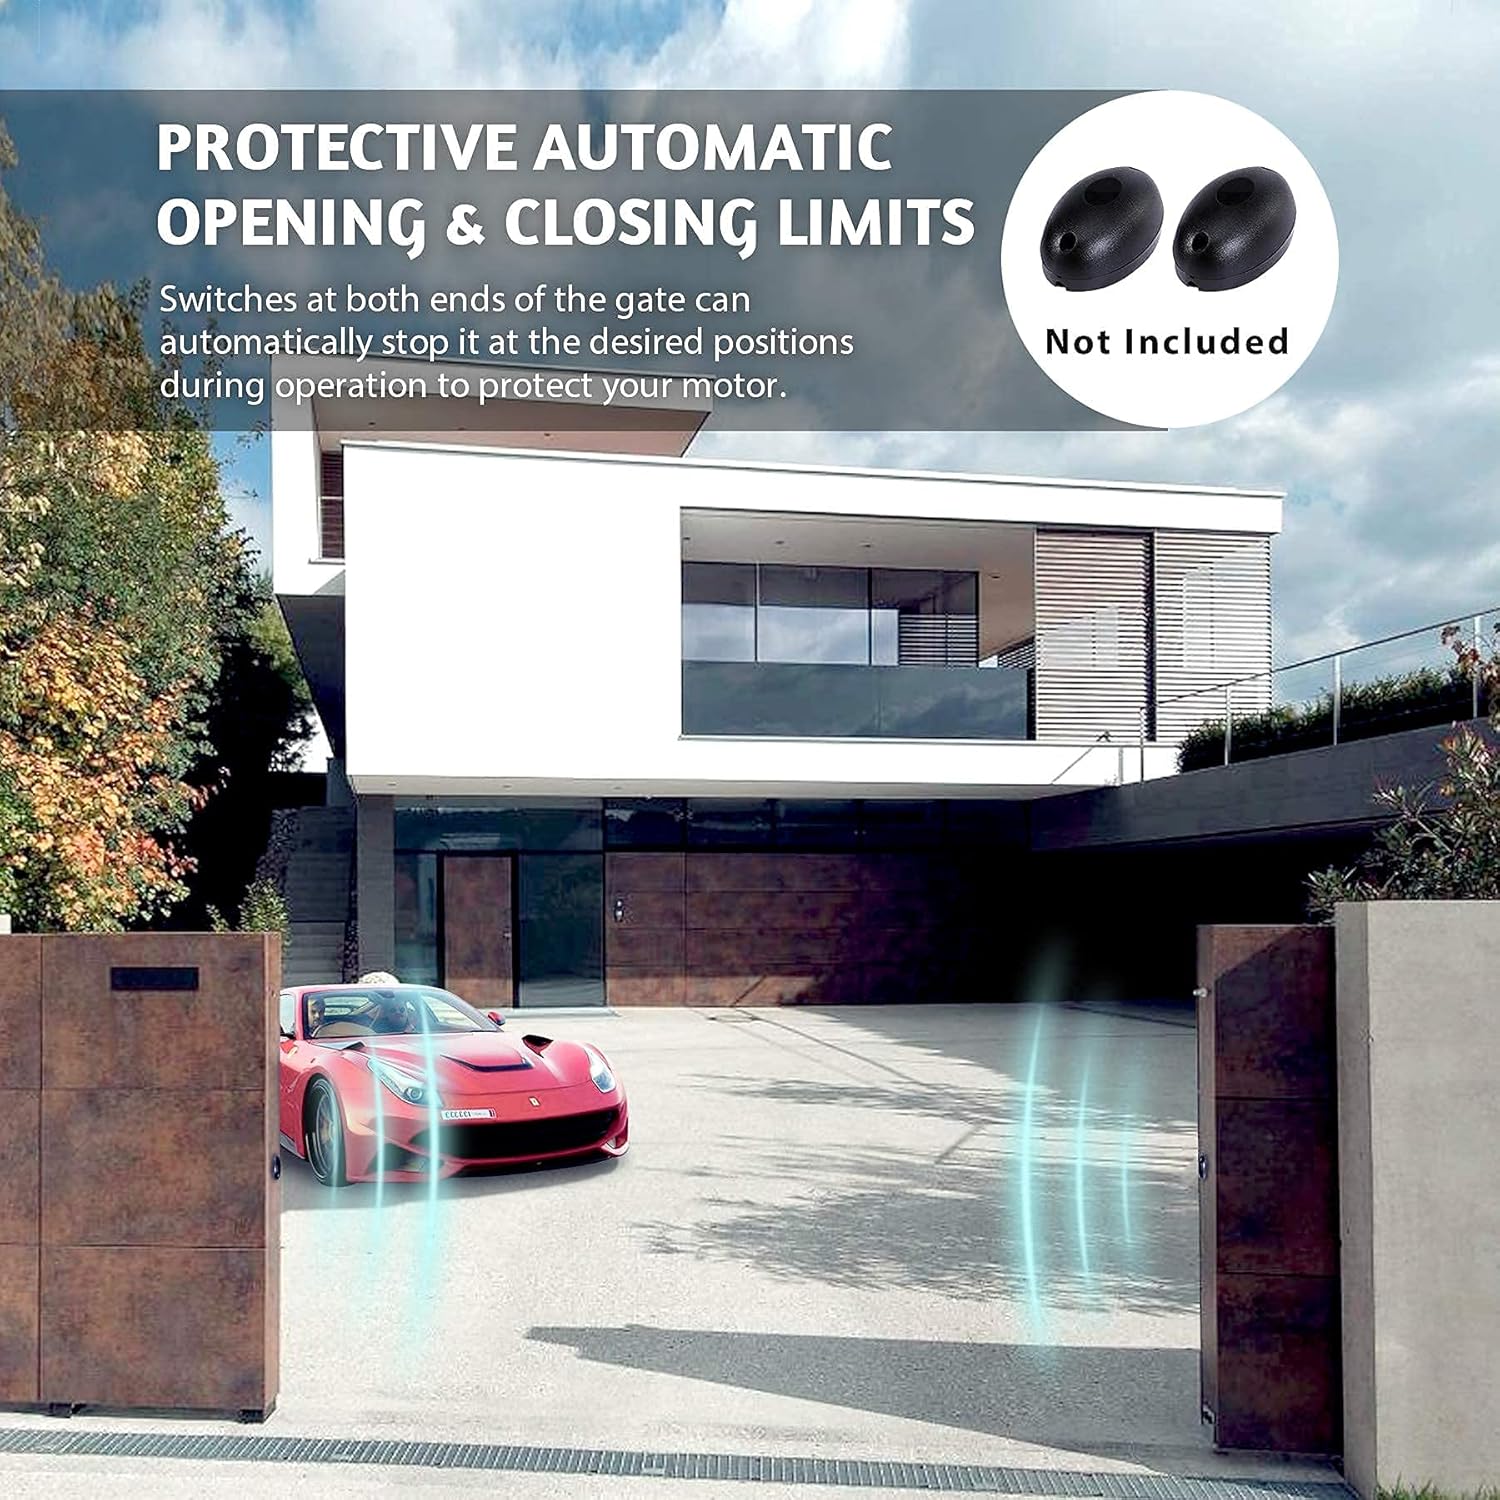
Image: A gate with two black magnetic limit switches installed on its frame. These switches interact with sensors on the motor to define the gate's open and closed positions.
Important Note on Motor Placement: To ensure your gate fully opens and closes without blocking any part of your driveway, the motor unit may need to be mounted further inside or outside your driveway, depending on the gate's length and travel path. If your gate is not long enough to fully clear the driveway when the motor is mounted directly beside it, you may need to extend the gate or mount the motor further back to allow for full travel. This may require custom fabrication or welding of an additional bar to your gate to properly attach the chain latch and magnetic switch.
Operating Instructions
1. Pairing Remote Controls
To pair a remote control with your gate opener:
- Open the motor unit's cover to access the motherboard.
- Locate the "LEARN" button on the motherboard (it's a small circular button).
- Press the "LEARN" button once. A red light near the button will start blinking.
- Within a few seconds, press any button on your remote control that you wish to program. Keep pressing the button in one-second intervals until you hear the motor activate or see the gate begin to move.
- The remote is now paired. You can program up to 23 additional remotes.

Image: A hand holding a CO-Z remote control, with a sliding gate in the background opening. This illustrates the convenience of remote operation.
2. Automatic Closure Function
The gate opener features an automatic closure function, allowing the gate to close after a predetermined delay. This is controlled by DIP switches on the motherboard.
- Locate the DIP switches (usually labeled DIP1, DIP2, DIP3) on the motherboard.
- Refer to the table below or the diagram in your physical manual to set the desired delay (15, 30, or 45 seconds) by flipping the corresponding switches UP or DOWN.
- If all DIP switches are set to "UP", the gate will operate in manual closure mode, requiring a remote command to close.
| DIP1 | DIP2 | DIP3 | Effect |
| UP | UP | UP | Manual Closure |
| DOWN | UP | UP | 15 Second Delay |
| UP | DOWN | UP | 30 Second Delay |
| DOWN | DOWN | UP | 45 Second Delay |
Maintenance
Regular maintenance ensures the longevity and safe operation of your gate opener.
- Monthly: Inspect the chain for proper tension and lubrication. Clean any debris from the chain and gears. Check all mounting bolts for tightness.
- Quarterly: Test the safety features, including the magnetic limit switches and any optional safety sensors (e.g., infrared sensors, not included in standard kit). Ensure the manual release key functions correctly.
- Annually: Have a qualified technician inspect the entire system, including electrical connections and motor performance.
Troubleshooting
| Problem | Possible Cause | Solution |
| Gate does not move. | No power; remote not paired; magnetic switches misaligned. | Check power supply; re-pair remote; adjust magnetic switches. |
| Gate stops unexpectedly. | Obstruction; magnetic switch triggered prematurely. | Clear path; check magnetic switch placement. |
| Remote control not working. | Low battery; out of range; not paired. | Replace battery; move closer to gate; re-pair remote. |
| Gate does not fully open/close. | Magnetic switches incorrectly positioned; gate travel limited. | Adjust magnetic switches; ensure gate path is clear and motor is correctly positioned for full travel. |
Warranty and Support
For warranty information, technical support, or to purchase replacement parts, please contact CO-Z customer service through their official website or the retailer where the product was purchased. Keep your purchase receipt and product serial number handy for faster service.


