Introduction
This manual provides instructions for the safe and effective use of your Daewoo DGT-2786 Rechargeable Multi-Function Men's Grooming Set. Please read all instructions carefully before first use and retain this manual for future reference.
The Daewoo DGT-2786 is a versatile 5-in-1 grooming set designed for various personal grooming needs, offering both corded and cordless operation for convenience.
Safety Information
- Keep the appliance dry. Do not use it near water or in wet conditions.
- Do not immerse the appliance in water or any other liquid.
- Ensure the appliance is switched off before cleaning or changing attachments.
- This appliance is not intended for use by persons (including children) with reduced physical, sensory, or mental capabilities, or lack of experience and knowledge, unless they have been given supervision or instruction concerning use of the appliance by a person responsible for their safety.
- Children should be supervised to ensure that they do not play with the appliance.
- Only use the adapter supplied with the appliance.
- Do not use the appliance if the blades are damaged or broken, as this may cause injury.
- For household use only.
Package Contents
Verify that all items listed below are present in your package:
- Main Grooming Unit
- Trimmer Head with Adjustable Comb (5, 6, 7, 8 mm)
- T-Blade Head with 3, 6, 9, 12 mm Combs
- Design Trimmer Blade
- Shaver Head
- Nose and Ear Hair Trimmer Head
- Charging Adapter (Input 3V 600mA, 100-240V 50/60Hz)
- Cleaning Brush
- Lubricating Oil
- Charging Stand

Image: The Daewoo DGT-2786 grooming set shown in its retail packaging, highlighting the main unit and various attachments.

Image: A comprehensive view of all components included in the Daewoo DGT-2786 grooming set, laid out individually.
Setup
Charging the Appliance
- Ensure the appliance is switched off before charging.
- Connect the charging adapter to the appliance or the charging stand.
- Plug the adapter into a suitable electrical outlet (100-240V, 50/60Hz).
- The indicator light will illuminate, indicating that the appliance is charging.
- Allow approximately 8 hours for a full charge. A full charge provides up to 45 minutes of cordless operation.
- Do not overcharge the appliance. Disconnect the adapter once charging is complete.
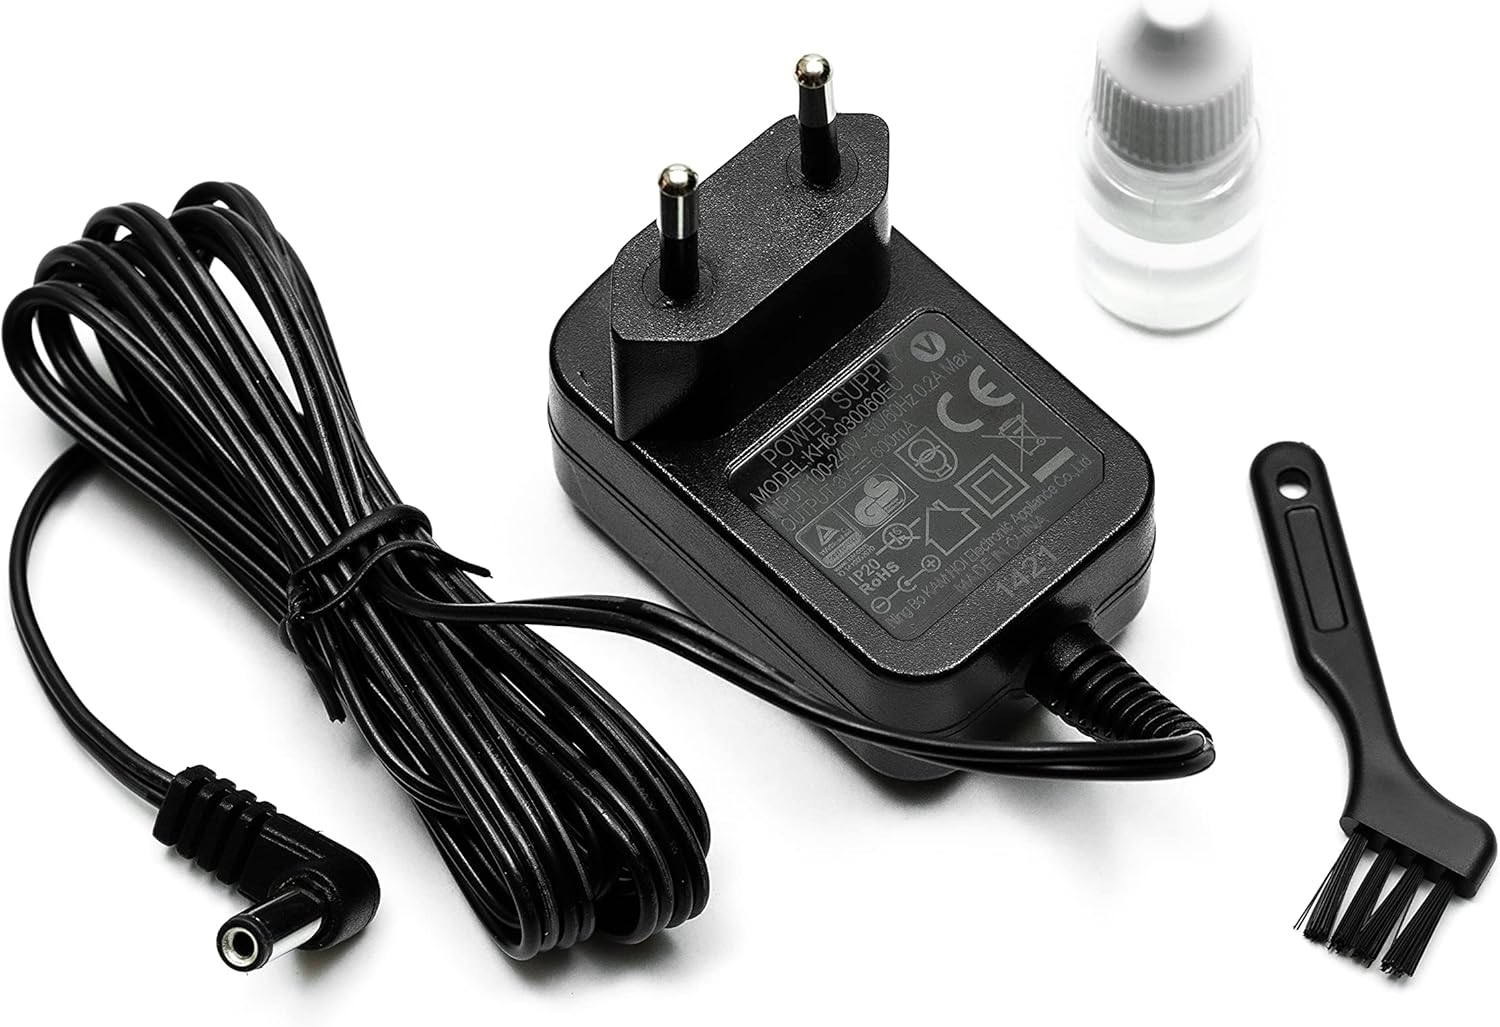
Image: The charging adapter, cleaning brush, and lubricating oil, essential accessories for the grooming set.
Attaching and Removing Trimmer Heads
- Ensure the appliance is switched off.
- To attach a head: Align the desired trimmer head with the main unit and press it down firmly until it clicks into place.
- To remove a head: Gently push the head upwards from the main unit until it detaches.

Image: The charging stand displaying the various trimmer heads and guide combs, ready for attachment.
Operating Instructions
General Operation
- Ensure the desired trimmer head is securely attached.
- Press the power button to turn the appliance on.
- Guide the trimmer against the direction of hair growth for optimal results.
- Press the power button again to turn the appliance off after use.
Using the Trimmer Head with Adjustable Comb
This head is suitable for general hair trimming and styling, offering length adjustments from 5mm to 8mm.
- Attach the trimmer head to the main unit.
- Slide the adjustable comb to select the desired trimming length (5, 6, 7, or 8 mm).
- Turn on the appliance and begin trimming.

Image: Close-up of the trimmer head with its adjustable comb, showing the length settings (5, 6, 7, 8 mm).
Using the T-Blade Head with Guide Combs
The T-Blade head is ideal for precise trimming, detailing, and creating sharp lines. Use with guide combs for specific lengths.
- Attach the T-Blade head to the main unit.
- Select one of the guide combs (3, 6, 9, or 12 mm) and snap it onto the T-Blade head.
- Turn on the appliance and proceed with trimming.
- For trimming without a guide comb, use the T-Blade directly for a close cut.
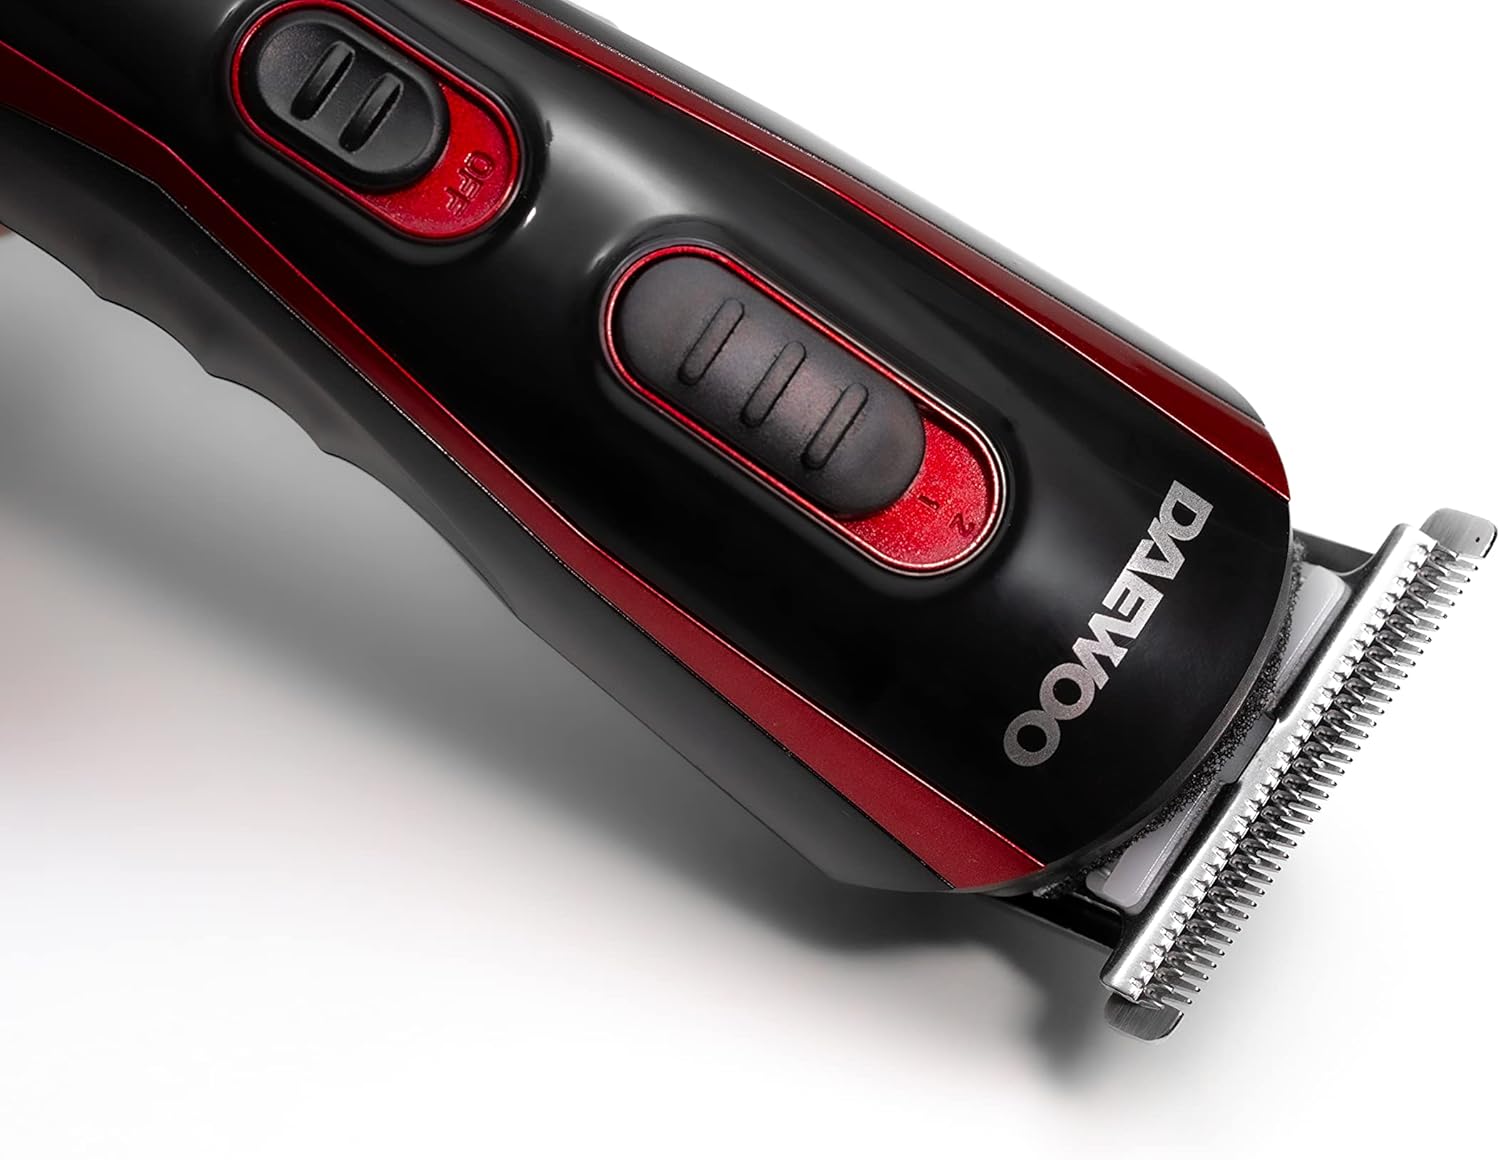
Image: A close-up of the T-Blade head attached to the main grooming unit, ready for use.

Image: The four guide combs (3mm, 6mm, 9mm, 12mm) used with the T-Blade head for varying hair lengths.
Using the Design Trimmer Blade
This blade is designed for intricate detailing and creating specific patterns or sharp edges.
- Attach the design trimmer blade to the main unit.
- Use gentle, controlled movements to achieve desired designs.
Using the Shaver Head
The shaver head provides a close shave for smooth results on smaller areas.
- Attach the shaver head to the main unit.
- Hold the shaver flat against the skin and move it in short, circular motions.

Image: A close-up of the shaver head attached to the main grooming unit, showing its foil design.
Using the Nose and Ear Hair Trimmer Head
This specialized head is for safely and comfortably trimming unwanted nose and ear hair.
- Attach the nose and ear hair trimmer head to the main unit.
- Gently insert the trimmer tip into the nostril or ear canal.
- Move the trimmer in a circular motion to cut hairs. Do not insert too deeply.
Maintenance
Cleaning the Blades
- Ensure the appliance is switched off and unplugged from the charger.
- Remove the trimmer head from the main unit.
- Use the provided cleaning brush to remove any loose hairs from the blades and the inside of the trimmer head.
- For a more thorough clean, the blades can be rinsed under running water. Ensure they are completely dry before reattaching or storing.
- Do not rinse the main unit under water.
Lubricating the Blades
Regular lubrication helps maintain blade performance and longevity.
- After cleaning and drying the blades, apply 1-2 drops of the provided lubricating oil onto the blades.
- Turn on the appliance for a few seconds to distribute the oil evenly.
- Wipe off any excess oil with a soft cloth.
Storage
- Store the appliance and its accessories in a cool, dry place, away from direct sunlight and moisture.
- Keep out of reach of children.
Troubleshooting
| Problem | Possible Cause | Solution |
|---|---|---|
| Appliance does not turn on. | Battery is discharged. | Charge the appliance for 8 hours. |
| Appliance runs slowly or pulls hair. | Blades are dirty or not lubricated. | Clean and lubricate the blades as per maintenance instructions. |
| Trimmer head does not attach securely. | Head is not aligned correctly. | Ensure the head is properly aligned and pressed firmly until it clicks. |
| Indicator light not on during charging. | Adapter not properly connected or power outlet issue. | Check adapter connection and try a different power outlet. |
Specifications
- Model: DGT-2786
- Power Source: Rechargeable Battery / Cord/Cordless Operation
- Input Voltage: 100-240V, 50/60Hz
- Adapter Output: 3V, 600mA
- Charging Time: Approximately 8 hours
- Max Usage Time (Cordless): Approximately 45 minutes
- Blade Material: Durable Stainless Steel
- Trimmer Head Comb Lengths: 5, 6, 7, 8 mm
- T-Blade Head Comb Lengths: 3, 6, 9, 12 mm
- Product Dimensions: 6.3 x 1.38 x 1.57 inches
- Item Weight: 15 Ounces
- Manufacturer: Daewoo
Warranty and Support
For warranty information or technical support, please refer to the warranty card included with your product or contact Daewoo customer service. Keep your proof of purchase for warranty claims.
Note: Specific warranty terms may vary by region.


