1. Product Overview
The XMARTO WNS58 is a 10-channel H.265+ 4K Ultra HD Network Digital Video Recorder (NVR) featuring an integrated 12.1-inch HD screen. This system is designed for surveillance applications, supporting up to 10 xmartO WiFi security cameras. It incorporates dual WiFi modules for dedicated camera communication and internet connectivity, along with G3 Auto WiFi Relay technology to extend camera range.

Image 1.1: The XMARTO WNS58 NVR with its integrated 12.1-inch HD screen, showing a multi-camera live feed.
Key Features:
- 10-Channel Support: Manages up to 10 xmartO WiFi security cameras (requires firmware version 3.2.4.2 or higher).
- Integrated 12.1" HD Screen: Provides direct video viewing without an external monitor.
- Dual WiFi Modules: One dedicated for camera connections, another for internet access, enhancing network stability and flexibility.
- G3 Auto WiFi Relay: Automatically extends camera WiFi range by using closer cameras as repeaters.
- Dual Recording Modes: Supports 24/7 continuous recording and simultaneous motion-triggered event recording.
- Mobile App Access: Enables live view and playback from smartphones or tablets.
- 4K Resolution Support: Records and manages cameras up to 4K resolution.
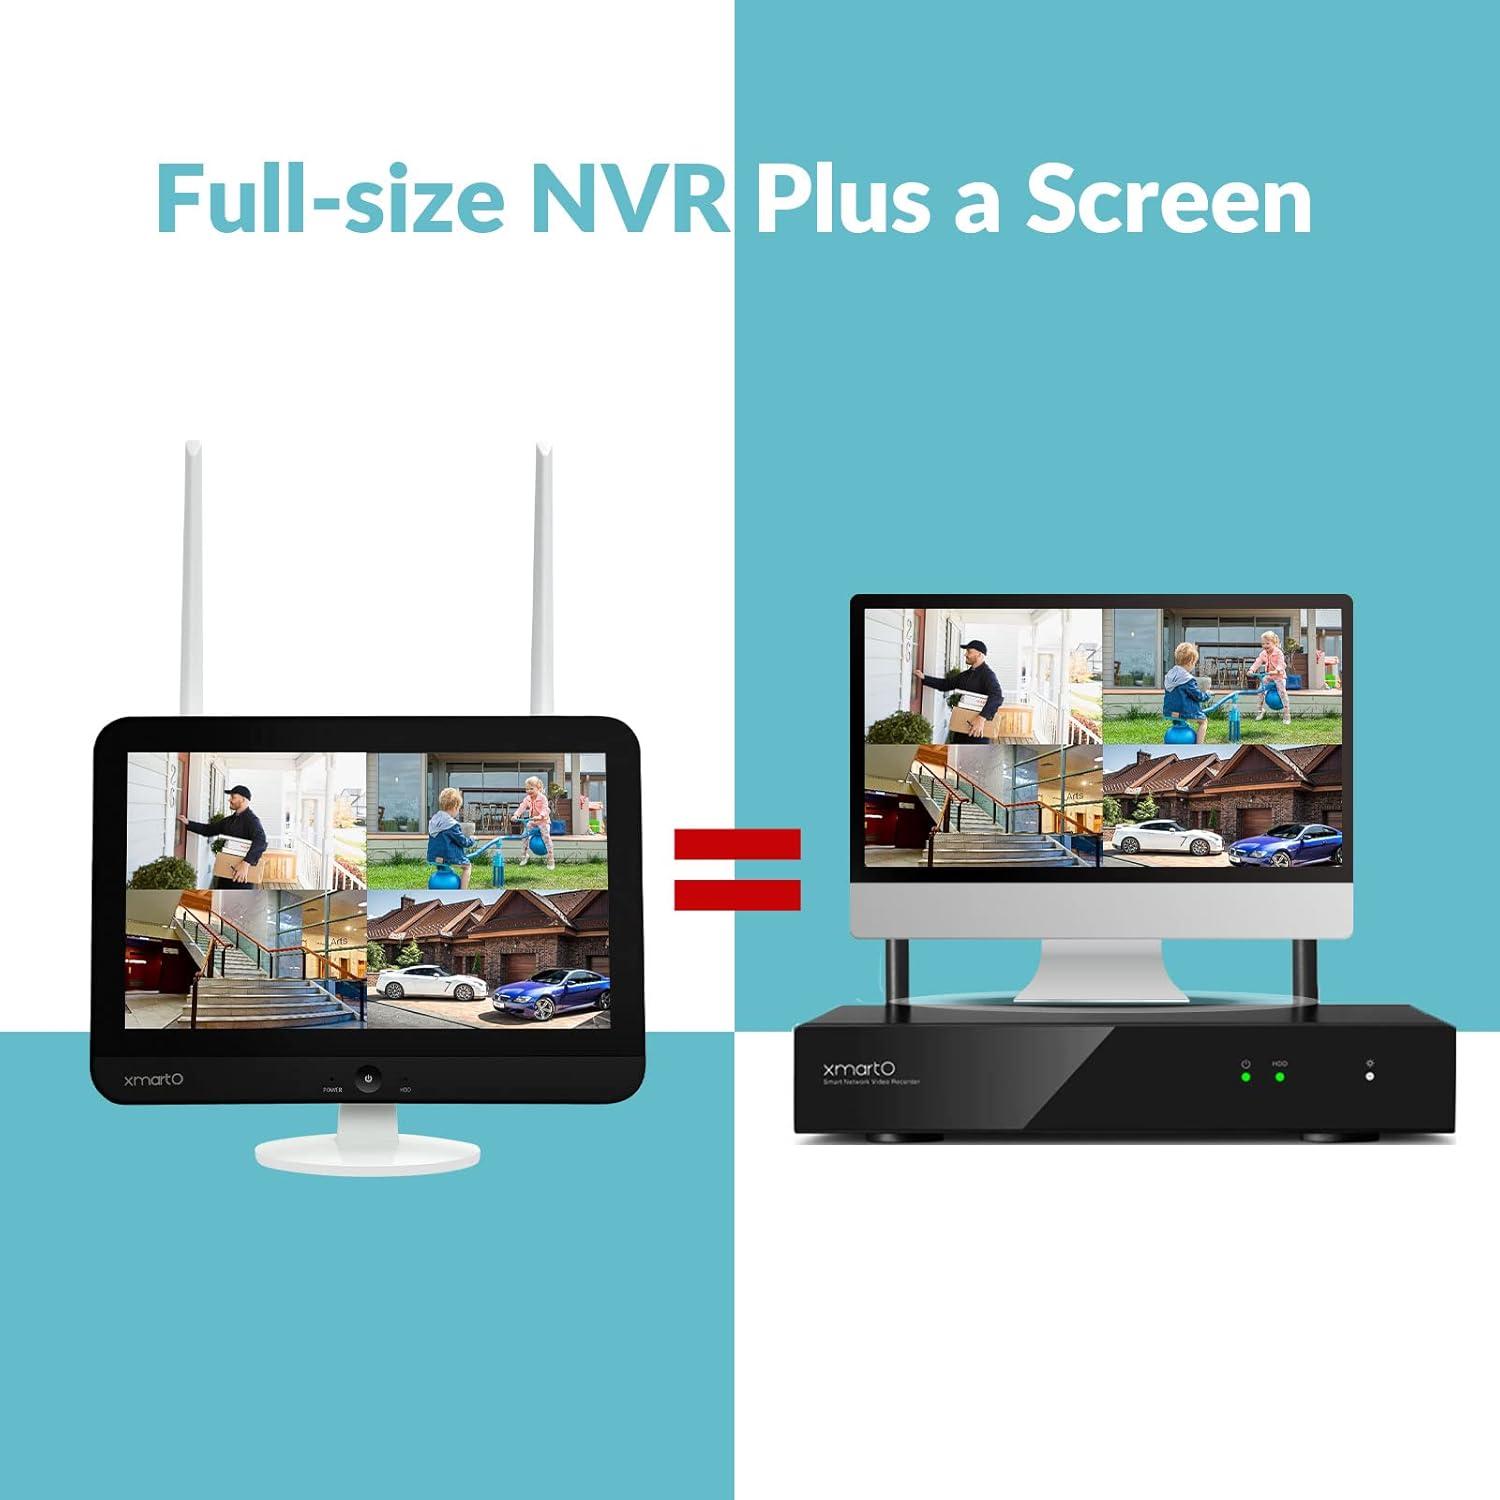
Image 1.2: Visual representation of the XMARTO NVR's integrated screen design compared to a separate NVR and monitor setup.
2. Setup Guide
2.1 Package Contents
Before beginning, verify all components are present in the package:
- XMARTO WNS58 NVR with 12.1" HD Screen
- Power Supply for NVR
- USB Mouse
- User Manual
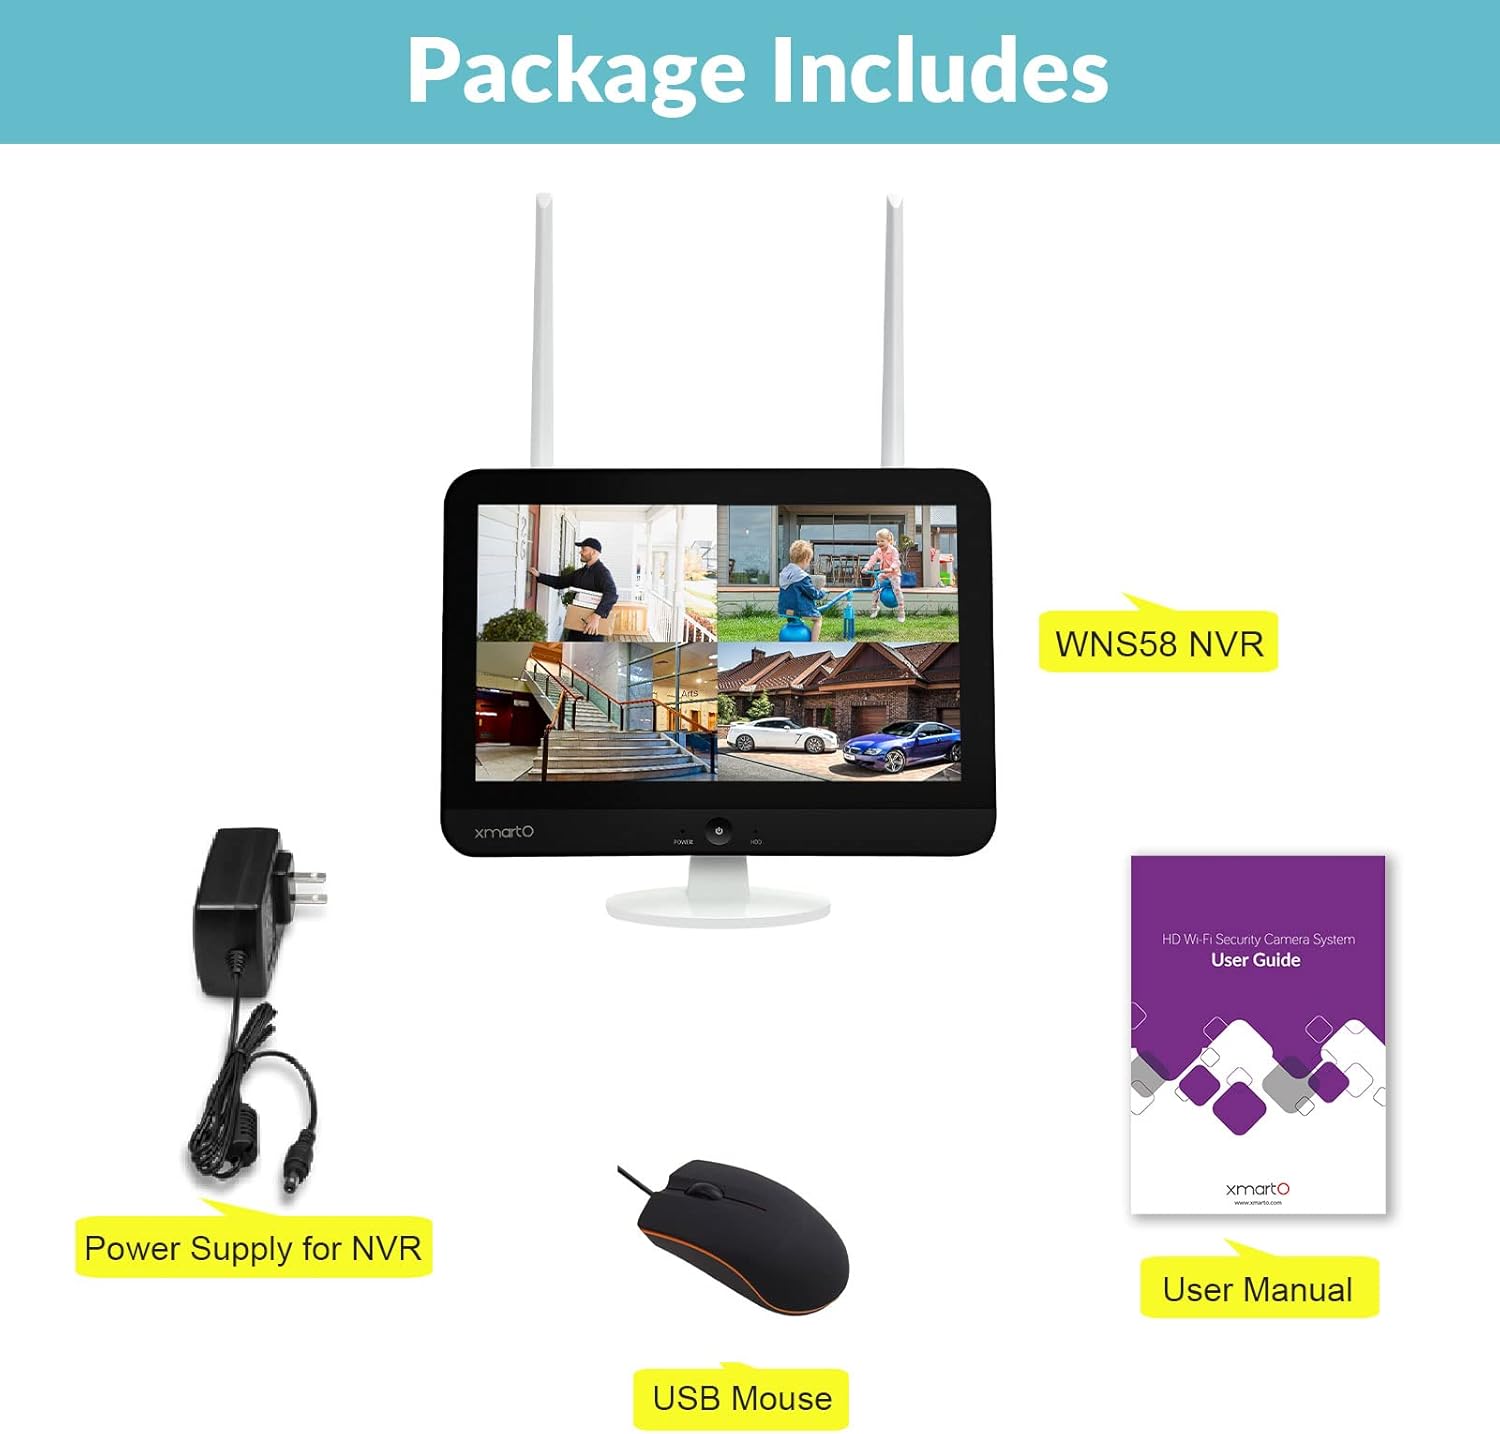
Image 2.1: The standard items included in the XMARTO WNS58 NVR package.
2.2 Hardware Connections
Identify the ports and connections on the rear of the NVR:

Image 2.2: Detailed view of the XMARTO NVR's rear panel and connection points.
- Connect USB Mouse: Plug the included USB mouse into the USB port on the NVR.
- Connect Power: Connect the power adapter to the 12V DC IN port and then to a power outlet. The NVR will power on automatically.
- Optional HDMI Output: If an external monitor is desired, connect an HDMI cable from the NVR's HDMI port to the monitor.
- Optional Network Connection: For wired internet access, connect an Ethernet cable from the RJ45 network port to your router. The NVR also supports WiFi internet connection.
2.3 Hard Drive Installation (Optional)
The NVR supports a standard SATA hard drive for local video storage. If a hard drive is not pre-installed, follow these steps:
- Unscrew the cover for the SATA hard drive dock on the back of the NVR.
- Carefully connect the SATA data and power cables to your 3.5-inch SATA hard drive.
- Slide the hard drive into the dock and secure it with screws.
- Replace the cover.
- After installation, power on the NVR. Navigate to the system settings to format the new hard drive before use.
Image 2.3: Illustration of the hard drive installation process for the NVR.
2.4 Camera Pairing
The NVR features dual WiFi modules: one for dedicated camera connections and another for internet access. Cameras connect wirelessly to the NVR's internal WiFi network.
- Automatic Pairing: XMARTO cameras are typically pre-paired with the NVR in a kit. Power on the cameras, and they should automatically connect to the NVR.
- Manual Pairing: If adding new cameras or re-pairing, access the NVR's menu, navigate to 'Camera Management' or 'Wireless Setup', and follow the on-screen instructions to add cameras. This usually involves pressing a 'Pair' button on the camera and initiating a search on the NVR.
- G3 Auto WiFi Relay: The NVR utilizes G3 Auto WiFi Relay technology. If a camera has a weak signal, it can automatically use a closer camera as a WiFi repeater to maintain connection with the NVR. No manual configuration is required for this feature.

Image 2.4: Explanation of the G3 Auto WiFi Relay system, showing how cameras can boost signal to the NVR.
Image 2.5: The NVR's capability to support up to 10 wireless cameras.
3. Operating Instructions
3.1 User Interface Navigation
Use the connected USB mouse to navigate the NVR's graphical user interface (GUI) displayed on the 12.1-inch screen or an external monitor.
- Right-click: Access the main menu or return to the previous screen.
- Left-click: Select options, open menus, or confirm actions.
- Drag: Move windows or adjust settings.
3.2 Live View
Upon startup, the NVR typically displays the live view of connected cameras. You can switch between single-camera view, 4-camera view, or 9-camera view layouts from the menu.
3.3 Recording Modes
The NVR supports two primary recording modes:
- 24/7 Continuous Recording: Records video continuously to the installed hard drive.
- Motion-Triggered Recording: Records only when motion is detected by the cameras. This mode can run simultaneously with 24/7 recording, with motion events highlighted during playback.
Recording settings can be configured in the 'Record' section of the main menu, allowing you to set schedules, motion detection zones, and sensitivity for each camera.
3.4 Video Playback
To review recorded footage:
- Right-click on the live view screen to open the main menu.
- Select 'Playback'.
- Choose the desired camera, date, and time. The timeline will display recorded segments, with motion events often highlighted.
- Use the playback controls (play, pause, fast forward, rewind) to navigate through the footage.
3.5 Mobile App and Remote Access
The XMARTO NVR can be accessed remotely via a dedicated mobile application. This allows for live viewing and playback from your smartphone or tablet.
- Download the App: Search for the official XMARTO app on the Apple App Store or Google Play Store.
- Connect NVR to Internet: Ensure the NVR is connected to your home network via its internal WiFi module or an Ethernet cable.
- Add Device: Open the app, create an account, and follow the instructions to add your NVR by scanning its QR code or manually entering its ID.
- View and Playback: Once connected, you can view live feeds, play back recorded videos, and receive motion detection alerts directly on your mobile device. The app provides a daily message list with snapshots and video clips of detected events.
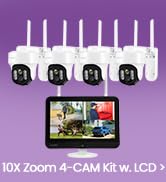
Image 3.1: Example of motion detection alerts and event details within the XMARTO mobile application.

Image 3.2: The XMARTO system supports integration with Alexa and Google Assistant, and its mobile app is available on Google Play and the App Store.
3.6 Cloud Storage (Optional)
In addition to local hard drive storage, the system may offer cloud storage options for recorded events. Refer to the mobile app or NVR settings for details on activating and managing cloud storage services.
Image 3.3: The mobile application provides options for saving video footage to either cloud storage or the local hard drive.
4. Maintenance
4.1 Firmware Upgrades
Periodically check for firmware updates to ensure optimal performance and access to new features. Firmware updates can typically be performed via the NVR's system settings or through the XMARTO support website. Ensure the NVR has a stable internet connection during the upgrade process.
4.2 Hard Drive Management
Regularly check the status of your hard drive in the NVR's storage settings. If the hard drive becomes full, the NVR will typically overwrite the oldest footage. You can also manually format the hard drive if needed, which will erase all recorded data.
4.3 Cleaning
Keep the NVR and its screen clean. Use a soft, dry cloth to wipe dust from the unit. For the screen, use a screen-specific cleaning solution and a microfiber cloth to avoid scratches.
5. Troubleshooting
This section addresses common issues you might encounter with your XMARTO NVR.
5.1 Camera Pairing Issues
- Symptom: Cameras fail to connect wirelessly to the NVR.
- Solution:
- Ensure cameras are powered on and within range of the NVR or another camera acting as a relay.
- If the NVR's WiFi information (ESSID and password) was previously changed, this can prevent wireless pairing. Consider performing a WiFi reset in the NVR's settings to revert to original ESSID info, then attempt pairing. Alternatively, use an Ethernet cable to pair the camera initially.
- Refer to the XMARTO support website for detailed camera pairing guides: Camera Pairing FAQ.
5.2 Screen Goes to Sleep / Still Picture
- Symptom: The NVR screen displays a still image or goes blank after a short period, even during live view.
- Solution: This is often a power-saving feature. Access the NVR's system settings, typically under 'Display' or 'Screen Saver', and adjust the timeout settings or disable the screen saver function.
5.3 Mobile App Connectivity Issues
- Symptom: Unable to connect to the NVR via the mobile app or experience frequent disconnections.
- Solution:
- Ensure the NVR has a stable internet connection (either wired or via its second WiFi module).
- Verify your mobile device has a stable internet connection.
- Check if the mobile app is updated to the latest version.
- Restart both the NVR and your mobile device.
- If the issue persists, remove the NVR from the app and add it again.
5.4 Password Related Issues
- Symptom: Forgotten password or unable to log in.
- Solution: Refer to the XMARTO support website for password recovery procedures: Password FAQ.
6. Specifications
| Feature | Specification |
|---|---|
| Model Number | WNS58 |
| Number of Channels | 10 |
| Video Compression | H.265+ |
| Max Resolution | 4K Ultra HD |
| Integrated Screen Size | 12.1 inches |
| Connectivity Technology | Wi-Fi (Dual WiFi modules) |
| Compatible Devices | XMARTO Cameras, Smartphones, Tablets |
| Storage Media | SATA HDD (up to 6TB), Cloud Storage |
| Item Weight | 3.27 pounds |
| Package Dimensions | 13.74 x 11.02 x 3.23 inches |
7. Warranty and Support
7.1 Warranty Information
The XMARTO WNS58 NVR is covered by a 1-Year Limited Warranty from the date of purchase. This warranty covers manufacturing defects and malfunctions under normal use. Please retain your proof of purchase for warranty claims.
Additionally, XMARTO offers a 30-Day Money Back Guarantee and Free Return policy.

Image 7.1: Summary of XMARTO's after-sales support, including warranty and return policies.
7.2 Customer Support
For technical assistance, troubleshooting, or any product-related inquiries, XMARTO provides 24/7 Online Support 1-on-1.
Please visit the official XMARTO website for support resources, FAQs, and contact information:
- XMARTO Support Website: support.xmarto.com
When contacting support, please have your product model (WNS58) and any relevant details about your issue ready.


