
1. Product Overview
The LINKE SWL-FL01 is a versatile 30W rechargeable portable work light designed for various applications including camping, car repair, hiking, fishing, and emergency situations. It features a powerful 10,000mAh battery, multiple charging options (USB and solar), and a range of lighting modes and brightness levels.
Key Features:
- High Capacity Battery: Integrated 10,000mAh battery for extended use.
- Dual Charging Options: Supports fast Micro USB 5V/2A charging and solar charging for emergency outdoor use.
- Power Bank Function: USB output port allows charging of mobile devices.
- Multiple Lighting Modes: 3 color temperatures (Warm, Warm White, Cold White) and an RB SOS emergency flash mode.
- Adjustable Brightness: 5 brightness levels (100%, 75%, 50%, 25%, 10%).
- Magnetic Base: Strong magnets for attachment to metallic surfaces, providing hands-free operation.
- Tripod Mount: 1/4-inch threaded hole for mounting on a tripod (tripod not included).
- Durable Design: Constructed from metal and Acrylonitrile Butadiene Styrene (ABS).
Product Components:
Familiarize yourself with the main components of your LINKE SWL-FL01 work light:

Image: Detailed view of the LINKE SWL-FL01 work light, highlighting its various components and controls.
- LED SMD Lamp Beads: Main light source.
- Output Port (USB-A): For charging external devices.
- Input Port (Micro USB): For charging the work light.
- Lighting Modes Button: Cycles through color temperatures and SOS mode.
- Brightness Adjustment Button: Adjusts light intensity.
- On/Off Switch: Powers the device on or off.
- Bracket Adjustment Knob: Secures the adjustable stand.
- Built-in Magnet: Located on the adjustable bracket for magnetic attachment.
- Solar Panel: For solar charging.
- Solar Panel Charging Indicator: Illuminates when solar charging is active.
- Battery Indicator: Four lights indicating battery charge level (25%, 50%, 75%, 100%).
- Tripod Mounting Hole: 1/4-inch threaded hole for tripod attachment.
2. Setup and Charging
Initial Charge:
Before first use, fully charge the work light using the provided Micro USB cable.
- Connect the Micro USB cable to the input port on the work light.
- Connect the other end of the USB cable to a 5V/2A or higher power adapter (not included) or a compatible USB port.
- The battery indicator lights will illuminate to show charging progress. All four lights will be solid when fully charged.
- A full charge typically takes 8 to 10 hours. The circuit board includes overcharge protection.
Solar Charging:
The work light can also be charged via its integrated solar panel. This method is energy-efficient and environmentally friendly, suitable for emergency charging when other power sources are unavailable. Solar charging generally takes a longer time.
- Place the work light with the solar panel facing direct sunlight.
- The solar panel charging indicator will light up when receiving sunlight.

Image: Charging methods for the LINKE SWL-FL01, including USB and solar, and its use as a power bank.
3. Operating Instructions
Power On/Off:
- Press the On/Off switch to turn the light on or off.
Changing Lighting Modes:
The work light offers 4 lighting modes:
- Press the Lighting Modes Button (M) briefly to cycle through the following modes:
- White Light (6000K)
- Warm White Light (4000K)
- Warm Light (2700K)
- RB SOS Flash Mode (Red and Blue flashing for emergencies)
Adjusting Brightness:
The work light has 5 brightness levels.
- Press the Brightness Adjustment Button (sun icon) briefly to cycle through brightness levels: 100%, 75%, 50%, 25%, and 10%.
- At 100% brightness, the light can last over 10 hours. At 10% brightness, it can last over 100 hours when fully charged.

Image: Visual representation of the different light modes and brightness settings.
Using as a Power Bank:
The work light can charge your mobile devices in outdoor emergencies.
- Connect your device's USB charging cable to the Output Port (USB-A) on the work light.
- The work light will begin charging your device.
Magnetic Attachment:
The integrated magnets allow for hands-free use.
- Attach the work light to any iron surface, such as car doors, metal tables, or other suitable metallic objects.

Image: The magnetic feature of the work light in use for hands-free illumination.
Tripod Mounting:
For elevated or stable lighting, the work light can be mounted on a tripod.
- Locate the 1/4-inch threaded hole at the bottom of the work light.
- Screw the work light onto a compatible tripod (not included).
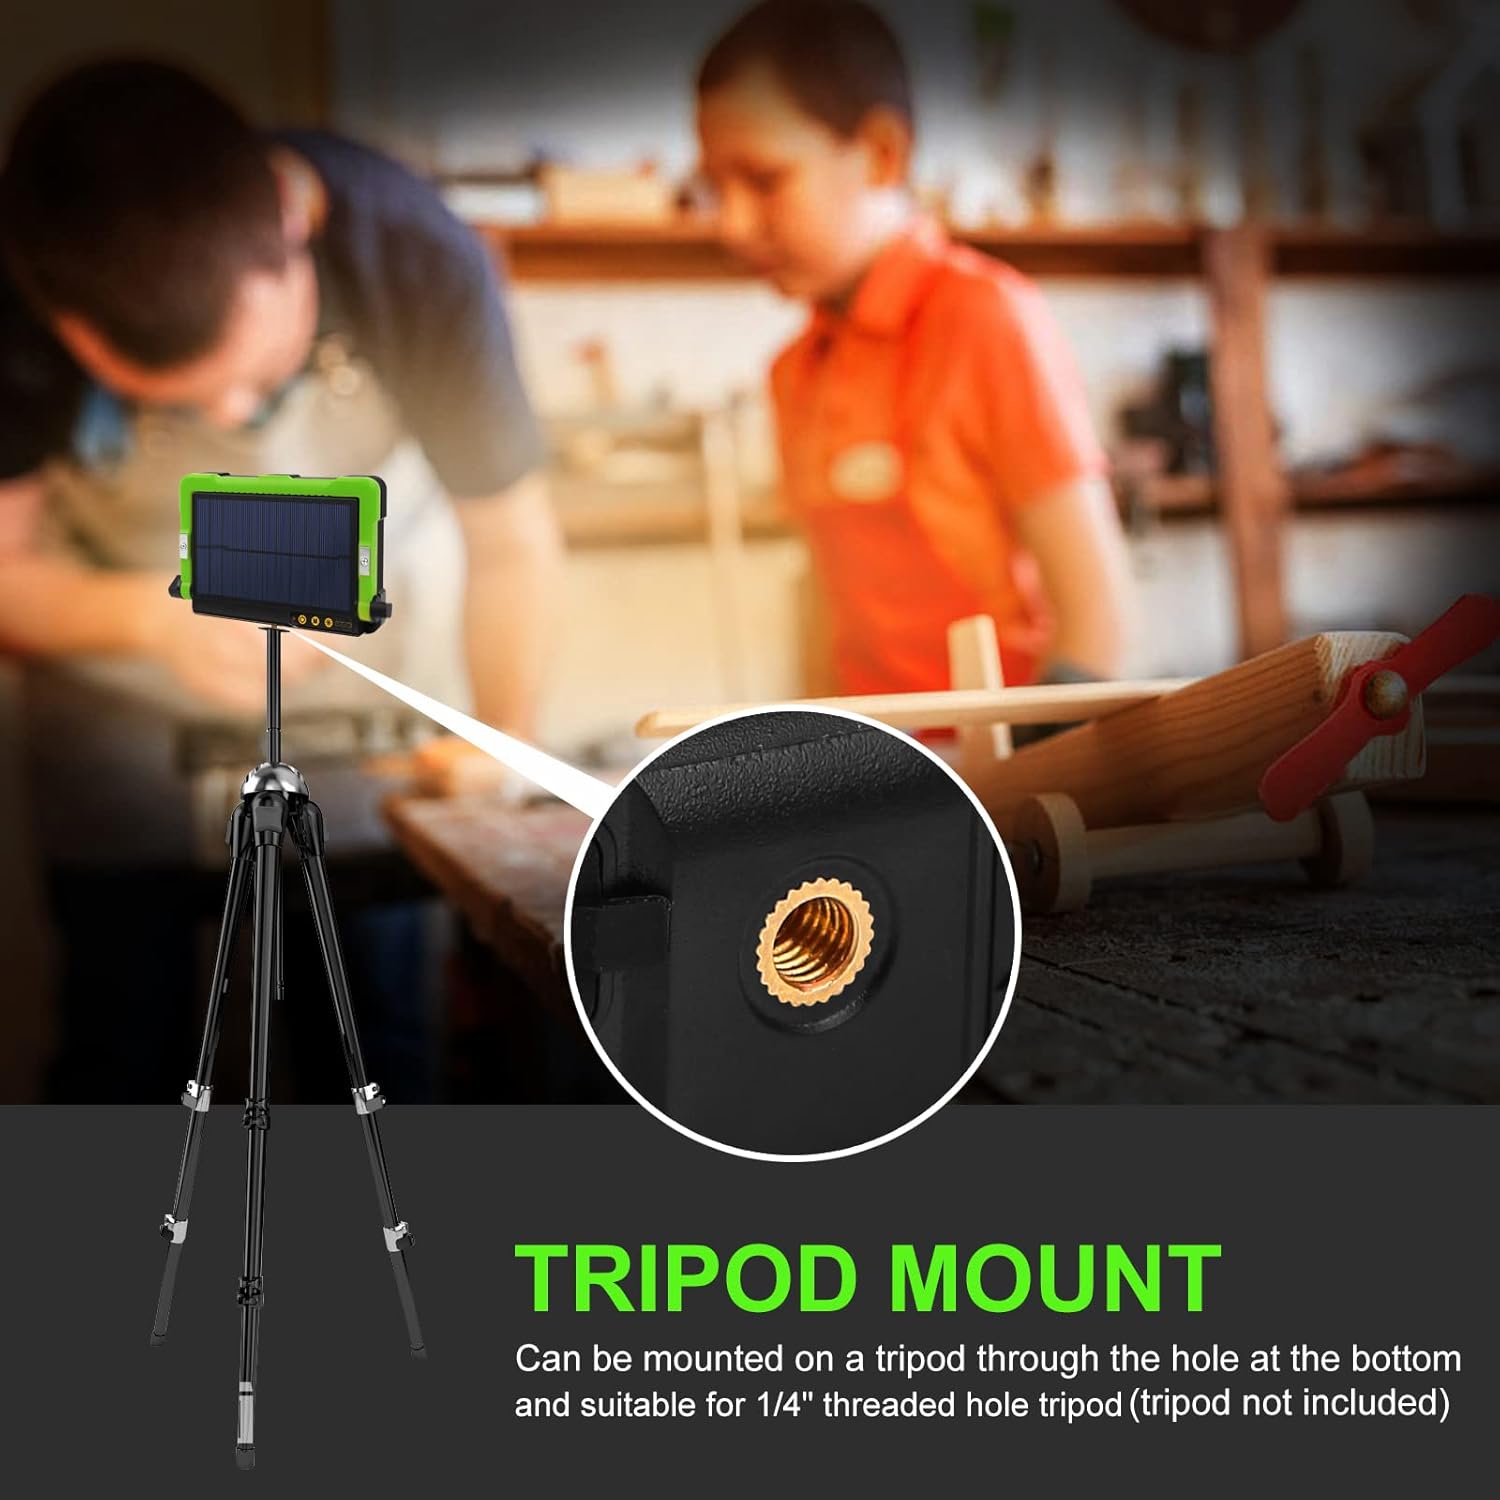
Image: The tripod mounting feature of the work light.
4. Safety Information
- Do not look directly into the light source when the device is on, especially at maximum brightness, as it can cause eye strain or damage.
- Keep the device away from extreme temperatures, open flames, and water (though it is IP44 rated, avoid submersion).
- Do not attempt to disassemble or modify the device. Repairs should only be performed by qualified personnel.
- Keep out of reach of children.
5. Maintenance
- Cleaning: Wipe the surface of the work light with a soft, dry cloth. Do not use abrasive cleaners or solvents.
- Storage: Store the device in a cool, dry place when not in use for extended periods. Ensure it is fully charged before storing to prolong battery life.
- Battery Care: To maintain battery health, avoid completely draining the battery frequently. Recharge the device regularly, even if not in active use.
6. Troubleshooting
- Light not turning on: Ensure the battery is charged. Connect to a power source and allow it to charge for at least 30 minutes before attempting to turn it on again.
- Light is dim: Check the brightness setting and adjust it using the brightness adjustment button. Ensure the battery is sufficiently charged.
- Device not charging: Verify that the USB cable is securely connected to both the work light and the power adapter. Ensure the power adapter is functional and provides 5V/2A output. For solar charging, ensure the solar panel is exposed to direct sunlight.
- External device not charging from work light: Ensure the work light has sufficient battery charge. Check the connection of the USB cable between the work light and the external device.
7. Specifications
| Feature | Specification |
|---|---|
| Model Number | SWL-FL01 |
| Brand | LINKE |
| Dimensions (L x W x H) | 18 x 4 x 12 cm (7.1 x 1.6 x 4.7 inches) |
| Weight | 490 g (1.08 lbs) |
| Power | 30 Watts |
| Voltage | 5 Volts |
| Battery Capacity | 10,000 mAh |
| Light Source Type | LED (112 beads: 48 cold, 48 warm, 8 blue, 8 red) |
| Charging Input | Micro USB 5V/2A, Solar Panel |
| Material | Metal, Acrylonitrile Butadiene Styrene (ABS) |
| Special Features | Portable, Rechargeable, Magnetic, Tripod Mountable, Power Bank Function |
| Color | Green/Black |
8. Warranty and Support
Specific warranty information for the LINKE SWL-FL01 is not provided in this manual. Please refer to the product packaging or contact your retailer for details regarding warranty coverage and customer support.
