1. Introduction
Thank you for choosing the Diosmio Luxurious White Digital Cabinet Safe. This safe is designed to provide secure storage for your valuables, offering fireproof and waterproof protection, a digital keypad, and an advanced alarm system. This manual provides essential information for the proper installation, operation, and maintenance of your new safe. Please read it thoroughly before use and retain it for future reference.
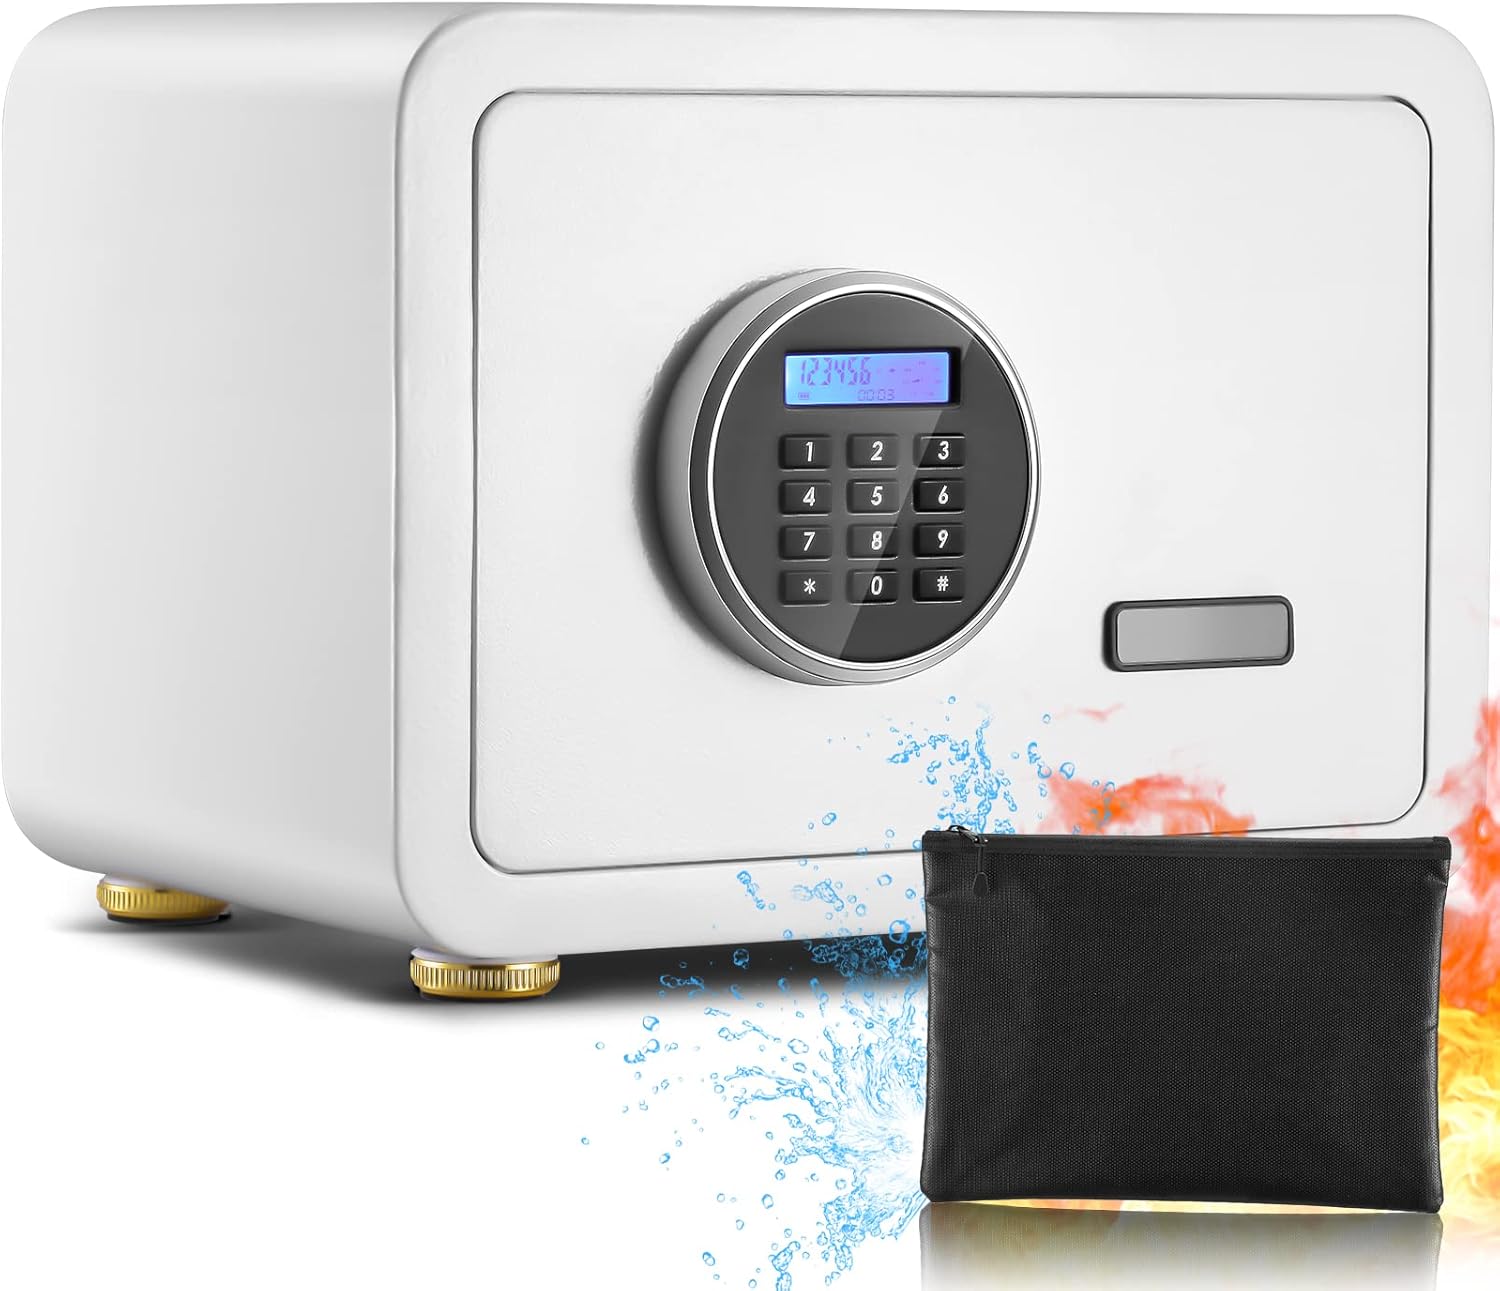
Image 1.1: The Diosmio Luxurious White Digital Cabinet Safe, showcasing its fireproof and waterproof features with an included fireproof bag.
2. Important Safety Information
- Emergency Keys: Always store the emergency override keys in a secure location away from the safe. Do not store them inside the safe.
- Battery Replacement: Replace batteries promptly when the low battery indicator appears on the LCD screen to ensure continuous functionality.
- Installation: For optimal security, consider mounting the safe to the floor or wall using the provided expansion bolts. Ensure the mounting surface is stable and secure.
- Children: Keep the safe and its contents, especially firearms or hazardous materials, out of reach of children.
- Water Exposure: While the safe offers waterproof features, avoid submerging it in water. Ensure the door is properly closed and sealed to maintain water resistance.
3. Package Contents
Please check the package carefully to ensure all items are present:
- Diosmio Digital Cabinet Safe (1 unit)
- Emergency Keys (2 pieces)
- Fireproof Bag (1 piece)
- Product Manual (1 piece)
- Expansion Screws (4 pieces)
- Foot Pads (4 pieces)
- Gasket (1 piece)

Image 3.1: Illustration of the Diosmio safe and its complete set of included accessories.
4. Product Overview
Familiarize yourself with the main components of your Diosmio safe:
4.1 Exterior Features
- Digital Keypad: Used for entering access codes.
- LCD Screen: Displays date, time, battery level, and operational feedback.
- Emergency Keyhole: Concealed access point for emergency key override.
- Handle: Used to open the safe door after successful code entry or key turn.

Image 4.1: Detailed view of the HD LCD Digital Keypad Screen Safe, emphasizing the digital interface.
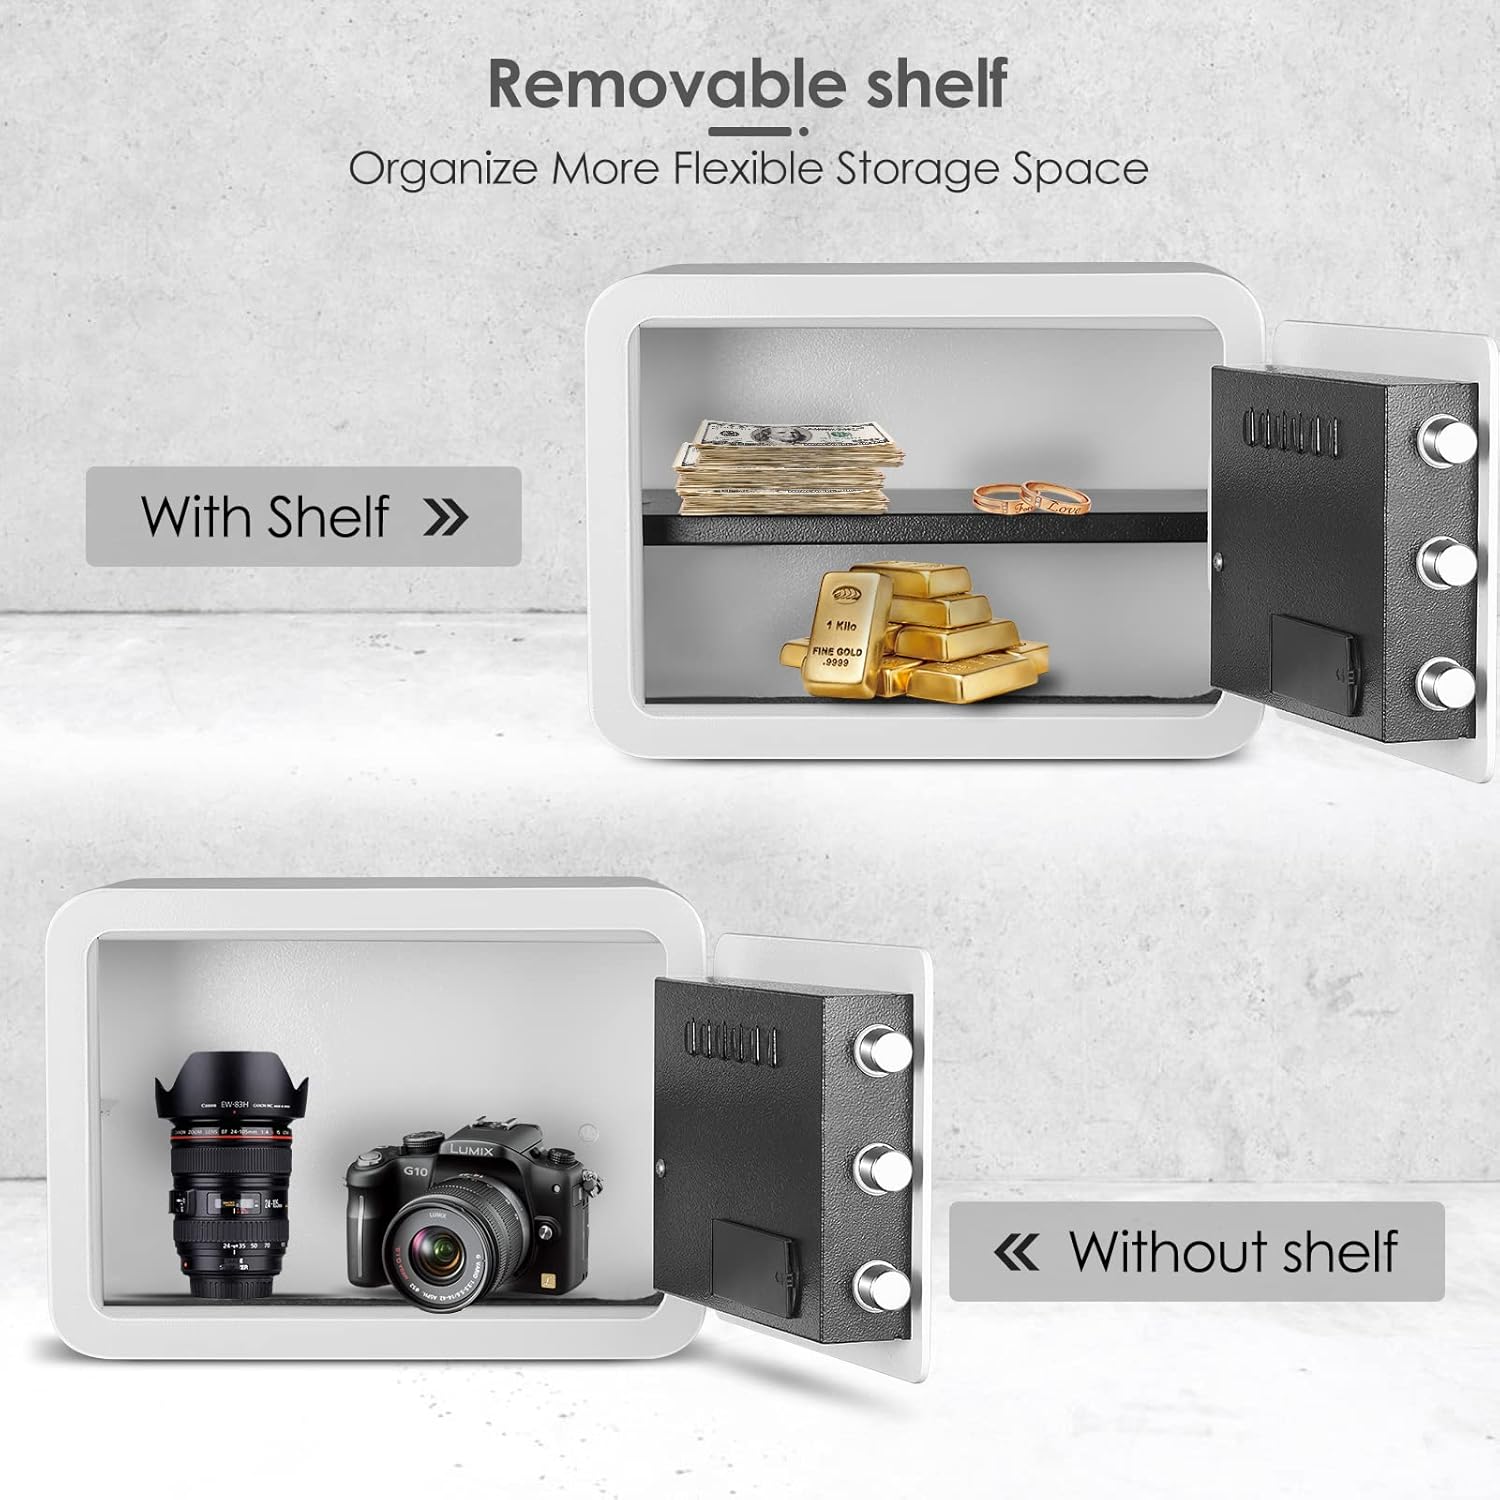
4.2 Interior Features
- Removable Partition: An adjustable shelf to organize contents, which can be removed to accommodate larger items.
- LED Lights: Interior lighting for visibility in low-light conditions.
- Built-in Key Hook: Located on the back of the door for convenient storage of keys or small items.
- Solid Steel Structure: Enhanced security with anti-pry panel and three bold live-locking bolts.

5. Setup
5.1 Battery Installation
- Locate the battery compartment on the inside of the safe door.
- Open the battery cover.
- Insert four (4) AA batteries (not included) according to the polarity indicators (+/-).
- Close the battery cover securely.
5.2 Initial Code Setting
Upon first use, or after battery replacement, you will need to set your personal access code.
- With the safe door open, press the red reset button located on the inside of the door, near the hinge. You will hear a beep.
- On the keypad, enter a new 3-8 digit code.
- Press the "#" button to confirm. The LCD will display "SET OK".
- Test the new code with the door open before closing it.
5.3 Mounting the Safe (Optional)
For enhanced security, the safe can be mounted to a floor or wall.
- Choose a suitable location with a solid mounting surface.
- Mark the drilling points through the pre-drilled holes at the bottom or back of the safe.
- Drill pilot holes into the mounting surface.
- Align the safe with the drilled holes and secure it using the provided expansion bolts.
6. Operating Instructions
6.1 Opening the Safe with Digital Code
- Enter your 3-8 digit personal code on the keypad.
- Press the "#" button. The LCD will display "OPEN".
- Within 5 seconds, turn the handle clockwise to open the door.
6.2 Opening the Safe with Emergency Key
In case of forgotten code or dead batteries, use the emergency key:
- Locate the emergency keyhole cover (usually near the handle or keypad).
- Remove the cover.
- Insert the emergency key and turn it counter-clockwise.
- Simultaneously turn the handle clockwise to open the door.

Image 6.1: Two methods for quick access to the safe: digital code and emergency key.
6.3 Changing the Access Code
- Open the safe door.
- Press the red reset button on the inside of the door.
- Enter your new 3-8 digit code.
- Press the "#" button to confirm.
6.4 LCD Screen Functions
- Date and Time: Can be set and displayed. Refer to the specific instructions in the included paper manual for setting.
- Battery Level: Indicates remaining battery power.
- Opening Record: Query the last door opening records (up to 45 records).
- Hidden Password: Option to hide the password display for increased privacy.

Image 6.2: Overview of the digital safe's advanced features, including alarm and display options.
6.5 Vibration Alarm Function
The safe is equipped with a vibration alarm. If the safe detects significant movement or tampering, an alarm will sound to deter unauthorized access. The alarm will also activate after multiple incorrect code entries.
7. Maintenance
7.1 Battery Replacement
When the LCD screen indicates low battery, replace all four AA batteries promptly to avoid loss of functionality. Use the emergency key if batteries die completely before replacement.
7.2 Cleaning
Wipe the safe's exterior with a soft, damp cloth. Avoid abrasive cleaners or solvents that could damage the finish or electronic components.
8. Troubleshooting
| Problem | Possible Cause | Solution |
|---|---|---|
| Safe does not open with code. | Incorrect code entered; batteries are low or dead. | Re-enter the correct code. Replace batteries. Use emergency key to open. |
| LCD screen is blank or dim. | Batteries are low or dead. | Replace all batteries with new ones. |
| Alarm sounds unexpectedly. | Safe was moved or tampered with; multiple incorrect code entries. | Enter the correct code to silence the alarm. Avoid moving the safe while armed. |
| Cannot set a new code. | Reset button not pressed correctly; code too short/long. | Ensure the reset button is pressed firmly. Enter a 3-8 digit code. |
9. Specifications
| Feature | Detail |
|---|---|
| Brand | Diosmio |
| Model Number | 755ab4dd-78ed-4716-8bfb-193d215712c4 |
| Product Dimensions | 10.23"D x 13.78"W x 9.84"H |
| Lock Type | Electronic, Key |
| Color | White |
| Capacity | 0.8 Liters |
| Material | Alloy Steel |
| Special Features | Alarm System, Combination Lock, LCD Screen, Removable Shelf |
| Mounting Type | Floor Mount |
| Alarm | Vibration |
| Water Resistance Level | Waterproof |
| Item Weight | 20.9 pounds |

Image 9.1: Product dimensions of the Diosmio Digital Cabinet Safe.
10. Warranty and Support
For warranty information, technical support, or any questions regarding your Diosmio Digital Cabinet Safe, please contact Diosmio customer service through the retailer's platform or the official Diosmio website. Please have your model number and purchase date available when contacting support.


