1. Introduction
Welcome to the instruction manual for your Hyperkin Duke Wired Controller. This officially licensed controller is designed to provide a classic gaming experience with modern compatibility for Xbox Series X|S, Xbox One, and Windows 10 PCs. This special edition features an Xbox 20th Anniversary design.

Image 1.1: Front view of the Hyperkin Duke Wired Controller, White 20th Anniversary Edition.
2. Package Contents
Ensure all items are present in the package:
- Hyperkin Duke Wired Controller (White)
- Detachable Type-C Braided Cable

Image 2.1: Hyperkin Duke Wired Controller product packaging.
3. Controller Layout
Familiarize yourself with the controller's buttons and features:
- Left and Right Analog Sticks: For precise movement and camera control.
- D-Pad: Directional input.
- A, B, X, Y Buttons: Standard action buttons.
- Left and Right Triggers (LT, RT): Pressure-sensitive for nuanced control.
- Left and Right Bumpers (LB, RB): Mirror the original black and white buttons for expanded functionality.
- Xbox Button: Features an animated original Xbox startup screen.
- Share Button: For capturing screenshots and video clips (functionality may vary by platform).
- View Button: Accesses in-game menus or system functions.
- Menu Button: Accesses game or app menus.
- 3.5mm Headset Jack: For connecting compatible headsets.

Image 3.1: Front view of the controller highlighting the main controls.
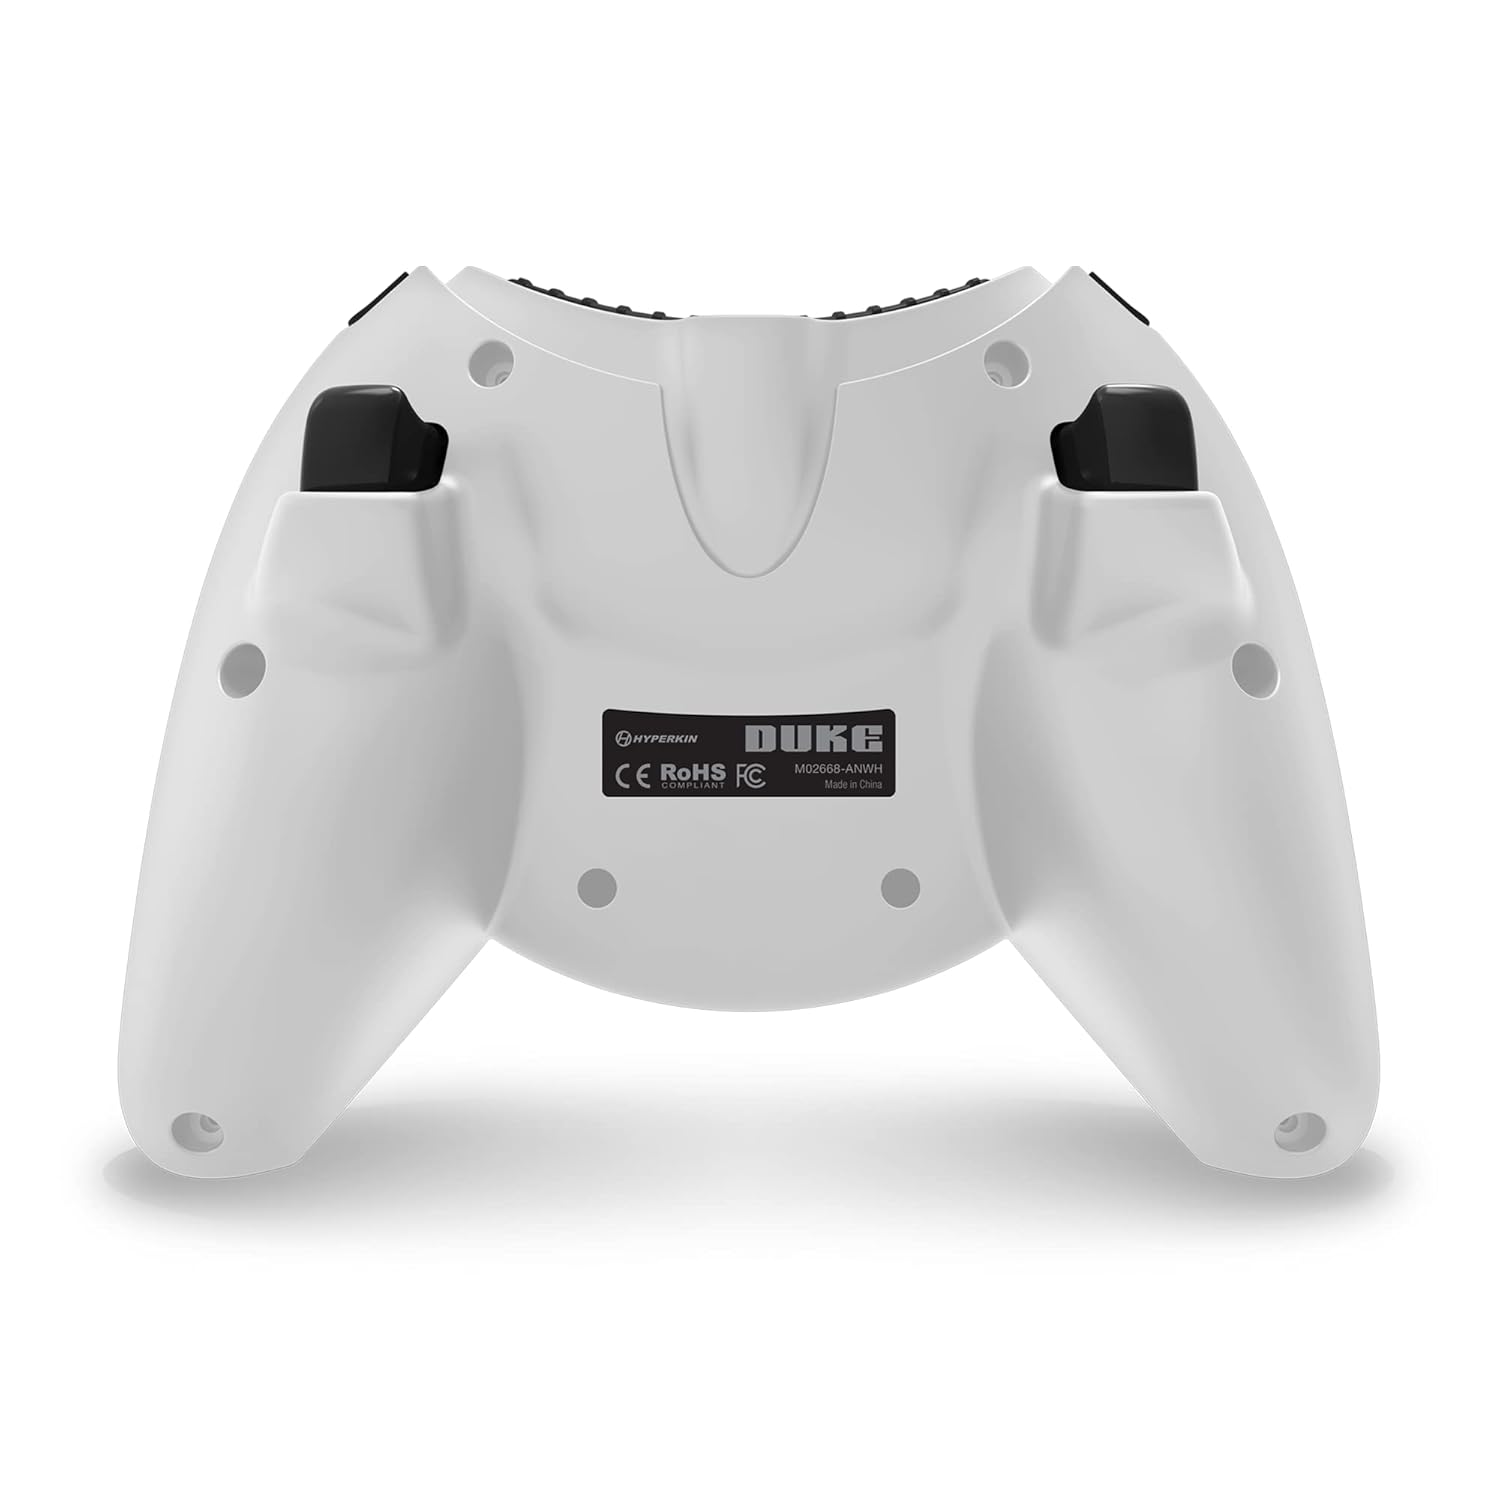
Image 3.2: Back view of the controller.

Image 3.3: Detail of the Share button and detachable Type-C cable connection.
4. Setup
The Hyperkin Duke Wired Controller is designed for simple plug-and-play functionality.
- Connect the detachable Type-C braided cable to the port on the top of the controller.
- Plug the USB-A end of the cable into an available USB port on your Xbox Series X|S, Xbox One console, or Windows 10 PC.
- The controller will automatically be detected and configured by your system. The Xbox button will illuminate, and the animated startup screen will play.
Video 4.1: This video demonstrates the animated Xbox button startup sequence on the Hyperkin Duke controller.
5. Operating Instructions
Once connected, the controller functions similarly to standard Xbox controllers, with additional nostalgic elements.
- Gaming: Use the analog sticks for movement and camera control, the D-pad for directional input, and the A, B, X, Y buttons for in-game actions.
- Precision Triggers: The analog triggers (LT, RT) offer variable input, ideal for racing games or actions requiring precise pressure.
- Bumpers (LB, RB): These buttons provide additional input options, often used for secondary actions or menu navigation.
- Xbox Button: Press the Xbox button to access the console's guide menu or the PC's Xbox Game Bar. The animated startup screen will play upon connection or when the button is pressed.
- Share Button: Utilize the Share button to quickly capture and share your gameplay moments.
- Headset Use: Plug any compatible 3.5mm headset into the jack for in-game audio and voice chat.
- Vibration Feedback: The controller provides haptic feedback to enhance immersion during gameplay.
6. Maintenance and Care
To ensure the longevity and optimal performance of your controller, follow these care guidelines:
- Cleaning: Use a soft, dry cloth to wipe down the controller. Avoid using abrasive cleaners, solvents, or harsh chemicals, as these can damage the surface and internal components.
- Storage: Store the controller in a cool, dry place away from direct sunlight, extreme temperatures, and excessive humidity.
- Cable Care: Handle the detachable Type-C cable with care. Avoid sharp bends, kinks, or excessive pulling, which can damage the cable or the connector ports. Always grasp the connector head when plugging or unplugging.
- Avoid Drops: Protect the controller from drops or impacts, as these can cause internal damage.
7. Troubleshooting
If you encounter issues with your Hyperkin Duke Wired Controller, refer to the following common solutions:
| Problem | Solution |
|---|---|
| Controller not responding | Ensure the detachable Type-C cable is securely connected to both the controller and the console/PC. Try a different USB port on your system. Restart your console or PC. |
| Input issues (e.g., stick drift, unresponsive buttons) | For PC, try calibrating the controller through your operating system's game controller settings. Ensure no debris is obstructing buttons or sticks. If the issue persists, contact Hyperkin support. |
| No vibration feedback | Check in-game settings to ensure vibration is enabled. Verify that vibration settings are active in your console or PC's controller settings. |
| No audio from headset | Ensure your 3.5mm headset is fully plugged into the controller's jack. Check your console or PC's audio settings to confirm the headset is selected as the output device. Test the headset with another device if possible. |
Video 7.1: This video demonstrates a potential issue with the left trigger on the controller. If you experience similar issues, refer to the troubleshooting table and contact support.
8. Specifications
- Model Number: M02668-ANWH
- Compatibility: Xbox Series X|S, Xbox One, Windows 10 PCs
- Connectivity: Wired (Detachable USB Type-C cable)
- Dimensions: Approximately 6.5 x 5.25 x 3 inches (16.5 x 13.3 x 7.6 cm)
- Weight: Approximately 11.99 ounces (340 grams)
- Features: Precision analog triggers, vibration feedback, 3.5mm headset jack, Share button, animated Xbox button, 20th Anniversary design.
9. Warranty and Support
For detailed warranty information, product registration, and customer support, please visit the official Hyperkin website or contact their customer service department. Keep your proof of purchase for warranty claims.
Hyperkin Official Website: www.hyperkin.com


