
1. Introduction
Thank you for purchasing the Westek BL-PMTN-W2 Motion Activated Adjustable White LED Puck Light. This product is designed to provide convenient, customizable lighting with motion activation for various indoor spaces. Please read this manual thoroughly before installation and operation to ensure proper use and longevity of your device.
2. Safety Information
Observe the following safety precautions to prevent injury or damage to the product:
- This product is intended for indoor use only. Do not expose to water or high humidity.
- Do not attempt to disassemble or modify the unit. This may void the warranty and pose a safety risk.
- Ensure batteries are inserted with correct polarity. Incorrect insertion can cause damage.
- Replace all batteries at the same time. Do not mix old and new batteries or different types of batteries.
- Keep batteries out of reach of children.
- Dispose of used batteries according to local regulations.
- Clean the unit with a soft, dry cloth only. Do not use abrasive cleaners or solvents.
3. Package Contents
Verify that all items are present in your package:
- 6 x LED Puck Lights
- 12 x Mounting Screws
- 6 x 3M Adhesive Plates
- 1 x Remote Control
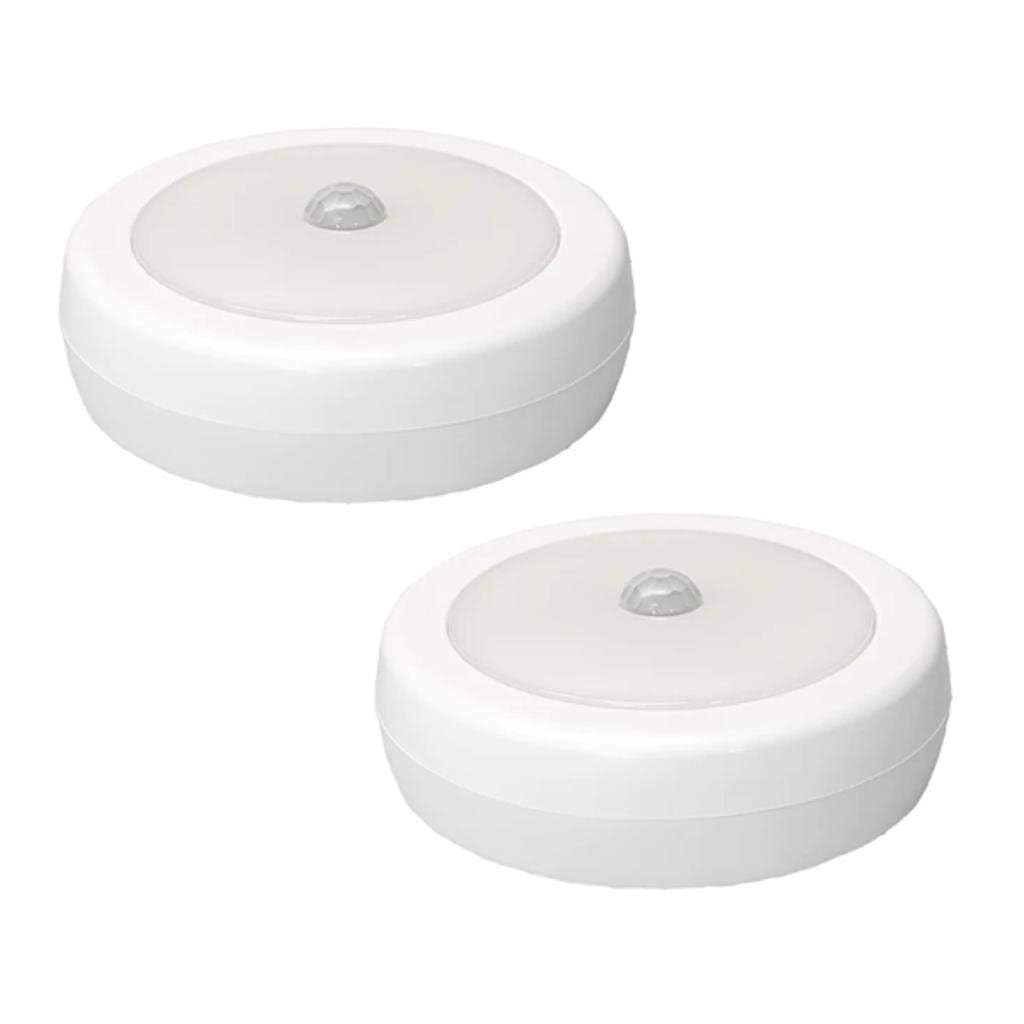
Image: The Westek BL-PMTN-W2 LED Puck Light, showing its compact design and the included remote control, mounting screws, and adhesive plates.
4. Setup
4.1. Battery Installation
- Gently twist the back cover of each puck light counter-clockwise to open the battery compartment.
- Insert the required batteries (not included) into each puck light, ensuring correct polarity (+/-).
- Replace the back cover by aligning it and twisting clockwise until secure.
4.2. Mounting Options
The puck lights offer two mounting methods:
- Adhesive Mounting:
- Clean the desired mounting surface thoroughly to ensure it is dry and free of dust or grease.
- Peel the protective film from one side of a 3M adhesive plate and firmly press it onto the back of the puck light.
- Peel the protective film from the other side of the adhesive plate.
- Press the puck light firmly onto the desired surface for at least 30 seconds.
- Screw Mounting:
- Mark the desired mounting location.
- Use the provided mounting screws to secure the puck light's back plate to the surface.
- Attach the puck light to the secured back plate by twisting it clockwise until it locks into place.
5. Operating Instructions
5.1. Motion Activation
The puck lights feature motion activation with the following characteristics:
- Detection Range: Up to 12 feet.
- Detection Angle: 100 degrees.
- Auto Shut-off: Lights will automatically turn off after 30 seconds of no detected motion.
5.2. Color Temperature Selection (CCT Selectable)
You can customize the light's color temperature:
- Warm White (3000K): Provides a cozy, inviting glow.
- Natural White (4000K): Offers a balanced, neutral light.
- Cool White (5000K): Delivers a bright, crisp illumination.
Use the remote control to cycle through these color temperature options.
5.3. Continuous Touch Dimming
To adjust the brightness:
- Tap and hold the lens of the puck light.
- The brightness will continuously dim from 100% down to 10%.
- Release the lens at your desired brightness level.
- Repeat the process to brighten the light.
5.4. Remote Control Operation
The included remote control allows for convenient operation of the puck lights. Refer to the remote's markings for specific functions such as power on/off, color temperature selection, and dimming adjustments.
6. Maintenance
6.1. Cleaning
To clean the puck lights, gently wipe the surface with a soft, dry, lint-free cloth. Do not use liquid cleaners, sprays, or abrasive materials, as these may damage the finish or internal components.
6.2. Battery Replacement
When the light output diminishes or the motion sensor becomes less responsive, it is time to replace the batteries. Follow the battery installation steps in Section 4.1. Always replace all batteries simultaneously with new ones of the same type.
7. Troubleshooting
If you encounter issues with your Westek puck lights, refer to the table below for common problems and solutions:
| Problem | Possible Cause | Solution |
|---|---|---|
| Light does not turn on. | Dead or incorrectly installed batteries. | Check battery polarity or replace with new batteries. |
| Motion sensor not detecting. | Obstruction in detection path; unit too far from motion. | Ensure clear line of sight for the sensor. Reposition the light closer to the area of motion. |
| Light flickers or is dim. | Low battery power. | Replace all batteries with new ones. |
| Remote control not working. | Remote battery dead; remote out of range; obstruction. | Replace remote battery. Ensure remote is within effective range and pointed towards the lights. |
8. Specifications
| Feature | Detail |
|---|---|
| Model Number | BL-PMTN-W2 |
| Brand | Westek |
| Light Source | LED |
| Brightness | 80 lumens (maximum) |
| Color Temperature | 3000K (Warm White), 4000K (Natural White), 5000K (Cool White) |
| Dimming | Continuous touch dimming (10% to 100%) |
| Motion Detection Range | 12 feet |
| Motion Detection Angle | 100 degrees |
| Auto Shut-off | 30 seconds (after no motion) |
| Power Source | Battery Powered |
| Control Method | Motion Sensor, Remote Control |
| Indoor/Outdoor Usage | Indoor Only |
| Item Weight | 2.08 ounces (per puck light) |
| Included Components | Mounting Screws, 3M Plates, Remote Control |
9. Warranty and Support
Westek products are manufactured to high-quality standards. For specific warranty information, please refer to the documentation included with your purchase or visit the official Westek website. If you require technical assistance or have questions regarding your product, please contact Westek customer support.
Contact Information: Please refer to the packaging or the official Westek website for the most current customer support contact details.
10. Product Videos
No official product videos from the seller are available for embedding at this time.


