
FEELWORLD LUT7-FBA
Contents
FEELWORLD F7 PRO 7-inch 3D LUT Touch Screen DSLR Camera Field Monitor User Manual
Model: LUT7-FBA
1. Introduction
This manual provides detailed instructions for the proper setup, operation, and maintenance of your FEELWORLD F7 PRO 7-inch 3D LUT Touch Screen DSLR Camera Field Monitor. Please read this manual thoroughly before using the product to ensure safe and efficient operation. Keep this manual for future reference.
2. Safety Information
- Do not expose the monitor to rain or moisture to avoid electric shock or fire.
- Do not open the casing. Refer all servicing to qualified personnel.
- Avoid placing the monitor in direct sunlight or near heat sources.
- Use only the specified power adapters and batteries.
- Clean the screen with a soft, dry cloth. Avoid using harsh chemicals.
3. Product Overview
The FEELWORLD F7 PRO is a 7-inch field monitor designed for DSLR and mirrorless cameras, offering a high-resolution touch screen with 3D LUT support. It features an ultra-bright 2200 nits display for daylight viewing, an ambient light sensor for automatic brightness adjustment, and an external F970 battery plate for powering additional accessories.
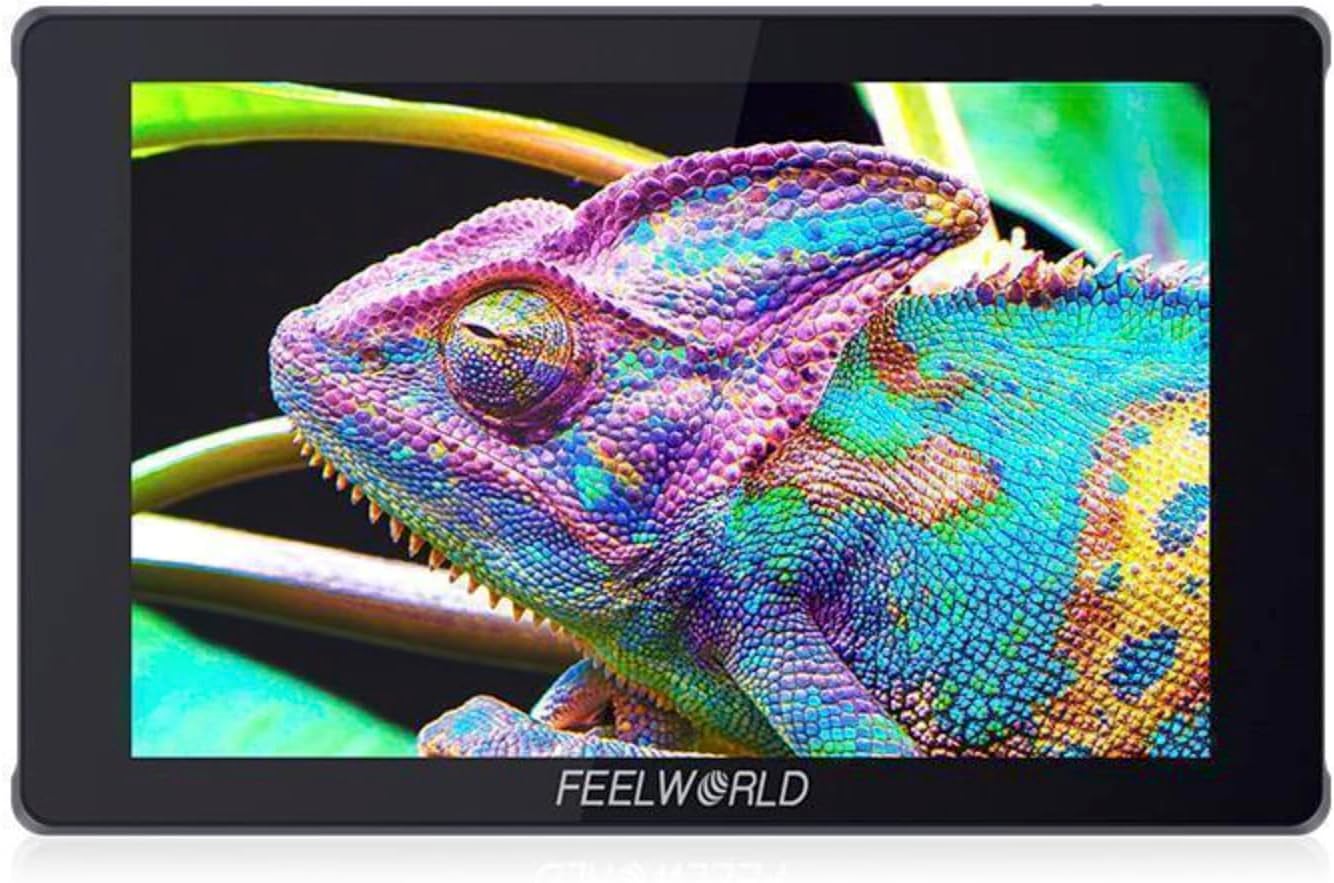
Figure 3.1: Front view of the FEELWORLD F7 PRO monitor, showcasing its display capabilities.

Figure 3.2: Front angle view of the monitor, highlighting its 4K and high-brightness features.

Figure 3.3: Side view of the monitor, illustrating the various input and output ports for connectivity.

Figure 3.4: Top and bottom views of the monitor, detailing control buttons and additional ports.
4. Package Contents
Please verify that all items listed below are included in your package. If any items are missing or damaged, contact your retailer immediately.
- 1x FEELWORLD F7 PRO Monitor
- 1x Micro HDMI Cable
- 1x Mini Hot Shoe Mount
- 1x Hex Wrench
- 1x Sunshade
- 1x User Manual
Note: Battery is not included in this package.

Figure 4.1: Visual representation of the FEELWORLD F7 PRO package contents.
5. Setup
5.1 Powering the Monitor
The F7 PRO monitor can be powered in several ways:
- Sony F970 Battery: Attach a compatible Sony F970 series battery to the battery plate on the back of the monitor. This plate also allows for external equipment to be powered by the F970 battery.
- DC 12V Input: Connect a 12V DC power adapter (not included) to the 'DC 12V IN' port on the side of the monitor.
- DC 5V (Type-C) Input: For auxiliary power, connect a 5V Type-C power source to the 'DC IN 5V (Type-C)' port.
5.2 Connecting to a Camera
Use the provided Micro HDMI Cable or another compatible HDMI cable to connect your camera to the monitor.
- Connect one end of the HDMI cable to the HDMI output port on your camera.
- Connect the other end of the HDMI cable to the 'HDMI IN' port on the side of the F7 PRO monitor.
- If you need to loop out the video signal to another device, use the 'HDMI OUT' port.
5.3 Mounting the Monitor
The monitor can be mounted using the included Mini Hot Shoe Mount.
- Attach the Mini Hot Shoe Mount to your camera's hot shoe or a compatible rig.
- Secure the monitor to the mount using the screw thread on the bottom of the monitor.
5.4 Sunshade Installation
For improved visibility in bright conditions, install the sunshade.
- Align the sunshade frame with the grooves around the monitor screen.
- Gently press the sunshade into place until it is securely attached.
6. Operating the Monitor
6.1 Power On/Off
Press and hold the power button located on the top edge of the monitor to turn it on or off.
6.2 Control Methods
The F7 PRO supports both touch screen and physical button controls.
- Touch Screen: Use simple tap and swipe gestures to navigate menus and activate functions.
- Button Control: The menu wheel button allows for quick selection and function settings. Tap the wheel to confirm, and rotate to scroll through options.
6.3 Brightness Adjustment
- Automatic Brightness: The ambient light sensor automatically adjusts screen brightness based on environmental light levels.
- Manual Brightness: You can manually adjust the brightness through the monitor's menu settings.
6.4 Monitoring Functions
The F7 PRO offers a range of professional monitoring tools:
- 3D LUT: Apply custom 3D LUTs for accurate color preview.
- Waveform: Displays the luminance and chrominance levels of your video signal.
- Vectorscope: Shows the color information of your video signal.
- Histogram: Visualizes the tonal distribution of your image.
- Focus Assist: Highlights sharp edges to aid in achieving precise focus.
- Anamorphic Mode: De-squeezes anamorphic footage for proper viewing.
- False Colors: Helps in setting proper exposure by displaying different exposure levels in distinct colors.
- Exposure (Zebras): Indicates overexposed areas with zebra patterns.
- Zoom: Magnifies a portion of the image for detailed inspection.
- Image Flip: Flips the image horizontally or vertically.
- Nine Grid: Overlays a nine-grid composition guide.
- Embedded Audio: Displays audio levels from the HDMI input.

Figure 6.1: The F7 PRO monitor in use, mounted on a camera setup, displaying live footage.

Figure 6.2: A user interacting with the F7 PRO monitor during an outdoor shoot, demonstrating practical application.
7. Maintenance
7.1 Cleaning the Screen
To clean the monitor screen, gently wipe it with a soft, lint-free cloth. For stubborn smudges, slightly dampen the cloth with water or a screen-cleaning solution specifically designed for electronics. Do not spray liquid directly onto the screen.
7.2 Storage
When not in use, store the monitor in a cool, dry place away from direct sunlight and extreme temperatures. Use the original packaging or a protective case to prevent dust and physical damage.
8. Troubleshooting
- No Power:
- Ensure the battery is fully charged and correctly inserted, or the DC power adapter is securely connected.
- Check the power button for proper engagement.
- No Video Signal:
- Verify that the HDMI cable is securely connected to both the camera and the monitor's 'HDMI IN' port.
- Confirm that the camera's HDMI output is active and configured correctly.
- Check the input source selection on the monitor.
- Screen Too Dim/Bright:
- Adjust the brightness settings in the monitor's menu.
- Ensure the ambient light sensor is not obstructed if automatic brightness is enabled.
- Touch Screen Unresponsive:
- Restart the monitor.
- Ensure the screen is clean and free of debris.
9. Specifications
| Feature | Specification |
|---|---|
| Model Number | LUT7-FBA |
| Package Dimensions | 8.86 x 6.3 x 3.27 inches |
| Item Weight | 1.47 pounds |
| Manufacturer | FEELWORLD |
| Display Size | 7 inches |
| Resolution | 1920 x 1200 |
| Brightness | 2200 nits (Daylight Viewable) |
| Contrast Ratio | 1200:1 |
| Color Gamut | sRGB / Rec.709 |
| Control | Touch Screen and Button Control |
| Power Input | Sony F970 Battery, DC 12V, DC 5V (Type-C) |
10. Warranty Information
FEELWORLD products are covered by a limited warranty against defects in materials and workmanship. The specific terms and duration of the warranty may vary by region and product. Please retain your proof of purchase for warranty claims. For detailed warranty information, refer to the official FEELWORLD website or contact customer support.
11. Support
If you encounter any issues or have questions not covered in this manual, please contact FEELWORLD customer support. You can find contact information on the official FEELWORLD website or through your product retailer.
Ask a question about this manual
Ask about setup, troubleshooting, compatibility, parts, safety, or missing instructions. Manuals+ will review the question and use this page’s manual context to help answer it.