1. Important Safety Instructions
Please read all instructions carefully before using this treadmill. Keep this manual for future reference.
- Always consult a physician before starting any exercise program.
- Place the treadmill on a flat, stable surface with at least 2 meters of clear space behind it.
- Ensure the safety key is properly attached to your clothing and the console before starting. The treadmill will stop if the safety key is disengaged.
- Do not allow children or pets near the treadmill while it is in operation.
- Wear appropriate athletic footwear and clothing.
- Do not use the treadmill if it is damaged or malfunctioning.
- Keep hands and feet clear of all moving parts.
- Unplug the treadmill from the power outlet when not in use or before cleaning/maintenance.
- Maximum user weight capacity: 100 kg.
2. Product Components
Familiarize yourself with the parts of your COSTWAY Foldable Electric Treadmill.

Figure 2.1: Treadmill Components Overview
This image displays the various parts of the treadmill, including the clear monitor, safety key, speed controls, heart rate sensors, powerful motor, 36 x 100 cm running belt, integrated wheels, tablet/phone tray, and cup holders.
- Clear Monitor: Displays workout data.
- Tablet/Phone Tray: For holding personal devices.
- Cup Holders: For beverages.
- Safety Key: Essential safety device.
- Speed +/- Buttons: Adjusts running speed.
- Start/Stop Buttons: Initiates and halts operation.
- Heart Rate Sensors: Integrated into handlebars for pulse monitoring.
- Powerful Motor: Drives the running belt.
- Running Belt (36 x 100 cm): The surface for walking or running.
- Integrated Wheels: For easy relocation.
3. Setup and Assembly
The COSTWAY Foldable Electric Treadmill requires minimal assembly. Follow these steps to set up your treadmill.
3.1 Unfolding the Treadmill
- Carefully remove the treadmill from its packaging.
- Place the treadmill on a flat, stable surface.
- Locate the locking pin or knob that secures the running deck in the folded position.
- Release the locking mechanism and slowly lower the running deck until it is fully flat on the floor. Ensure it locks securely into place.
3.2 Handlebar and Console Setup
- Raise the console and handlebars to the upright position.
- Secure any bolts or knobs as indicated in the assembly diagram (refer to Figure 2.1 for component identification).
- Ensure all connections are tight and secure before plugging in the unit.
3.3 Power Connection
- Plug the power cord into a grounded electrical outlet.
- Ensure the power switch (if present, usually near the power cord inlet) is in the "ON" position.
4. Operating Instructions
4.1 Starting the Treadmill
- Stand on the side rails of the treadmill, not on the running belt.
- Attach the safety key clip to your clothing and place the magnetic end onto the designated area on the console. The display will illuminate.
- Press the START button. The treadmill will begin with a short countdown, then the belt will start moving at a low speed (e.g., 1 km/h).
- Carefully step onto the moving belt and begin walking.
4.2 Adjusting Speed

Figure 4.1: Adjustable Speed Range
This image demonstrates the treadmill's capability to adjust speed from 1 to 10 km/h, suitable for walking, jogging, and light running.
- Use the SPEED + button to increase the speed.
- Use the SPEED - button to decrease the speed.
- The treadmill offers a speed range of 1-10 km/h.
4.3 Using the Monitor and Heart Rate Function

Figure 4.2: Monitor Display and Heart Rate Sensors
This image highlights the LCD screen which shows workout data such as time, speed, distance, calories burned, and heart rate. It also shows the integrated heart rate sensors on the handlebars.
- The LCD screen displays:
- Time: Duration of your workout.
- Speed: Current belt speed in km/h.
- Distance: Total distance covered.
- Calories: Estimated calories burned.
- To monitor your heart rate, firmly grasp the heart rate sensors on the handlebars with both hands. Your pulse will be displayed on the monitor after a few seconds.
- The treadmill may include pre-set programs (e.g., P1, P2). Refer to the console for program selection and details.
4.4 Stopping the Treadmill
- Press the STOP button to gradually slow down and stop the treadmill.
- Alternatively, pull the safety key from the console for an immediate emergency stop.
- Once the belt has completely stopped, step off the treadmill.
5. Maintenance
Regular maintenance ensures the longevity and safe operation of your treadmill.
5.1 Cleaning
- Always unplug the treadmill before cleaning.
- Wipe down the console and exterior surfaces with a damp cloth. Avoid using abrasive cleaners or solvents.
- Clean the running belt and deck regularly to prevent dust and debris buildup.
5.2 Running Belt Lubrication

Figure 5.1: Running Belt Construction
This image illustrates the multi-layered design of the running belt, engineered for durability and shock absorption to protect joints during exercise.
- The running belt requires periodic lubrication to reduce friction and extend its lifespan.
- Refer to the specific lubrication instructions provided with your treadmill's lubricant. Typically, this involves lifting the belt and applying silicone lubricant to the deck underneath.
- Frequency of lubrication depends on usage; generally every 3-6 months for moderate use.
5.3 Belt Adjustment
- If the running belt starts to slip or drift to one side, it may need adjustment.
- Consult the detailed instructions in the full user manual for belt tensioning and centering procedures, which typically involve adjusting screws at the rear of the treadmill.
6. Storage
The treadmill's foldable design allows for convenient storage.
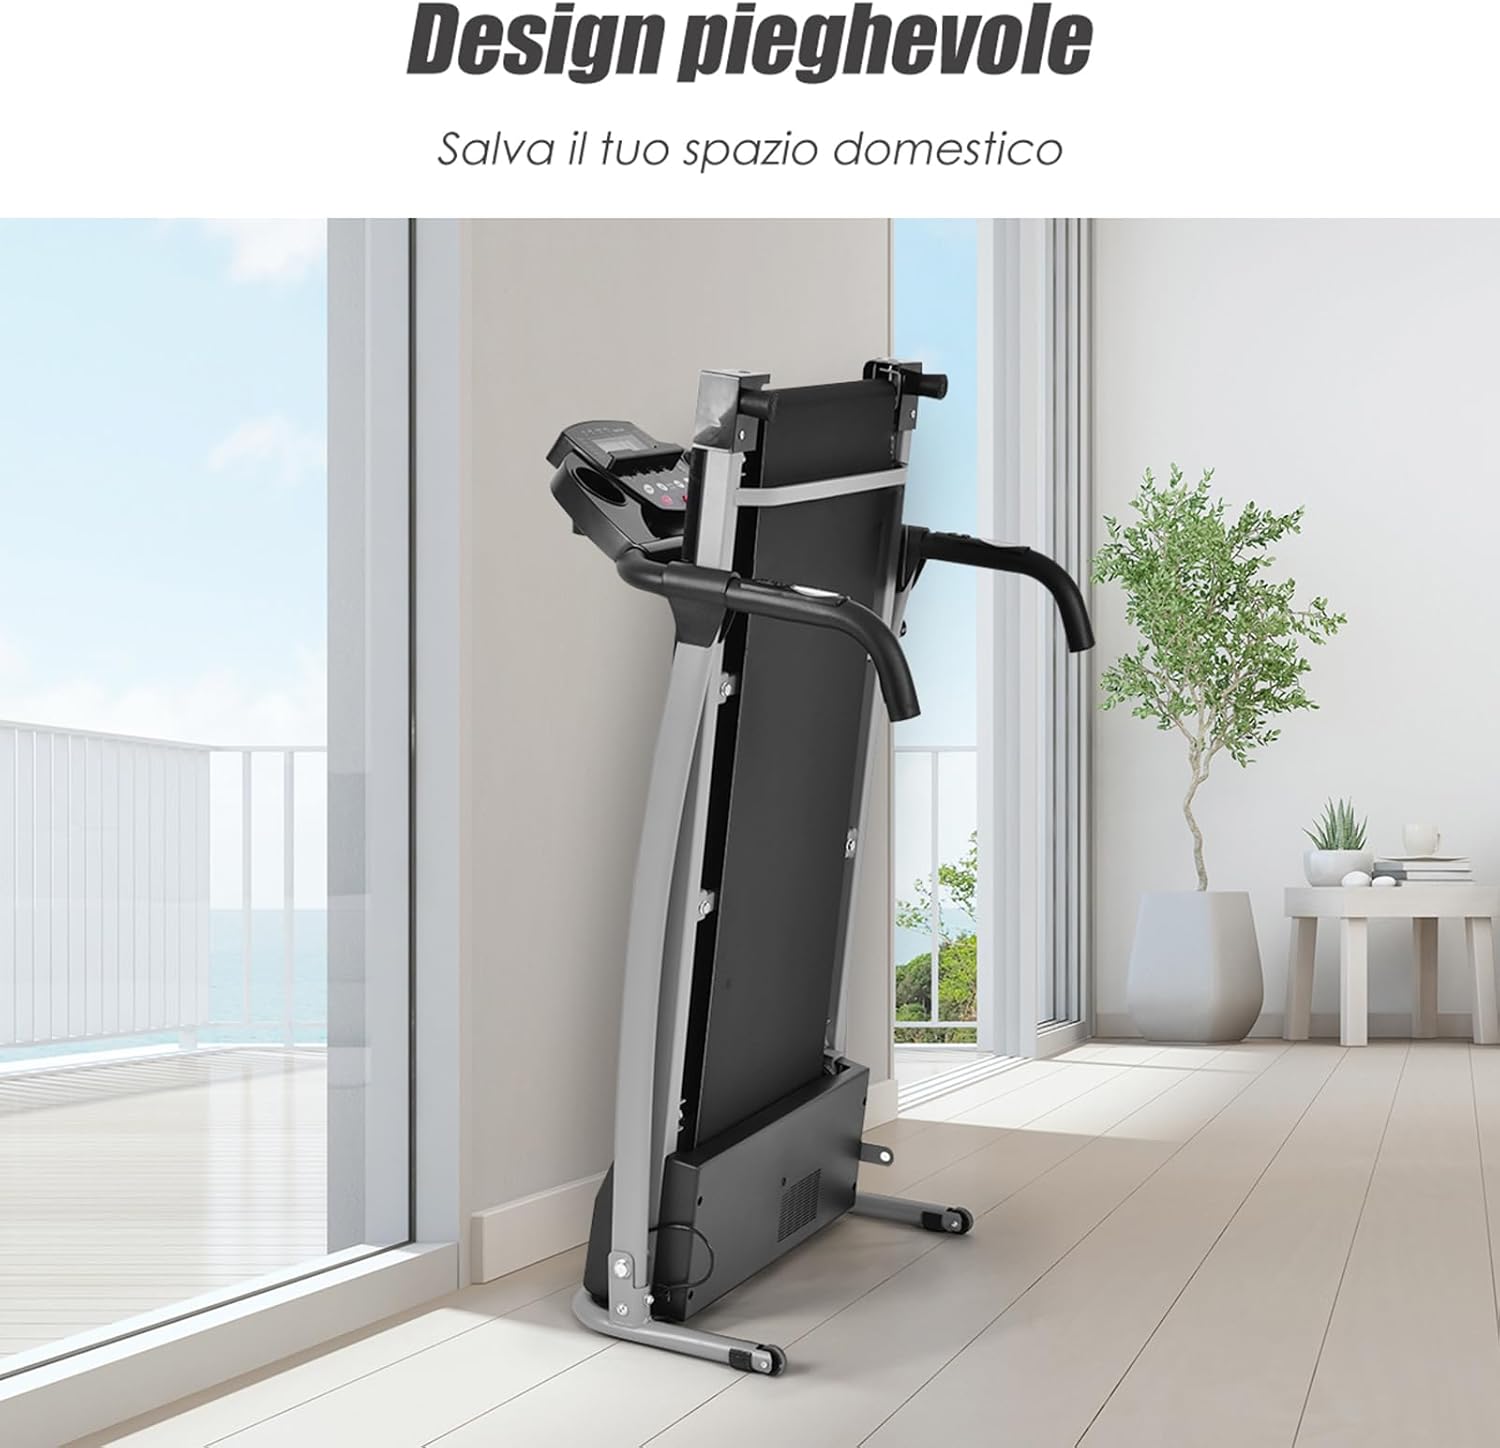
Figure 6.1: Folded Treadmill for Storage
This image shows the treadmill in its compact, folded configuration, demonstrating its space-saving design for easy storage in a home environment.
- Ensure the treadmill is turned off and unplugged.
- Lift the running deck until it clicks into the upright, locked position.
- Use the integrated transport wheels to carefully move the treadmill to your desired storage location.
- Store in a dry, cool place away from direct sunlight and moisture.
7. Troubleshooting
If you encounter issues, refer to the following common problems and solutions.
| Problem | Possible Cause | Solution |
|---|---|---|
| Treadmill does not power on. | Power cord not plugged in; power switch off; safety key not in place. | Check power cord connection; ensure power switch is ON; place safety key on console. |
| Running belt slips or stops. | Belt too loose; insufficient lubrication; motor overload. | Adjust belt tension; lubricate running deck; reduce user weight or speed. |
| Unusual noise during operation. | Loose parts; belt friction; motor issue. | Check all bolts and connections; lubricate belt; contact customer support if noise persists. |
| Heart rate monitor not working. | Hands not firmly on sensors; dry hands. | Ensure firm, consistent contact with both sensors; moisten hands slightly if dry. |
If the problem persists after attempting these solutions, please contact COSTWAY customer support.
8. Product Specifications
Technical details for the COSTWAY Foldable Electric Treadmill.

Figure 8.1: Treadmill Dimensions
This image provides detailed measurements for both the unfolded and folded states of the treadmill, including height, width, and length, along with the 100 kg weight capacity icon.
| Feature | Detail |
|---|---|
| Brand | COSTWAY |
| Color | Black |
| Product Dimensions (Unfolded) | 124 cm (L) x 69 cm (W) x 107 cm (H) |
| Product Dimensions (Folded) | 61 cm (L) x 65 cm (W) x 123 cm (H) |
| Max User Weight Capacity | 100 kg |
| Material | Polyvinyl Chloride (PVC), Alloy Steel |
| Maximum Speed | 10 km/h |
| Special Feature | Foldable Design |
| Recommended Use | Walking, Light Jogging |
| Motor Power | 500 Watts |
| Running Belt Dimensions | 36 cm (W) x 100 cm (L) |
9. Warranty and Customer Support
For warranty information or technical assistance, please contact COSTWAY customer support through their official website or the retailer where the product was purchased.
Keep your purchase receipt as proof of purchase for any warranty claims.


