
1. Introduction
The XYGStudy Pico-RGB-Matrix-P3-64x32 is a versatile RGB LED matrix digital clock designed specifically for the Raspberry Pi Pico. This device integrates a high-precision DS3231 Real-Time Clock (RTC) chip, a photosensor for automatic brightness adjustment, a buzzer for alarms, an IR receiver for remote control, and user-configurable buttons.
It offers multiple functionalities including an accurate electronic clock, temperature display, and various display modes. Comprehensive open-source code and development tutorials are provided to facilitate rapid development and customization.
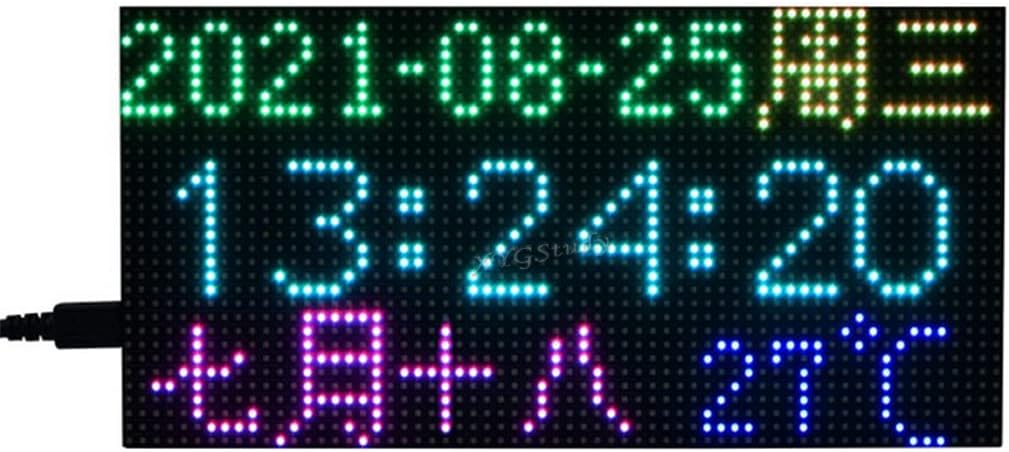
Figure 1.1: The Pico-RGB-Matrix-P3-64x32 digital clock displaying time and date.
2. Package Contents
Verify that all the following components are included in your package:
- Pico-RGB-Matrix-P3-64x32 base board x1
- RGB-Matrix-P3-64x32 LED matrix and accessories x1
- Black acrylic back panel x1
- Dark brown acrylic front panel x1
- IR remote controller x1
- Double-sided tape x1
- Screws pack x1
Refer to the list above to ensure all components are present.
3. Setup and Assembly
This section outlines the steps to assemble and prepare your Pico-RGB-Matrix-P3-64x32 for operation.
- Attach Raspberry Pi Pico: Carefully align and attach your Raspberry Pi Pico to the dedicated header on the Pico-RGB-Matrix-P3-64x32 base board. Ensure correct pin alignment to prevent damage.
- Connect LED Matrix: Connect the 64x32 RGB LED matrix panel to the base board using the provided ribbon cable. Ensure the connection is secure and correctly oriented.
- Assemble Acrylic Panels: Use the provided screws to attach the black acrylic back panel and the dark brown acrylic front panel to the assembled board and LED matrix. These panels provide protection and a finished aesthetic.
- Power Connection: Connect a 5V USB power supply to the designated USB port on the board. The device requires a stable 5V power source for optimal performance.

Figure 3.1: Illustration of Raspberry Pi Pico header compatibility and connection points.

Figure 3.2: Close-up of the DS3231 RTC chip and its backup battery holder on the board.
4. Operating Instructions
The Pico-RGB-Matrix-P3-64x32 offers a range of features for timekeeping and display. Below are instructions for its primary functions.
4.1. Basic Clock Functions
The device functions as an accurate electronic clock, displaying time, date, and day of the week. It supports both 12-hour (with AM/PM indicator) and 24-hour formats. The integrated DS3231 RTC chip ensures precise timekeeping, even when power is off, thanks to its backup battery.
4.2. Automatic Brightness Adjustment
A photosensor is integrated into the device to automatically adjust the display brightness based on ambient light conditions. This feature helps save power and improves visual comfort.
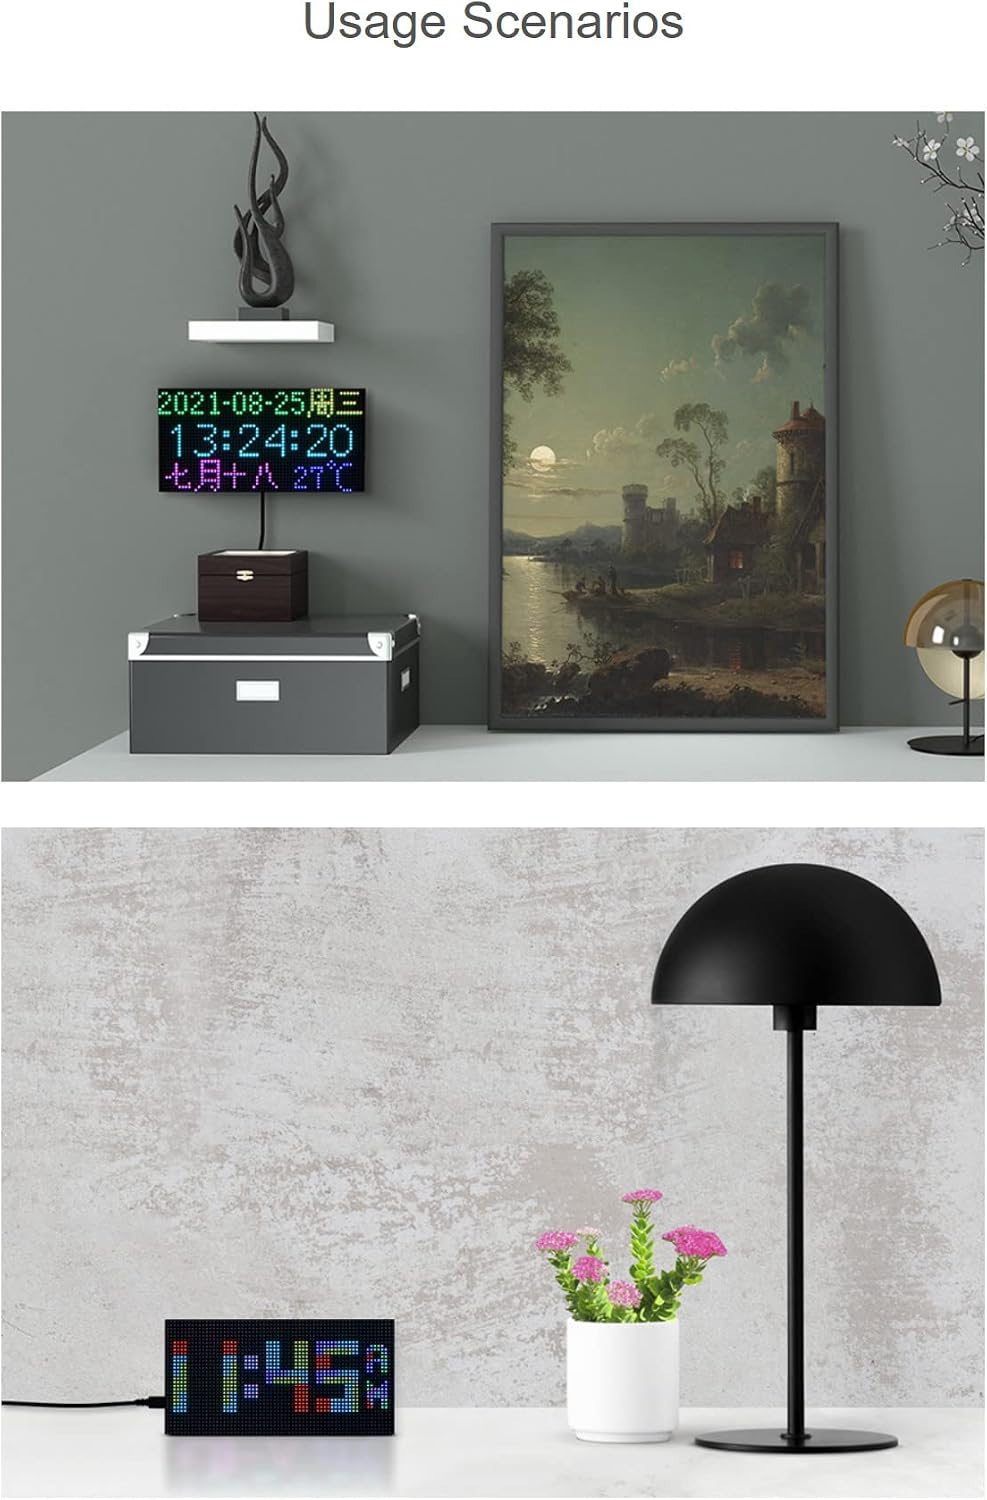
Figure 4.1: Location of the photosensor and buzzer on the main board.
4.3. Alarm and Hourly Ring
The built-in buzzer can be configured for alarm functions or to provide an hourly chime. Refer to the provided open-source code and documentation for details on setting up these features.
4.4. IR Remote Control
The device includes an IR receiver and comes with an IR remote controller for convenient operation. The remote can be used to configure settings, switch display modes, or control other programmed functions.

Figure 4.2: Using the IR remote controller to interact with the clock.
4.5. Button Configuration
The board features multiple buttons for configuration and control. These buttons can be programmed to navigate menus, adjust settings, or trigger specific functions. Consult the development tutorials for programming button functionalities.
4.6. Display Modes and Customization
The 64x32 pixel RGB LED matrix allows for displaying text, colorful images, and animations. The device supports various display effects, including those enhanced by the optional acrylic panels. Users can program custom display modes and animations.

Figure 4.3: Examples of display effects, including those achieved with different acrylic panels.

Figure 4.4: The chainable design allows for connecting multiple LED matrix panels for larger displays.
5. Specifications
Key technical specifications for the Pico-RGB-Matrix-P3-64x32:
| Feature | Detail |
|---|---|
| Part Number | Pico-RGB-Matrix-P3-64x32 |
| Display Type | RGB LED Matrix |
| Resolution | 64 × 32 pixels |
| Pixel Pitch | 3mm |
| LEDs | 2048 individual RGB LEDs |
| RTC Chip | DS3231 (High Precision) |
| Compatible Devices | Raspberry Pi Pico series |
| Input Voltage | 5V (via USB) |
| Features | Accurate electronic clock, temperature display, auto brightness adjustment, alarm, button config, IR receiver |
| Dimensions (approx.) | 192mm x 96mm (LED matrix panel) |
6. Maintenance
To ensure the longevity and optimal performance of your Pico-RGB-Matrix-P3-64x32, follow these maintenance guidelines:
- Cleaning: Gently wipe the LED matrix and acrylic panels with a soft, dry, lint-free cloth. Avoid using abrasive cleaners or solvents, which can damage the surface.
- Power Supply: Always use a stable 5V power supply. Unstable power can lead to flickering or damage to the LEDs and internal components.
- Environment: Operate the device in a dry environment, away from direct sunlight, extreme temperatures, and high humidity.
- Handling: Handle the board and LED matrix with care to avoid bending pins or damaging sensitive electronic components.
7. Troubleshooting
If you encounter issues with your Pico-RGB-Matrix-P3-64x32, consider the following common solutions:
- Display Not Lighting Up:
- Ensure the 5V power supply is connected and providing sufficient power.
- Check all cable connections, especially the ribbon cable to the LED matrix, for proper seating.
- Verify that the Raspberry Pi Pico is correctly inserted into its header.
- Incorrect Time Display:
- Ensure the RTC backup battery (CR1220) is installed and has sufficient charge.
- Check your code for correct time synchronization and RTC initialization.
- IR Remote Not Responding:
- Ensure there are no obstructions between the remote and the IR receiver.
- Check the batteries in the IR remote controller.
- Verify that the IR receiver is correctly connected and enabled in your software.
- Flickering Display:
- This can often be caused by an insufficient or unstable power supply. Try a different 5V power adapter with adequate current output.
- Check for loose connections in the LED matrix ribbon cable.
For more complex issues or detailed debugging, refer to the official development tutorials and open-source code provided by XYGStudy.
8. Support and Warranty
For technical support, detailed user guides, open-source code, and development tutorials, please contact XYGStudy directly via Amazon messaging. They will provide the necessary documentation to assist you.
Information regarding product warranty is typically provided at the point of purchase or within the detailed documentation supplied by the manufacturer. Please retain your proof of purchase for any warranty claims.
Manufacturer: XYGStudy
Model Name: Pico-RGB-Matrix-P3-64x32