
1. Introduction
Thank you for choosing the BWE Wall Mount Bathtub Faucet. This manual provides detailed instructions for the proper installation, operation, and maintenance of your new faucet. Please read this manual thoroughly before installation and retain it for future reference.
This wall-mounted faucet features a single handle for water flow and temperature control, a high-flow waterfall spout, and a durable brushed gold finish. It is designed to provide a modern aesthetic and efficient performance for your bathtub or basin.
2. Safety Information
- Always turn off the main water supply before beginning any installation or repair work.
- Wear appropriate personal protective equipment, such as safety glasses, during installation.
- If you are unsure about any part of the installation process, consult a qualified plumber.
- Ensure all local plumbing and building codes are met during installation.
- Do not overtighten connections, as this may cause damage to the faucet or plumbing.
3. Product Components
Before installation, verify that all parts are present and undamaged. The package typically includes the following items:

Figure 3.1: Included components for the BWE Wall Mount Bathtub Faucet, showing the spout, handle, rough-in valve, decorative plates, and installation hardware.
- Waterfall Spout
- Single Handle Control
- Rough-in Valve
- Decorative Plates
- Installation Hardware (screws, seals, etc.)
- Installation Instructions
4. Specifications
| Feature | Detail |
|---|---|
| Brand | BWE |
| Model Name | Bathtub Faucet |
| Model Number | 3006-BG |
| Mounting Type | Wall Mount |
| Finish Type | Brushed Gold |
| Material | Brass (faucet body), Zinc (handle) |
| Number of Handles | 1 |
| Spout Design | Waterfall |
| Product Dimensions | 8.66 x 6.22 x 4.33 inches |
| Item Weight | 5.29 pounds |
| Water Connection | NPT 1/2 (American Standard) |

Figure 4.1: Detailed dimensions of the faucet components.
5. Installation Guide
5.1. Pre-Installation
- Turn off Water Supply: Locate the main water shut-off valve and turn off the water supply to your bathroom.
- Clear Work Area: Ensure the installation area is clean and free of obstructions.
- Gather Tools: You will need a wrench, screwdriver, plumber's tape, and possibly a drill.
5.2. Rough-in Valve Installation
The rough-in valve is installed within the wall. Proper placement is crucial for the final appearance and function of the faucet.

Figure 5.1: Rough-in valve connections for hot and cold water, and the spout connector.
- Prepare Wall Opening: Create an opening in the wall according to the dimensions required for the rough-in valve. Ensure the opening allows for secure mounting and access to water lines.
- Connect Water Lines: Connect the hot and cold water supply lines to the designated NPT 1/2 inlets on the rough-in valve. Use plumber's tape on all threaded connections to prevent leaks. The hot water connection is typically on the left, and cold on the right.
- Connect Spout Line: Connect the water outlet from the rough-in valve to the spout connector. Ensure this connection is also sealed with plumber's tape.
- Secure Valve: Mount the rough-in valve securely to the wall studs or blocking using appropriate fasteners. Ensure it is level and at the correct depth relative to the finished wall surface.
- Test for Leaks: Before closing the wall, turn on the main water supply and check all connections for leaks. Address any leaks immediately.
5.3. Trim Installation
Once the rough-in valve is installed and the wall is finished, you can install the decorative trim components.
- Install Spout: Insert the waterfall spout into its connection point in the wall. Secure it with the provided hardware.
- Install Handle Plate: Place the decorative plate for the handle over the rough-in valve opening. Secure it to the wall.
- Install Handle: Attach the single handle to the valve stem, ensuring it operates smoothly. Secure with the set screw.
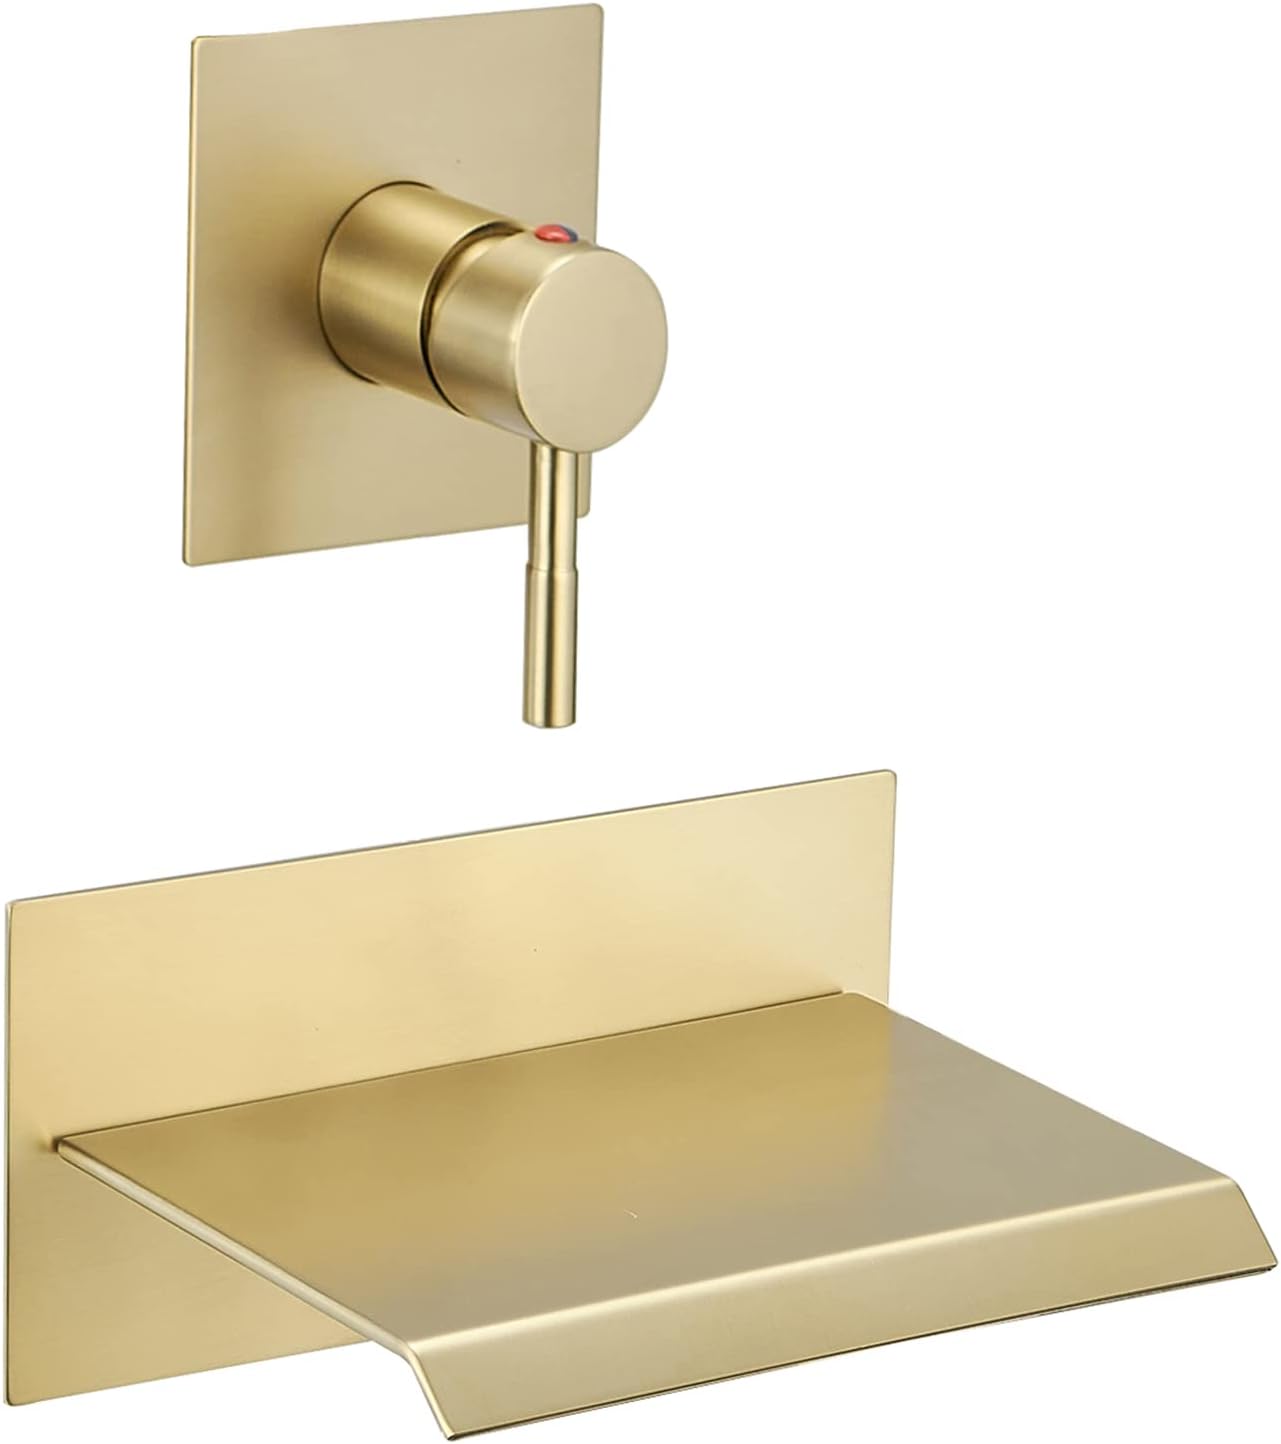
Figure 5.2: The BWE Wall Mount Bathtub Faucet, fully installed.
6. Operating Instructions
The BWE Wall Mount Bathtub Faucet features a single lever handle for intuitive control of water flow and temperature.
- Turning On/Off: Lift the handle to turn on the water flow. Push the handle down to turn off the water.
- Adjusting Water Flow: The further you lift the handle, the greater the water flow from the waterfall spout.
- Adjusting Temperature: Rotate the handle left for hotter water and right for colder water. The handle typically has markings (red for hot, blue for cold) to indicate direction.

Figure 6.1: Faucet in operation, demonstrating the waterfall effect.
7. Care and Maintenance
To maintain the finish and performance of your BWE faucet, follow these care instructions:
- Regular Cleaning: Clean the faucet regularly with a soft cloth and mild soap or a non-abrasive cleaner specifically designed for bathroom fixtures.
- Avoid Harsh Cleaners: Do not use abrasive cleaners, scouring pads, ammonia-based cleaners, or cleaners containing bleach, as these can damage the brushed gold finish.
- Dry After Use: Wipe the faucet dry after each use to prevent water spots and mineral buildup.
- Aerator Maintenance: If water flow decreases, the spout may have mineral buildup. Consult a plumber for cleaning or replacement of internal components if necessary.
8. Troubleshooting
Below are common issues and their potential solutions:
| Problem | Possible Cause | Solution |
|---|---|---|
| Low Water Flow | Partially closed shut-off valve; mineral buildup in spout; clogged water lines. | Ensure shut-off valves are fully open. Clean the spout. Check water supply lines for obstructions. |
| Leaking from Spout | Worn cartridge; debris in valve. | Replace the ceramic cartridge. Flush the valve to remove debris. |
| Leaking at Connections | Loose connections; worn seals/O-rings; insufficient plumber's tape. | Tighten connections. Replace seals/O-rings. Reapply plumber's tape. |
| Water Temperature Not Adjusting | Faulty cartridge; incorrect hot/cold line connection. | Replace the ceramic cartridge. Verify hot and cold lines are connected correctly. |
If you encounter issues not listed here or if the suggested solutions do not resolve the problem, please contact BWE customer support.
9. Warranty and Support
BWE products are manufactured to high-quality standards and are backed by a manufacturer's warranty. For specific warranty details, please refer to the warranty card included with your product or visit the official BWE website.
For technical assistance, replacement parts, or any other inquiries, please contact BWE customer support. You can find contact information on the BWE brand store or product packaging.
Visit the official BWE Store for more products and support: BWE Store on Amazon


