
1. Introduction
This instruction manual provides essential information for the safe and efficient use of your continuus RCA 13-inch Clearview HDTV, Model J13SE820. Please read this manual thoroughly before operating the television and retain it for future reference.
The continuus RCA 13-inch Clearview HDTV features a unique transparent design, a 720p LED display, and multiple connectivity options including HDMI and VGA, making it suitable for various entertainment and computing needs.
2. Package Contents
Verify that all items are present in the package:
- RCA 13-inch Clearview HDTV (Model J13SE820)
- Full Function Remote Control
- Power Adapter
- User Manual (this document)
3. Setup
3.1 Unpacking and Placement
Carefully remove the television from its packaging. Place the TV on a stable, flat surface. Ensure adequate ventilation around the unit. Avoid placing it in direct sunlight or near heat sources.
3.2 Connecting the Power
Connect the power adapter to the DC input port on the television, then plug the adapter into a standard electrical outlet.
3.3 Input Connections
The RCA 13-inch Clearview HDTV offers various input ports for connecting external devices.

Image: Rear view of the television with labeled input ports. This image displays the back panel of the TV, highlighting the Service Jack, HDMI, VGA, PC Audio, Component (YPbPr), RF, and Headphone ports. The side panel shows RG-6 Coax, Video In, and Audio In (L & R).
- HDMI Port: Connect HDMI-enabled devices such as Blu-ray players, gaming consoles, or streaming devices.
- VGA Port: Connect a computer or laptop to use the TV as a monitor.
- RF (Antenna) Input: Connect an antenna or cable TV signal for over-the-air or basic cable channels.
- Component (YPbPr) Input: Connect older video devices using component cables.
- Video In (Composite): Connect devices using a single yellow RCA video cable.
- Audio In (L & R): Connect audio from external devices using red and white RCA cables.
- Headphone Jack: Connect headphones for private listening.
3.4 Remote Control Setup
The included remote control requires two AA batteries (sold separately). Open the battery compartment on the back of the remote and insert the batteries, ensuring correct polarity (+/-). Close the compartment.
Image: The transparent remote control. This image shows the full function remote control, which matches the transparent design of the television.
4. Operating Instructions
4.1 Powering On/Off
Press the POWER button on the remote control or on the top panel of the TV to turn the unit on or off.

Image: Front view of the television. This image shows the front of the RCA 13-inch Clearview HDTV, displaying the screen and the control buttons (Power, Source, Menu, Vol-, Vol+, Ch-, Ch+) located on the top edge of the transparent casing.
4.2 Selecting an Input Source
Press the SOURCE button on the remote or TV to cycle through available input sources (HDMI, VGA, RF, Component, Video In). Select the input corresponding to your connected device.
4.3 Adjusting Volume and Channels
- Use the VOL+ and VOL- buttons to adjust the volume level.
- Use the CH+ and CH- buttons to change channels when using the RF input.
- Press the MUTE button on the remote to temporarily silence the audio.
4.4 Menu Navigation
Press the MENU button on the remote or TV to access the on-screen display (OSD) menu. Use the arrow buttons to navigate and the OK button to confirm selections. Common menu options include:
- Picture Settings: Adjust brightness, contrast, color, and sharpness.
- Sound Settings: Adjust bass, treble, balance, and select sound modes. Ensure audio settings are configured for optimal sound quality.
- Channel Scan: Automatically scan for available channels when using an antenna.
- Time Settings: Set current time and sleep timer.
4.5 Using as a Second Monitor
Connect your computer or laptop to the TV using an HDMI or VGA cable. Select the corresponding input source on the TV. You may need to adjust display settings on your computer to extend or duplicate your desktop.
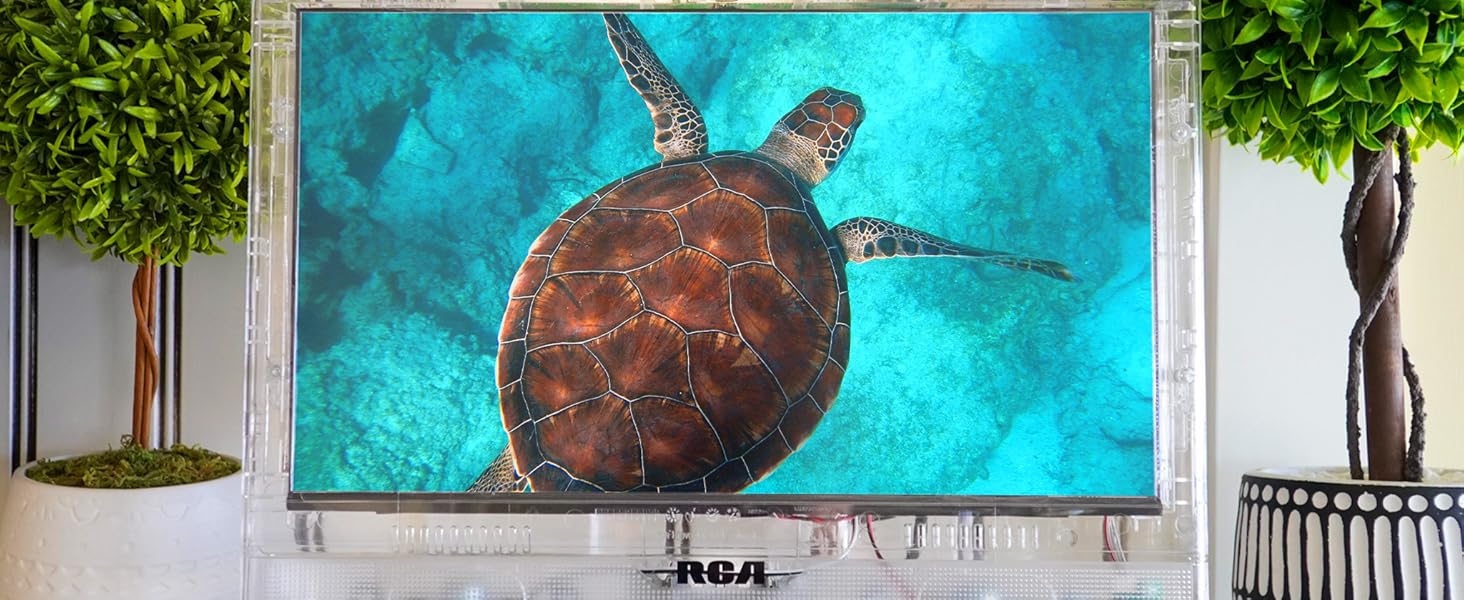
Image: Television used as a second monitor. This image shows the RCA Clearview HDTV connected to a laptop, displaying an extended desktop, demonstrating its functionality as a secondary display.
4.6 Third-Party Streaming
While this television is not a smart TV, you can easily convert it into one by connecting a third-party streaming device (e.g., Roku, Amazon Fire Stick) to an available HDMI port. This allows access to various streaming services.
Image: Television displaying streaming content. This image illustrates the television screen showing a grid of streaming service icons, indicating its compatibility with external streaming devices.
5. Maintenance
5.1 Cleaning the Screen and Casing
To clean the screen, gently wipe it with a soft, lint-free cloth. For stubborn marks, dampen the cloth with a small amount of screen cleaner. Avoid using harsh chemicals or abrasive materials. The transparent casing can be cleaned with a soft, damp cloth.
5.2 General Care
- Unplug the TV from the power outlet before cleaning or when not in use for extended periods.
- Do not block ventilation openings.
- Avoid exposing the TV to extreme temperatures or humidity.
6. Troubleshooting
If you encounter issues with your television, refer to the following common problems and solutions:
| Problem | Possible Cause | Solution |
|---|---|---|
| No Power | Power cord disconnected; outlet not working. | Ensure power cord is securely connected. Test the outlet with another device. |
| No Picture/Poor Picture Quality | Incorrect input source; loose cable connection; viewing angle. | Select the correct input source. Check all cable connections. Adjust viewing angle for optimal clarity. |
| No Sound/Poor Sound Quality | Volume too low; Mute activated; incorrect audio settings; external speaker issue. | Increase volume. Deactivate Mute. Check audio settings in the menu. If using external speakers, ensure they are connected and powered correctly. |
| Remote Control Not Working | Dead batteries; obstruction; remote not pointed at TV. | Replace batteries. Remove any obstructions between remote and TV. Point remote directly at the TV's sensor. |
If problems persist after attempting these solutions, please contact customer support.
7. Specifications
| Feature | Specification |
|---|---|
| Brand | continuus |
| Model Number | J13SE820-21 |
| Screen Size | 13 Inches |
| Display Technology | LED |
| Resolution | 720p |
| Refresh Rate | 60 Hz |
| Aspect Ratio | 1.77:1 |
| Connectivity Technology | HDMI, VGA, Headphone |
| Product Dimensions (D x W x H) | 5 x 15.3 x 12.5 inches |
| Item Weight | 4.34 pounds |
| Special Feature | Clear Body |
| Included Components | Speakers |

Image: Dimensional diagram of the television. This diagram illustrates the physical measurements of the RCA 13-inch Clearview HDTV, including its width (13.5"), height (9.8"), screen diagonal (13.25"), base width (7.875"), and base height (1.5").
8. Warranty Information
Specific warranty details for the continuus RCA 13-inch Clearview HDTV (Model J13SE820) are typically provided with your purchase documentation or can be obtained directly from the manufacturer. Please refer to the warranty card included in your product packaging or visit the continuus website for the most current information.
9. Support
For technical assistance, troubleshooting beyond this manual, or general inquiries, please contact continuus customer support. Our team is available to provide assistance via phone or email.
You can find contact information on the official continuus website:

Image: QR code for customer support. This QR code provides a direct link to the continuus contact page for customer support.