
1. Product Overview
The Bosch BM2018 5/8" x 13" Carbide Tip Masonry Drill Bit is engineered for efficient drilling in masonry, brick, and block materials. This bit is specifically designed for use with rotary drills only and is not suitable for hammer drills. Its single-flute design facilitates fast drilling and optimized material removal, allowing for use in high-speed modes with cordless drills.
Key features include:
- Fast Spiral Rotary Masonry Bit: Designed for drilling in masonry, block, and brick with a rotary drill, ensuring fast drilling and extended life.
- Flute Design: Provides rapid material removal during operation.
- Carbide Head: Delivers long life in demanding masonry applications.
- Precision Manufacturing: Engineered to minimize bit walking for clean, accurate starts.
- High-Speed Mode Compatibility: Optimized for performance in cordless high-speed drilling modes.
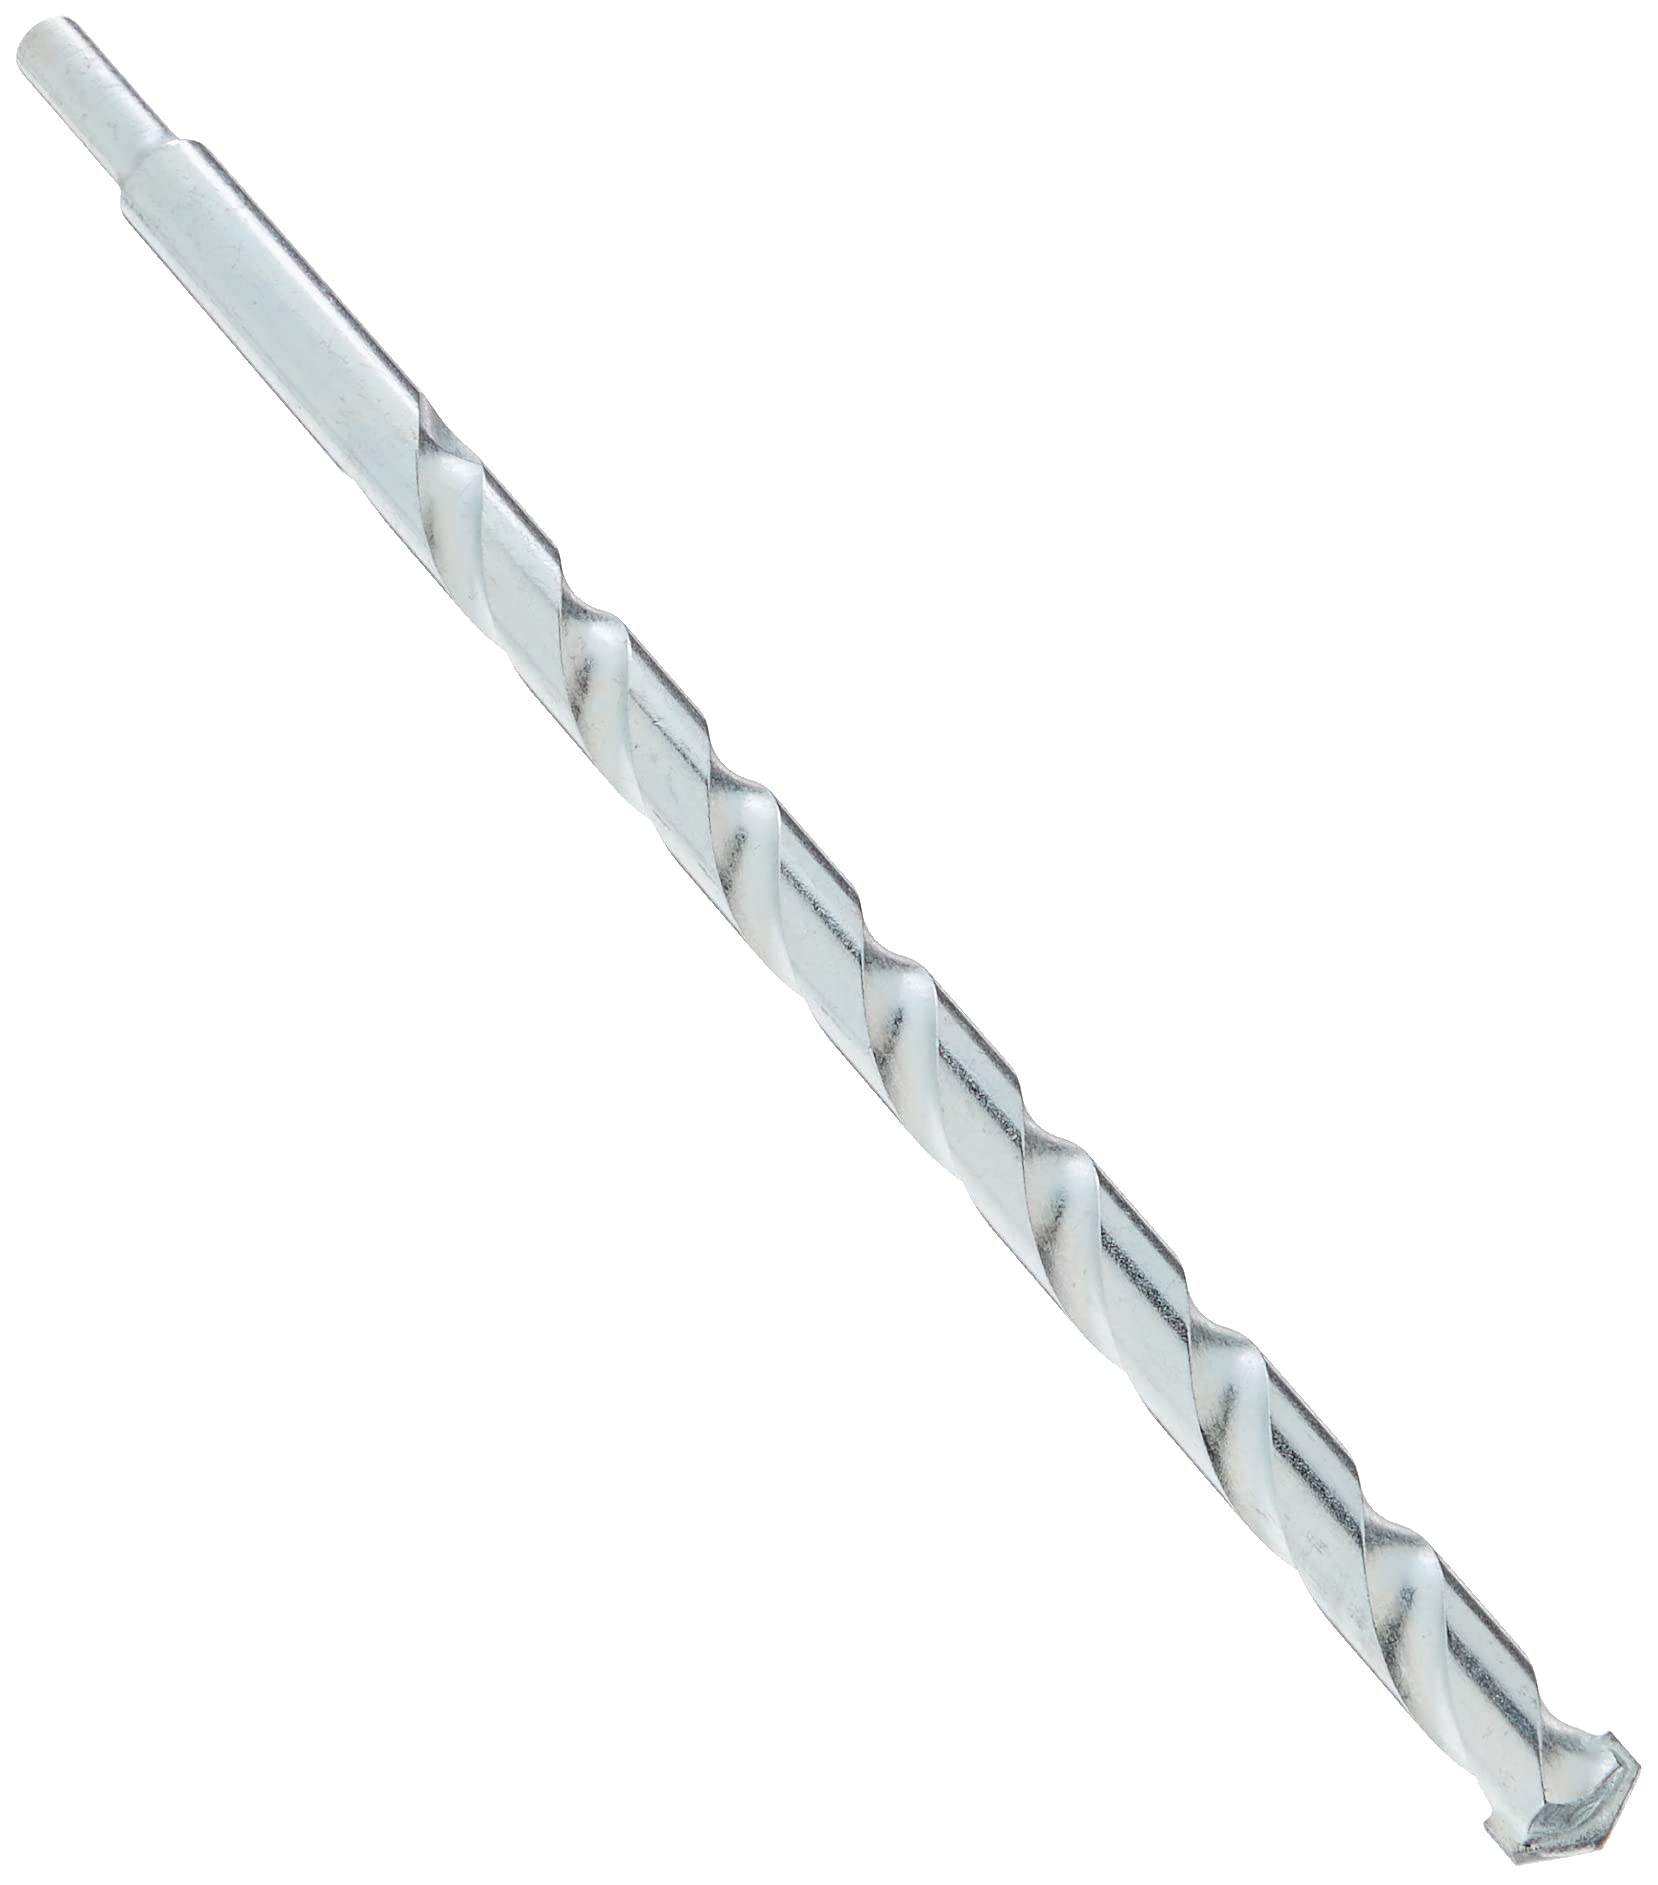
Image 1.1: The BOSCH BM2018 5/8" x 13" Carbide Tip Masonry Drill Bit.
2. Safety Information
Always prioritize safety when operating power tools. Failure to follow these safety guidelines may result in serious injury.
- Wear Personal Protective Equipment (PPE): Always wear safety glasses or goggles, hearing protection, and appropriate work gloves. A dust mask is recommended when drilling masonry.
- Secure Workpiece: Ensure the material being drilled is securely clamped or held to prevent movement during operation.
- Use Correct Drill Type: This bit is designed for rotary drills only. Do not use with hammer drills, as this can damage the bit and the drill, and may cause injury.
- Inspect Bit Before Use: Check the drill bit for any signs of damage, cracks, or excessive wear. Do not use damaged bits.
- Proper Ventilation: Work in a well-ventilated area to avoid inhaling dust, especially when drilling concrete or masonry.
- Avoid Overheating: Allow the drill bit to cool periodically during prolonged use to prevent overheating, which can reduce bit life and performance.
- Keep Hands Clear: Never touch the rotating drill bit or the area being drilled during operation.
- Unplug Before Changing Bits: Always disconnect the drill from the power source before changing bits or performing any maintenance.

Image 2.1: Always use appropriate safety measures, including dust extraction, when drilling.
3. Setup
Proper setup ensures safe and effective drilling.
- Select the Correct Drill: Ensure you are using a rotary drill. This bit is not for hammer drills.
- Unplug the Drill: Before inserting or removing the drill bit, always ensure the drill is unplugged from the power source or its battery is removed.
- Open the Chuck: Rotate the drill chuck counter-clockwise to open the jaws wide enough to accept the drill bit shank.
- Insert the Bit: Insert the shank of the BM2018 masonry drill bit into the chuck. Ensure it is inserted as far as possible without the flutes touching the chuck jaws.
- Tighten the Chuck: Rotate the chuck clockwise to securely tighten the jaws around the drill bit shank. For keyless chucks, hand-tighten firmly. For keyed chucks, use the chuck key to tighten securely, ensuring all three jaws grip the bit evenly.
- Verify Security: Give the drill bit a gentle tug to confirm it is firmly seated and will not slip during operation.
4. Operating Instructions
Follow these steps for effective drilling in masonry, brick, and block.
- Mark the Drilling Location: Clearly mark the precise spot where you intend to drill.
- Position the Drill: Hold the drill firmly with both hands, ensuring a stable grip. Align the drill bit with the marked spot at a 90-degree angle to the surface.
- Start Slowly: Begin drilling at a slow speed to create a pilot indentation and prevent the bit from walking. The precision manufacturing of this bit helps reduce walking.
- Increase Speed and Pressure: Once the bit has engaged the material, gradually increase the drill speed. Apply steady, moderate pressure. Avoid excessive force, which can cause the bit to overheat or break.
- Maintain Consistent Speed: For optimal performance, maintain a consistent drilling speed. This bit is designed for efficient material removal, even in high-speed modes.
- Clear Debris: Periodically withdraw the drill bit slightly from the hole to allow debris to clear from the flutes. This prevents clogging and reduces heat buildup.
- Complete the Hole: Continue drilling until the desired depth is reached.
- Withdraw the Bit: Once the hole is complete, slowly withdraw the drill bit from the hole while the drill is still rotating.

Image 4.1: The BM2018 drill bit in action, drilling into a brick surface.
5. Maintenance
Proper maintenance extends the life and performance of your drill bit.
- Cleaning: After each use, clean the drill bit to remove dust and debris. A stiff brush or compressed air can be used.
- Lubrication (Optional): For very hard materials or prolonged drilling, a small amount of cutting fluid or water can be used to cool the bit and reduce friction. Ensure the drill is rated for wet drilling if using water.
- Storage: Store the drill bit in a dry place to prevent rust. Keep it in its original packaging or a drill bit case to protect the carbide tip from damage.
- Inspection: Regularly inspect the bit for signs of wear, dullness, or damage. A dull bit will drill slowly and generate excessive heat. Replace worn or damaged bits immediately.
6. Troubleshooting
Here are some common issues and their solutions:
- Bit is drilling slowly or not cutting:
- The bit may be dull or worn. Replace the bit.
- Insufficient pressure is being applied. Increase steady pressure.
- Debris is clogging the flutes. Withdraw the bit periodically to clear debris.
- Bit is overheating:
- Excessive pressure or speed. Reduce pressure or speed.
- Lack of debris removal. Clear flutes more frequently.
- Prolonged continuous drilling. Allow the bit to cool down.
- Bit is walking or slipping at the start:
- Not starting at a slow speed. Begin drilling at a very slow speed until the bit bites into the material.
- Insufficient grip on the drill. Ensure a firm, two-handed grip.
- Excessive vibration:
- Bit is bent or damaged. Replace the bit.
- Bit is not properly secured in the chuck. Re-tighten the chuck.
7. Specifications
| Specification | Detail |
|---|---|
| Brand | Bosch |
| Model Number | BM2018 |
| Size | 5/8" x 13" |
| Material | Carbide |
| Cutting Diameter | 0.63 Inches |
| Shank Type | Straight |
| Tool Flute Type | Spiral |
| Number of Flutes | 1 |
| Surface Recommendation | Brick, Masonry |
| Item Dimensions (L x W x H) | 13.78 x 1.99 x 1.22 inches |
| Item Weight | 0.01 ounces |
| UPC | 000346659504 |
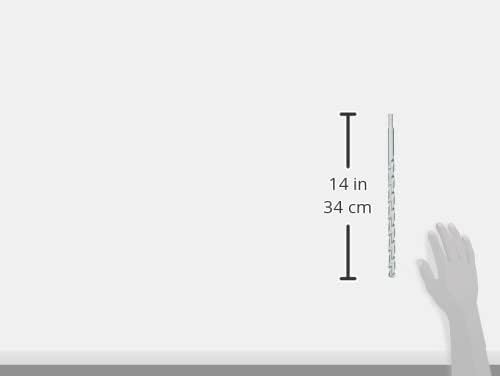
Image 7.1: Dimensional representation of a drill bit, indicating length.
8. Warranty and Support
For information regarding product warranty, returns, or technical support, please refer to the official Bosch website or contact Bosch customer service directly. Keep your purchase receipt as proof of purchase.
Bosch Customer Service:
- Visit the official Bosch website for contact details and support resources.
- Refer to the packaging for any specific warranty cards or contact information.