
1. Product Overview
The Yottamaster Aluminum 2 Bay RAID Hard Drive Enclosure (Model DR2RU3) is designed to house two 3.5-inch SATA HDDs, offering versatile storage solutions with support for RAID 0, RAID 1, and SPAN modes. This enclosure provides high-speed data transfer via USB 3.1 Gen1 and features an all-aluminum structure for efficient heat dissipation. It is compatible with Windows, Linux, and macOS operating systems.

Front-angled view of the Yottamaster Aluminum 2 Bay RAID Hard Drive Enclosure, showcasing its sleek silver aluminum design and perforated front panel for ventilation.
2. Safety Precautions
- Ensure the enclosure is placed on a stable, flat surface to prevent accidental falls.
- Do not expose the device to water, moisture, or extreme temperatures.
- Use only the provided power adapter to prevent damage to the device.
- Avoid opening the enclosure or attempting repairs yourself, as this may void the warranty and cause damage.
- Always safely eject the device from your computer before disconnecting the USB cable to prevent data loss or corruption.
3. Package Contents
Please verify that all items are present in the package:
- Yottamaster 2 Bay RAID Hard Drive Enclosure
- 12V 4A Power Adapter
- USB 3.1 Gen1 Type-B to Type-A Cable
- Screws for HDD installation
- Screwdriver
- User Manual (this document)
4. Physical Components
Familiarize yourself with the key components of the enclosure:
- Front Panel: Perforated design for airflow.
- Rear Panel: Contains power input, USB 3.1 Gen1 Type-B port, RAID mode DIP switches, and power button.
- Drive Trays: Two removable trays for 3.5-inch HDDs.
- LED Indicators: Indicate power status and drive activity.

Side-by-side view of the enclosure's front and rear panels, emphasizing the all-aluminum structure and extensive cooling holes designed for efficient heat dissipation.
5. Hard Drive Installation Guide
Follow these steps to install your 3.5-inch SATA HDDs into the enclosure:
- Prepare the Enclosure: Unscrew the bottom screw on the rear panel and gently pull the front panel open.
- Remove Drive Trays: Carefully pull out the empty drive trays from the enclosure.
- Install Hard Drives: Place your 3.5-inch SATA HDDs onto the trays. Align the screw holes on the HDD with those on the tray. Secure the hard drive to the tray using the provided screws (two screws on each side of the tray).

A 3.5-inch hard drive secured onto a drive tray with screws, illustrating the mounting process.
- Insert Trays: Slide the loaded trays back into the enclosure, ensuring the correct orientation for each tray.
- Close Enclosure: Close the front panel and tighten the bottom screw on the rear panel to secure it.
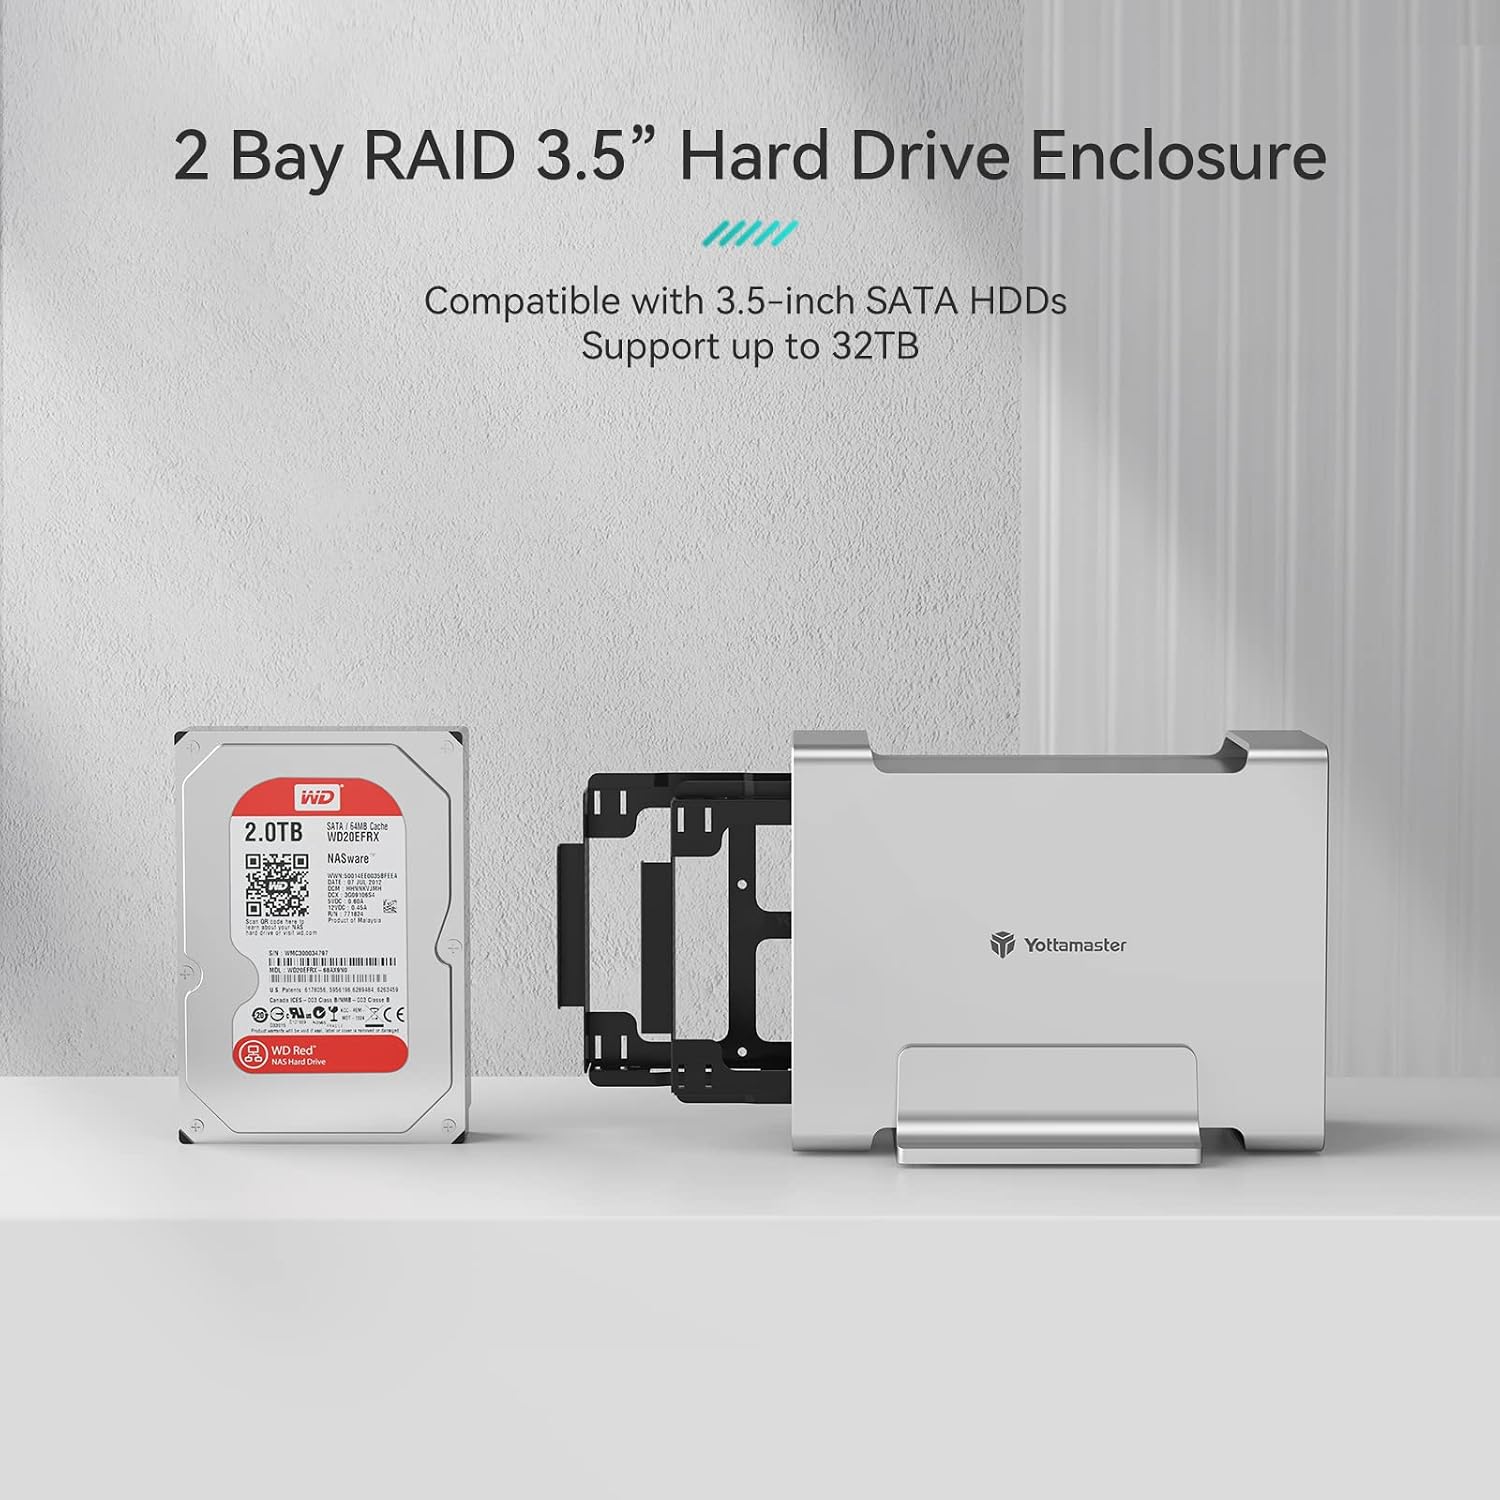
The Yottamaster 2-bay enclosure next to a 3.5-inch SATA hard drive, demonstrating its compatibility and capacity for up to 32TB. For more information on compatible drives, visit http://qr.wdc.com/wdred.
6. RAID Configuration
The Yottamaster DR2RU3 supports multiple RAID modes to suit your data storage needs. The RAID mode is set using DIP switches located on the rear panel of the enclosure. Always configure RAID modes before initializing or formatting your drives. Changing RAID modes after data has been written will result in data loss.
- Individual Mode (PM - Port Multiplier): Each drive is recognized as a separate volume.
- RAID 0 (Striping): Combines both drives into a single large volume, maximizing speed and capacity. No data redundancy.
- RAID 1 (Mirroring): Creates an exact copy of data on both drives, providing data redundancy. Capacity is limited to the size of the smallest drive.
- SPAN (JBOD - Just a Bunch Of Disks): Combines both drives into a single large volume sequentially. No data redundancy.
Refer to the diagram below for the correct DIP switch settings for each RAID mode:

Diagram showing the DIP switch settings for Individual, RAID 0, RAID 1, and SPAN modes on the Yottamaster enclosure.

A table comparing RAID 0, RAID 1, and SPAN modes, showing their impact on storage capacity, data security, and speed, with a laptop and the enclosure in the background.
7. Operation
7.1 Connecting to Your Computer
- Ensure the RAID mode is set correctly using the DIP switches.
- Connect the power adapter to the enclosure's power input and plug it into a power outlet.
- Connect the USB 3.1 Gen1 cable from the enclosure's Type-B port to a USB port on your computer.
- Press the power button on the rear panel to turn on the enclosure. The LED indicators will illuminate.

Close-up view of the rear of the enclosure with power and USB cables connected, highlighting the 48W power delivery.

Image illustrating the USB 3.1 Gen1 interface of the Yottamaster enclosure, highlighting its 5Gbps data transfer speed and compatibility with Windows, Linux, and macOS.
7.2 Drive Initialization and Formatting
For new hard drives, you will need to initialize and format them through your operating system's Disk Management (Windows) or Disk Utility (macOS) before use. Refer to your operating system's documentation for detailed instructions on this process.
7.3 Auto-Sleep Function
The enclosure features an auto-sleep function to save energy and extend the lifespan of your hard drives. If there is no data exchange within 10 minutes, the hard drives will enter sleep mode. They will automatically wake up upon activity.
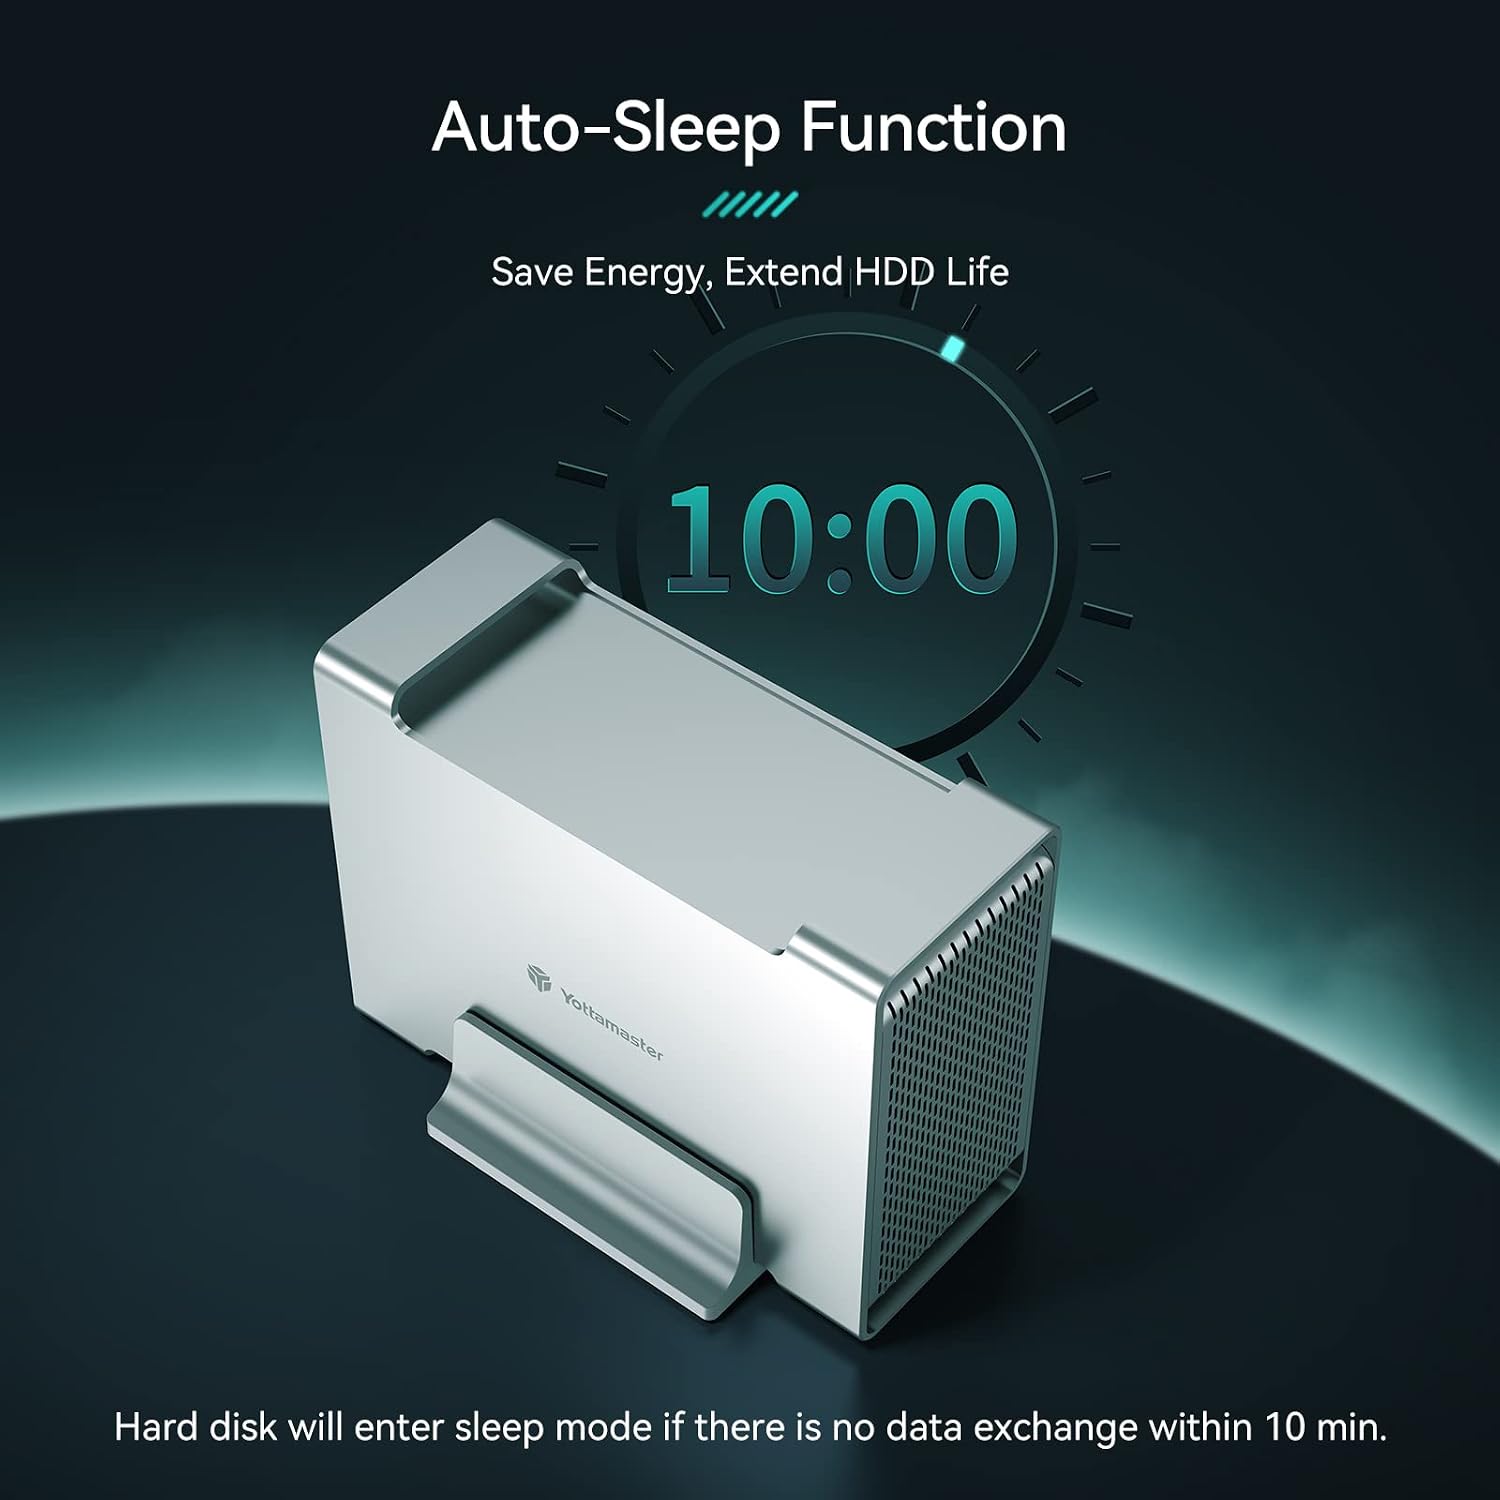
An illustration of the enclosure's auto-sleep function, which activates after 10 minutes of inactivity to save energy and extend HDD lifespan.
8. Maintenance
- Cleaning: Use a soft, dry cloth to clean the exterior of the enclosure. Do not use liquid cleaners or aerosols.
- Ventilation: Ensure the enclosure's ventilation holes are not obstructed to maintain optimal airflow and prevent overheating.
- Firmware Updates: Periodically check the Yottamaster official website for any available firmware updates to ensure optimal performance and compatibility.
9. Troubleshooting
9.1 Enclosure Not Recognized by Computer
- Ensure all cables (power and USB) are securely connected.
- Try connecting to a different USB port on your computer.
- Test with a different USB cable if available.
- Verify that the hard drives are properly installed in the trays.
- Check your computer's Disk Management (Windows) or Disk Utility (macOS) to see if the drives are detected but uninitialized/unformatted.
9.2 Drives Entering Sleep Mode Too Quickly
The enclosure has an auto-sleep function. If you wish to disable or adjust the standby timer, you can do so using a specific firmware tool. Please refer to the video below for detailed instructions:
This video demonstrates how to disable or adjust the auto-sleep function on your Yottamaster Multi-bay HDD Enclosure using the provided firmware tool. It guides users through downloading the firmware, opening the tool, and modifying the standby timer setting.
9.3 Data Transfer Speed Issues
- Ensure you are connected to a USB 3.0/3.1 port on your computer. Older USB 2.0 ports will result in slower speeds.
- Verify the health and speed of your installed hard drives.
- Check for any background processes on your computer that might be consuming bandwidth.
10. Specifications
| Feature | Detail |
|---|---|
| Model Number | DR2RU3 (3.5" USB3.0 RAID) |
| Compatible Devices | Laptop, Desktop Computers |
| Hard Disk Form Factor | 3.5 Inches SATA HDD |
| Max Number of Supported Devices | 2 |
| Data Transfer Rate | 6 Gigabits Per Second (USB 3.1 Gen1) |
| Hardware Interface | SATA 3.0 Gb/s, USB 3.1 Gen1 |
| Material | Aluminum |
| Memory Storage Capacity | Up to 32 TB (16TB per bay) |
| RAID Modes Supported | RAID 0, RAID 1, SPAN (JBOD), PM (Individual) |
| Item Weight | 3.63 pounds |
| Package Dimensions | 11.34 x 7.87 x 4.72 inches |
| Hardware Platform | Windows, macOS, Linux |
11. Warranty and Support
Yottamaster products typically come with a manufacturer's warranty. For specific warranty terms, technical support, or to download the latest drivers and firmware, please visit the official Yottamaster website or refer to the included warranty card.
An official user guide in PDF format is also available for download: Yottamaster DR2RU3 Installation Manual (PDF).


