
GODOX V860III-N for Nikon
Contents
Godox V860III-N Flash for Nikon User Manual
Model: V860III-N | Brand: GODOX
Introduction
This manual provides comprehensive instructions for the safe and effective operation of your Godox V860III-N Flash for Nikon. Please read this manual thoroughly before use to ensure optimal performance and longevity of your device.
What's in the Box

Image: The complete package contents of the Godox V860III-N Flash, including the flash unit, battery, charger, mini stand, USB cable, and protection case.
- 1x Godox V860III Flash for Nikon
- 1x Mini Stand
- 1x Charger
- 1x Lithium Battery (7.2V/2980mAh)
- 1x Battery Charger
- 1x USB Cable
- 1x Protection Case
- 1x Instruction Manual (this document)
- 1x Cleaning Cloth
Key Features
Modeling Light for Pre-Visualization
The Godox V860III-N features an integrated modeling light, allowing users to preview the light effect before shooting. This light offers 10 levels of dimmable brightness for precise adjustment and improved lighting technique visualization.

Image: Close-up of the V860III-N's modeling light, demonstrating its 10-level dimmable brightness for pre-visualization.
Optimal Battery Performance
Equipped with a 7.2V/2980mAh Li-ion battery, the V860III-N provides a fast 1.5-second recycle time and supports over 480 full-power flashes. The battery is interchangeable with the Godox V1 flash, offering convenience for users with multiple Godox devices.

Image: Illustration showing the V860III-N's battery, highlighting its 1.5s recycle time and 480 full-power flashes per charge.
Various Flash Modes for Unlimited Creativity
The V860III-N supports a comprehensive range of flash modes including TTL (Through-The-Lens), Manual, and Multi-flash. It also features High-Speed Sync (HSS) up to 1/8000s, Flash Exposure Compensation (FEC), Flash Exposure Bracketing (FEB), and Rear Curtain Sync, enabling diverse photographic techniques.

Image: Examples of creative photography achieved using various flash modes of the V860III-N, including high-speed sync for capturing motion.
Quick Switch for Smooth Control
A dedicated quick switch allows for instant toggling between TTL and Manual flash modes, streamlining your workflow during dynamic shooting situations.
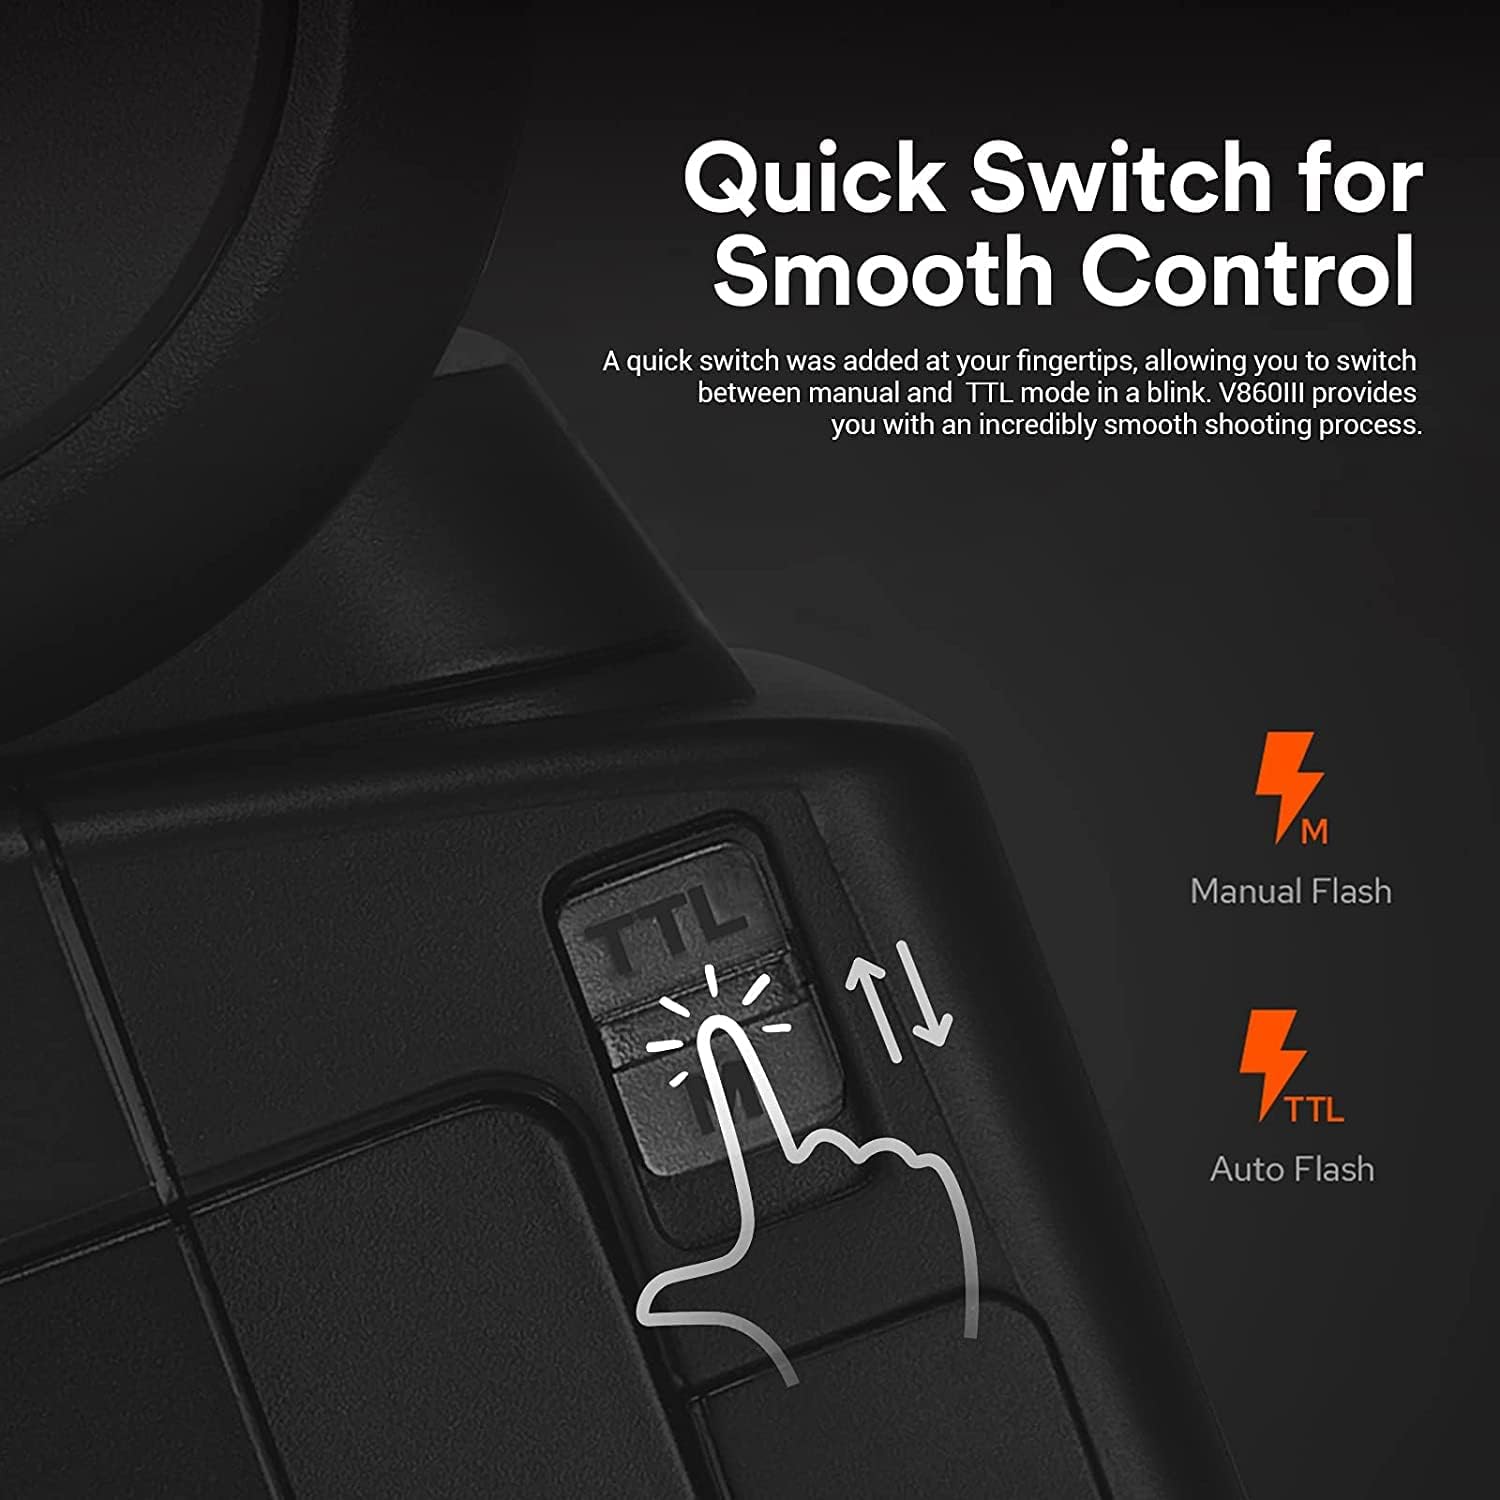
Image: Close-up of the quick switch button on the V860III-N, indicating its function for switching between Manual and TTL flash modes.
Quick Release Lock
The updated quick-release lock mechanism ensures the speedlight is securely attached to your camera's hot shoe. This lever-based design allows for quick and easy mounting and dismounting.

Image: Detail of the quick-release lock mechanism on the V860III-N, designed for secure and fast attachment to a camera.
Built-in Godox 2.4G Wireless X System
The V860III-N integrates both transmitter and receiver functions within the Godox 2.4G wireless X system. This allows it to operate as a master unit with other Godox flashes (e.g., AD200 Pro, V1, AD300Pro) or as a slave unit triggered by Godox X1T, XPro, X2T, or X3 triggers.

Image: Diagram illustrating the V860III-N's compatibility with various Godox X system triggers and flashes, functioning as both a transmitter and receiver.
Flexible Shooting Angle and Zoomable Head
The flash head can swivel from 0° to 330° horizontally and from -7° to 120° vertically, providing extensive flexibility for direct or bounce flash photography. The zoomable flash head adjusts from 20mm to 200mm automatically or manually, allowing precise control over the light spread.

Image: Visual representation of the V860III-N's flexible flash head rotation angles and its zoomable range from 20mm to 200mm.
Setup
- Charging the Battery:
Insert the included lithium battery into the charger. Connect the charger to a power source using the provided USB cable. The charging indicator will show the charging status. Ensure the battery is fully charged before first use.
- Installing the Battery:
Open the battery compartment on the flash unit. Insert the charged Li-ion battery, ensuring correct polarity. Close the battery compartment securely.
- Mounting on Camera:
Slide the flash unit onto your Nikon camera's hot shoe. Secure it in place using the quick-release lock lever until it clicks firmly. Ensure the flash is properly seated to establish electrical contact.
- Powering On:
Press and hold the power button (usually marked "ON/OFF") until the LCD screen illuminates. The flash is now ready for operation.
Operating Instructions
Basic Operation
- Mode Selection: Use the "MODE" button to cycle through flash modes: TTL, Manual (M), and Multi.
Image: The quick switch on the side of the flash allows for rapid changes between TTL and Manual modes.
- Power Adjustment (Manual Mode): In Manual mode, rotate the select dial to adjust flash output from 1/1 to 1/256.
- Zoom Adjustment: The flash head zoom can be set to auto or adjusted manually using the zoom button and dial.
- Modeling Light: Press the modeling light button to activate. Adjust brightness using the dial.
Advanced Functions
- High-Speed Sync (HSS): Enable HSS for shutter speeds faster than your camera's native sync speed, allowing for wider apertures in bright conditions.
- Wireless Master/Slave: Configure the flash as a master or slave unit within the Godox 2.4G X system for off-camera flash setups. Refer to the detailed wireless section for pairing instructions.
- Flash Exposure Compensation (FEC): Adjust the flash output relative to the camera's metered exposure.
Video: An official product video demonstrating the key features and operational aspects of the Godox V860III flash, including its modeling light, quick switch, battery performance, quick release lock, various flash modes, zoomable head, flexible shooting angle, and 2.4G X system compatibility.
Maintenance
- Cleaning: Use a soft, dry cloth to clean the flash unit. For stubborn dirt, a slightly damp cloth can be used, followed by immediate drying. Avoid harsh chemicals or abrasive materials.
- Storage: When not in use for extended periods, remove the battery and store the flash in its protective case in a cool, dry place away from direct sunlight and extreme temperatures.
- Battery Care: Recharge the battery regularly, even if not in use, to maintain its health. Avoid fully discharging the battery frequently.
Troubleshooting
| Problem | Possible Cause | Solution |
|---|---|---|
| Flash does not fire. | Battery low or not installed correctly; flash not powered on; incorrect camera settings; hot shoe connection issue. | Charge/reinstall battery; power on flash; check camera flash settings (e.g., external flash enabled); ensure flash is securely mounted. |
| Flash recycle time is slow. | Battery low; high power output setting. | Recharge battery; reduce flash power output. |
| Flash output is inconsistent. | Battery instability; interference in wireless mode; dirty hot shoe contacts. | Ensure battery is fully charged; change wireless channel; clean hot shoe contacts on both flash and camera. |
| Modeling light not working. | Modeling light feature disabled; low battery. | Check flash settings to ensure modeling light is enabled; charge battery. |
Specifications
| Feature | Detail |
|---|---|
| Model | V860III-N for Nikon |
| Brand | GODOX |
| Compatible Mountings | Nikon |
| Camera Flash Type | Hotshoe |
| Flash Sync Speed | 1/8000s (HSS) |
| Battery Type | 7.2V/2980mAh Li-ion Battery |
| Full-Power Flashes | Approx. 480 |
| Recycle Time | Approx. 1.5s |
| Modeling Light | 10 Levels LED |
| Zoom Range | 20mm to 200mm (Auto/Manual) |
| Wireless System | Godox 2.4G X System (Tx & Rx) |
| Item Weight | 2.3 pounds |
| Package Dimensions | 9.09 x 8.23 x 4.06 inches |
Warranty and Support
For warranty information, technical support, or service inquiries, please refer to the official GODOX website or contact your authorized dealer. Keep your purchase receipt as proof of purchase for warranty claims.
Official GODOX Website: www.godox.com
Ask a question about this manual
Ask about setup, troubleshooting, compatibility, parts, safety, or missing instructions. Manuals+ will review the question and use this page’s manual context to help answer it.