1. Introduction
Thank you for purchasing the SCHNEIDER SMW 20V GA Microwave Oven. This manual provides essential information for the safe and efficient operation, maintenance, and troubleshooting of your new appliance. Please read this manual thoroughly before using the microwave oven and retain it for future reference.

Image: Front view of the SCHNEIDER SMW 20V GA Microwave Oven in green almond color.
2. Important Safety Instructions
When using electrical appliances, basic safety precautions should be followed, including the following:
- Read all instructions before using the appliance.
- Do not attempt to operate this oven with the door open as this can result in harmful exposure to microwave energy.
- Do not place any object between the oven front face and the door or allow soil or cleaner residue to accumulate on sealing surfaces.
- Do not operate the oven if it is damaged. It is particularly important that the oven door closes properly and that there is no damage to the door, hinges, or latches.
- Only qualified service personnel should adjust or repair this appliance.
- Do not use corrosive chemicals or vapors in this appliance.
- This appliance is designed for heating food and beverages. Drying of clothes and heating of warming pads, slippers, sponges, damp cloth and similar may lead to risk of injury, ignition or fire.
- Always ensure the turntable is correctly placed before operation.
3. Product Overview
Familiarize yourself with the main components of your SCHNEIDER SMW 20V GA Microwave Oven.
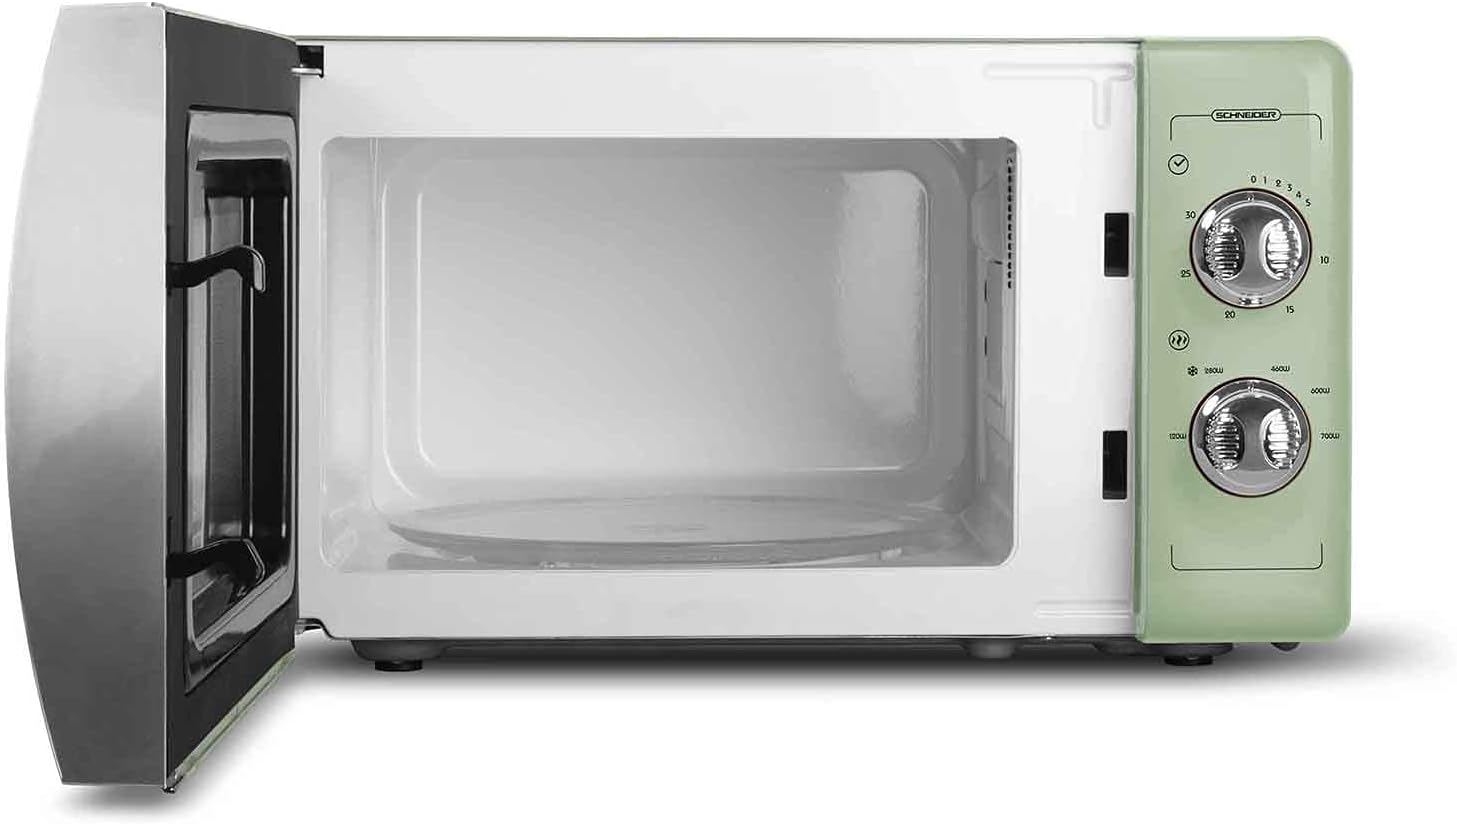
Image: Interior view of the microwave oven with the door open, showing the turntable and interior cavity.
Components:
- Door Assembly: Includes the door handle and safety interlock system.
- Control Panel: Features power level and timer dials.
- Turntable: Glass tray that rotates food for even heating.
- Turntable Ring: Supports the turntable.
- Waveguide Cover: Protects the microwave emission component. Do not remove.
- Oven Cavity: The interior space where food is placed.
4. Setup and Installation
Follow these steps to set up your microwave oven for first use.
- Unpacking: Remove all packaging materials from inside and outside the oven. Check the oven for any damage, such as dents or a misaligned door. Do not operate the oven if it is damaged.
- Placement: Place the microwave oven on a flat, stable surface that can support its weight and the heaviest food item likely to be cooked in the oven. Ensure there is adequate ventilation space around the oven (at least 10 cm at the back, 5 cm at the sides, and 20 cm above).
- Power Connection: Plug the power cord into a standard grounded electrical outlet. Ensure the voltage and frequency match the specifications on the rating label.
- Turntable Assembly: Place the turntable ring in the center of the oven cavity. Then, place the glass turntable on top of the ring, ensuring it sits securely in the center hub.
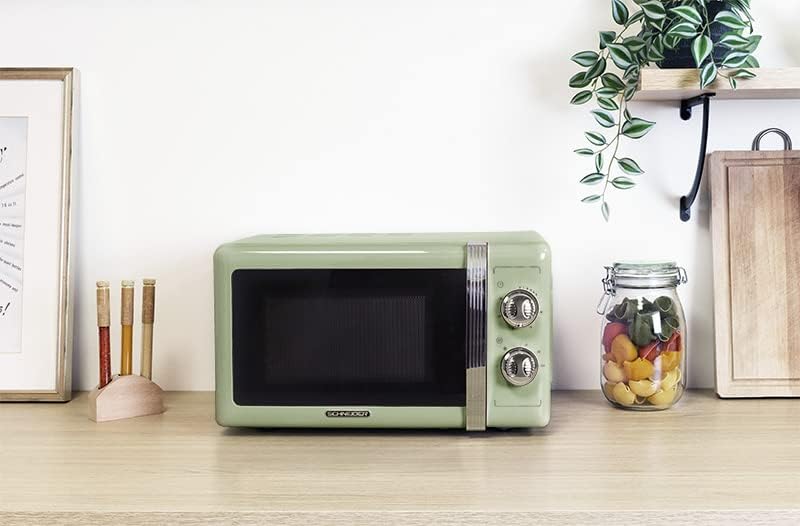
Image: The microwave oven positioned on a kitchen counter, demonstrating proper placement.
5. Operating Instructions
Your SCHNEIDER SMW 20V GA microwave oven features simple dial controls for power and time settings.
5.1. Setting Cooking Power
The upper dial controls the microwave power level. Rotate the dial to select the desired power setting:
- Low (220W): For softening butter, thawing.
- Medium-Low (380W): For simmering, more delicate cooking.
- Medium (540W): For reheating, general cooking.
- Medium-High (700W): For faster cooking of most foods.
- High (800W): For rapid heating, boiling water.
5.2. Setting Cooking Time
The lower dial controls the cooking time. Rotate the dial clockwise to set the desired cooking duration, up to 30 minutes.
To Start Cooking:
- Place the food in a microwave-safe container on the glass turntable.
- Close the oven door securely.
- Rotate the upper dial to select the desired power level.
- Rotate the lower dial to set the desired cooking time. The oven will start automatically once the timer is set.
- When the cooking time is complete, the oven will automatically stop and a bell will sound.
5.3. Defrost Function (Automatic Defrost)
This model features an automatic defrost function. To use:
- Place the frozen food on the turntable.
- Select the defrost power level (usually a specific setting on the power dial, or indicated by a snowflake symbol).
- Set the desired defrost time based on the food's weight and type. Refer to typical defrosting guidelines for best results.
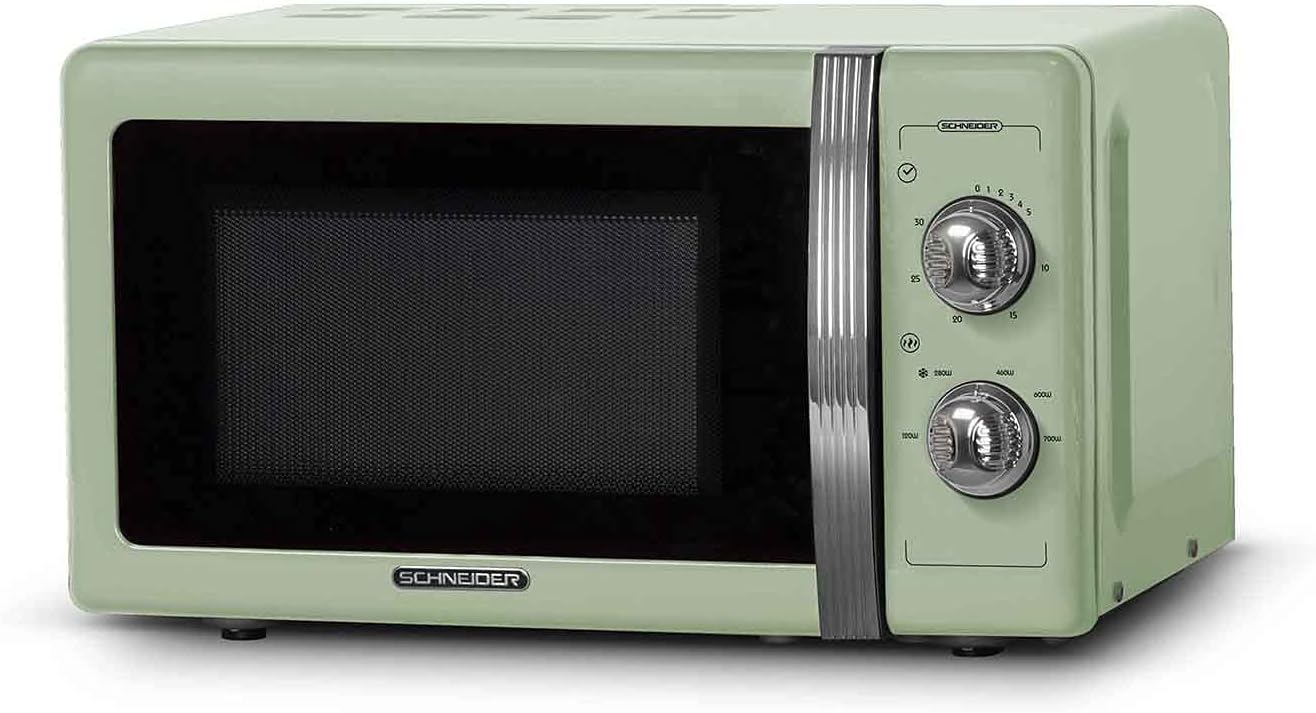
Image: Angled view of the microwave, highlighting the two control dials for power and time settings.
6. Care and Maintenance
Proper care and maintenance will ensure the longevity and optimal performance of your microwave oven.
6.1. Cleaning the Oven
- Interior: Wipe the inside of the oven with a damp cloth after each use. For stubborn stains, a mild detergent can be used. Do not use abrasive cleaners or scouring pads.
- Exterior: Clean the exterior surface with a soft, damp cloth. Avoid getting water into the ventilation openings.
- Door and Seal: Regularly clean the door, door seals, and control panel with a soft, damp cloth to remove any spills or splatters.
- Turntable: The glass turntable and turntable ring can be washed in warm soapy water or in a dishwasher. Ensure they are completely dry before placing them back in the oven.
6.2. General Tips
- Always unplug the oven before cleaning.
- Do not immerse the power cord, plug, or oven in water or other liquid.
- Do not use steam cleaners.
7. Troubleshooting
If you encounter issues with your microwave oven, refer to the table below for common problems and solutions.
| Problem | Possible Cause | Solution |
|---|---|---|
| Oven will not start | Power cord not plugged in; Door not closed properly; Fuse blown or circuit breaker tripped. | Ensure plug is securely in outlet; Close door firmly; Check household fuse/circuit breaker. |
| Food not heating | Door not closed properly; Power level not set; Cooking time not set. | Ensure door is firmly closed; Set appropriate power level; Set desired cooking time. |
| Turntable not rotating | Turntable not correctly placed; Turntable ring dirty or damaged. | Reposition turntable correctly; Clean or replace turntable ring. |
| Excessive steam from door | Normal during cooking, especially high-moisture foods. | This is normal and not a fault. |
If the problem persists after trying these solutions, please contact customer support.
8. Specifications
Key technical specifications for the SCHNEIDER SMW 20V GA Microwave Oven:
| Feature | Detail |
|---|---|
| Model Number | SMW20VGA |
| Brand | Schneider |
| Capacity | 20 Litres |
| Power Consumption | 220 Watts |
| Microwave Output Power Levels | 220W (Low) to 800W (High) |
| Voltage | 20 Volts |
| Dimensions (L x W x H) | 50 x 50 x 28 cm |
| Weight | 11.25 Kilograms |
| Color | Green Almond |
| Special Feature | Automatic Defrost |
| Installation Type | Countertop |
| Human Interface Input | Dials |
9. Warranty and Support
For information regarding warranty coverage, technical support, or service inquiries, please refer to the warranty card included with your product or visit the official Schneider website. Please have your model number (SMW20VGA) and purchase date available when contacting support.


