
Introduction
This manual provides essential instructions for the safe and efficient operation, maintenance, and troubleshooting of your BEPER P102SBA500 Automatic Fresh Pasta Maker. Please read this manual thoroughly before first use and retain it for future reference.
Important Safety Instructions
- Always ensure the appliance is unplugged before assembly, disassembly, or cleaning.
- Do not immerse the motor unit in water or any other liquid.
- Keep hands and utensils away from moving parts during operation.
- This appliance is for household use only. Do not use outdoors.
- Supervise children closely when the appliance is in use.
- Ensure the power cord is not damaged and is kept away from hot surfaces.
- Do not operate the appliance if it is damaged or malfunctioning. Contact customer support.
Product Overview and Components
The BEPER P102SBA500 is an automatic pasta maker designed to knead and extrude fresh pasta. It features a compact design and includes multiple dies for various pasta shapes.

Figure 1: The BEPER P102SBA500 Automatic Fresh Pasta Maker shown with fresh spaghetti being extruded and a selection of pasta dies.

Figure 2: A detailed view of the pasta maker's mixing chamber and the internal auger mechanism.

Figure 3: Top view of the appliance, highlighting the digital display and control buttons.
Included Components:
- Main Motor Unit
- Mixing Chamber
- Auger/Mixing Paddle
- Extrusion Head
- 8 Pasta Dies for various shapes
- Measuring Cup
- Spatula/Cleaning Tool

Figure 4: The BEPER P102SBA500 pasta maker displayed with its complete set of accessories, including measuring cups and various dies.
Setup and Initial Assembly
Before first use, ensure all packaging materials are removed and clean all removable parts according to the 'Maintenance and Cleaning' section.
Assembly Steps:
- Place the main motor unit on a stable, flat surface.
- Insert the mixing chamber into the main unit, ensuring it clicks securely into place.
- Attach the auger/mixing paddle inside the mixing chamber.
- Select the desired pasta die and attach it to the extrusion head.
- Secure the extrusion head with the chosen die onto the front of the mixing chamber.
- Ensure all parts are correctly aligned and firmly secured before plugging in the appliance.

Figure 5: An exploded diagram illustrating the main components of the pasta maker and their assembly order.
Operating Instructions
The BEPER P102SBA500 simplifies fresh pasta making with its automatic kneading and extrusion functions.
Pasta Preparation Steps:
- Prepare Ingredients: Measure 320 grams of flour and the appropriate amount of liquid (water or eggs) using the provided measuring cup. Refer to the online recipe book for precise ratios for different pasta types.
- Add Flour: Open the lid of the mixing chamber and add the measured flour.
- Start Kneading: Close the lid. Plug in the appliance. Press the 'ON/OFF' button, then select the 'Knead' function on the control panel. The machine will begin mixing the flour.
- Add Liquid: Slowly pour the liquid ingredients through the small opening in the lid while the machine is kneading. The mixing process typically takes 3 minutes.
- Start Extrusion: Once the dough is properly kneaded (it should form a crumbly texture), select the 'Extrude' function. The machine will automatically begin pushing the dough through the selected die. This vertical extrusion process takes approximately 7 minutes.
- Cut Pasta: As the pasta extrudes, use a knife or the provided spatula to cut it to your desired length.
- Completion: Once all pasta has been extruded, turn off the appliance and unplug it.

Figure 6: Detailed view of the control panel, showing the 'Knead' and 'Extrude' buttons for operation.
Using Different Pasta Dies:
The appliance comes with 8 different dies to create various pasta shapes.
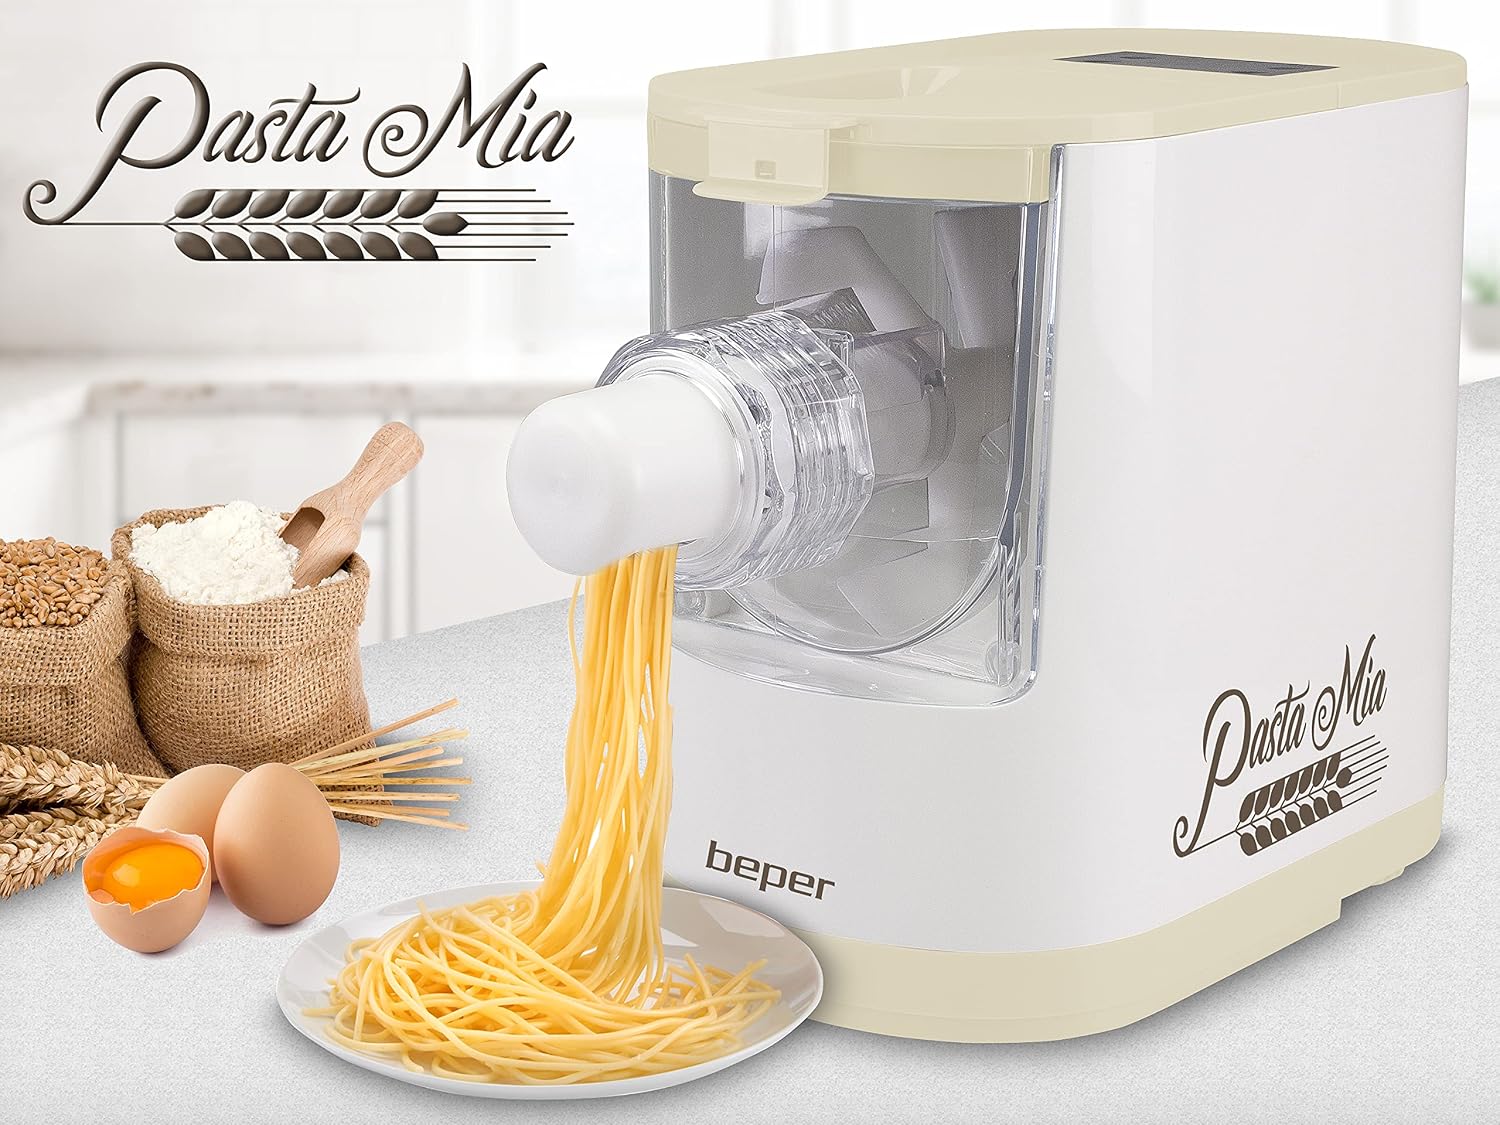
Figure 7: A selection of the eight included pasta dies, each designed to produce a unique pasta shape.
To change the pasta shape, ensure the machine is off and unplugged. Remove the extrusion head, replace the current die with the desired one, and reattach the extrusion head securely.

Figure 8: Visual examples of different pasta types, such as spaghetti, tagliatelle, and penne, that can be created using the various dies.
Online Recipe Book
For detailed recipes and ingredient ratios for various pasta types, consult the official online recipe book.

Figure 9: An illustration of the online recipe book, providing guidance for different pasta preparations.
Access the online recipe book here: BEPER P102SBA500 Online Recipe Book
Maintenance and Cleaning
Regular cleaning ensures the longevity and optimal performance of your pasta maker.
Cleaning Steps:
- Unplug: Always unplug the appliance from the power outlet before cleaning.
- Disassemble: Carefully disassemble all removable parts: the mixing chamber, auger, extrusion head, and pasta dies. Refer to Figure 5 for disassembly guidance.
- Remove Dough Residue: For best results, allow any dough residue on the parts to dry completely. Alternatively, place the extruder and dies in the freezer for a short period. Once dry or frozen, the dough can be easily removed. Use the tip of the provided spatula or a small brush to clean the holes of the dies.
- Wash Parts: All removable parts are dishwasher-safe. Alternatively, wash them by hand with warm, soapy water. Rinse thoroughly.
- Clean Main Unit: Wipe the main motor unit with a damp cloth. Do not immerse it in water.
- Dry and Store: Ensure all parts are completely dry before reassembling or storing the appliance.
Troubleshooting
If you encounter issues with your pasta maker, refer to the following common problems and solutions:
| Problem | Possible Cause | Solution |
|---|---|---|
| Machine does not turn on. | Not plugged in; power outlet issue; lid not closed properly. | Ensure the power cord is securely plugged in. Check the power outlet. Verify the mixing chamber lid is fully closed and latched. |
| Dough is too wet or too dry. | Incorrect flour-to-liquid ratio. | Refer to the recipe book for precise ingredient measurements. Adjust liquid slightly for desired crumbly dough consistency. |
| Pasta does not extrude. | Dough too dry/wet; die blocked; auger not installed correctly. | Check dough consistency. Clean the die thoroughly. Ensure the auger is correctly seated in the mixing chamber. |
| Machine stops during operation. | Overload protection activated; power interruption. | Unplug the machine, wait a few minutes for it to cool down, then restart. Check for any obstructions. |
If the problem persists after attempting these solutions, please contact BEPER customer support.
Specifications
| Feature | Detail |
|---|---|
| Brand | BEPER |
| Model | P102SBA500 |
| Output Wattage | 200 Watts |
| Material Type | ABS/PC/POM |
| Item Weight | 3.3 Kilograms |
| Product Dimensions | 50L x 50W x 28H centimetres |
| Included Components | 8 Pasta Dies, Measuring Cup, Spatula |
| Operation Mode | Automatic |
| Dishwasher-Safe Parts | Yes (removable parts) |

Figure 10: Diagram illustrating the physical dimensions of the BEPER P102SBA500 pasta maker.
Warranty and Support
For warranty information, product support, or to report any issues, please refer to the official BEPER website or contact their customer service department. Keep your purchase receipt as proof of purchase.


