
CiBest BL108
CiBest BL108 WiFi Projector User Manual
Native 1080p Home Entertainment Projector
1. Introduction
Thank you for purchasing the CiBest BL108 WiFi Projector. This projector is designed to provide a high-quality home theater experience with its native 1080p resolution, high brightness, and versatile connectivity options. This manual will guide you through the setup, operation, and maintenance of your new projector to ensure optimal performance and longevity.

Image 1.1: The CiBest BL108 WiFi Projector, highlighting its compatibility with various streaming services and the included 100-inch projector screen.
2. Safety Information
- Do not look directly into the projector lens when the lamp is on. The intense light can cause eye damage.
- Ensure proper ventilation around the projector. Do not block ventilation openings.
- Place the projector on a stable, level surface to prevent it from falling.
- Keep the projector away from water or any liquids. Do not operate in humid environments.
- Use only the power adapter supplied with the projector.
- Do not attempt to disassemble or repair the projector yourself. Refer all servicing to qualified personnel.
- Keep out of reach of children.
3. Package Contents
Please check the package contents upon opening. If any items are missing or damaged, contact customer support.
- CiBest BL108 WiFi Projector
- Power Cable
- HDMI Cable
- AV Cable
- Remote Control (batteries not included)
- User Manual
- 100-inch Projector Screen

Image 3.1: Confirmation of the included 100-inch projector screen.
4. Product Overview
Familiarize yourself with the various parts and ports of your CiBest BL108 projector.

Image 4.1: Rear panel of the CiBest BL108 projector, illustrating the available input and output ports.
4.1 Front Panel
- Lens: Projects the image.
- IR Receiver: For remote control signals.
4.2 Top Panel
- Focus Ring: Adjusts image clarity.
- Keystone Correction: Corrects trapezoidal image distortion.
- Control Buttons: Power, Menu, Navigation, Source.
4.3 Rear Panel
- AV Port: For connecting older devices with composite video/audio.
- TF Card Slot: For Micro SD card input.
- USB Ports (USB1, USB2): For connecting USB drives or charging devices.
- HDMI Ports (HD): For connecting HDMI-enabled devices like laptops, gaming consoles, TV sticks.
- VGA Port: For connecting computers.
- Audio Out (3.5mm): For connecting external speakers or headphones.
- Power Input: For connecting the power cable.
5. Setup
5.1 Placement
Place the projector on a stable surface. The projection distance affects the image size. For optimal viewing, ensure the projector is centered with the screen.
- Recommended Projection Distance: 4.59 ft to 18.7 ft
- Recommended Screen Size: 45 inches to 230 inches

Image 5.1: Guide for projection distance and corresponding screen sizes.
5.2 Power Connection
- Connect the power cable to the projector's power input port.
- Plug the other end of the power cable into a power outlet.
- Press the power button on the projector or remote control to turn it on.
5.3 Focus and Keystone Correction
- Focus: Rotate the focus ring on top of the projector until the image appears clear and sharp.
- Keystone: Use the keystone correction dial to adjust the image if it appears trapezoidal (wider at the top or bottom).
5.4 Projector Screen Setup
The included 100-inch projector screen can be easily set up for a dedicated viewing area. Follow the instructions provided with the screen for assembly and mounting.
6. Operating
6.1 Basic Operation
- Power On/Off: Press the power button on the projector or remote.
- Input Source Selection: Press the 'Source' button on the projector or remote to cycle through input options (HDMI, USB, AV, VGA, TF Card).
6.2 Wireless Connection (Screen Mirroring)
The BL108 supports wireless screen mirroring for iOS and Android devices via WiFi.

Image 6.1: Steps for wireless screen mirroring with iOS/Android devices.
- Connect Projector to Home WiFi: Navigate to the projector's settings menu, select 'WiFi', and connect to your home network.
- Connect Phone to Home WiFi: Ensure your smartphone (iOS or Android) is connected to the same WiFi network as the projector.
- Enable Screen Mirroring:
- For iOS: Swipe down from the top-right corner (or up from the bottom for older models) to open Control Center, then tap 'Screen Mirroring' and select the projector.
- For Android: Go to your phone's settings, search for 'Cast', 'Smart View', 'Wireless Display', or 'Screen Mirroring' (names vary by device), and select the projector.
6.3 Connecting External Devices
The BL108 offers multiple ports for connecting various devices.
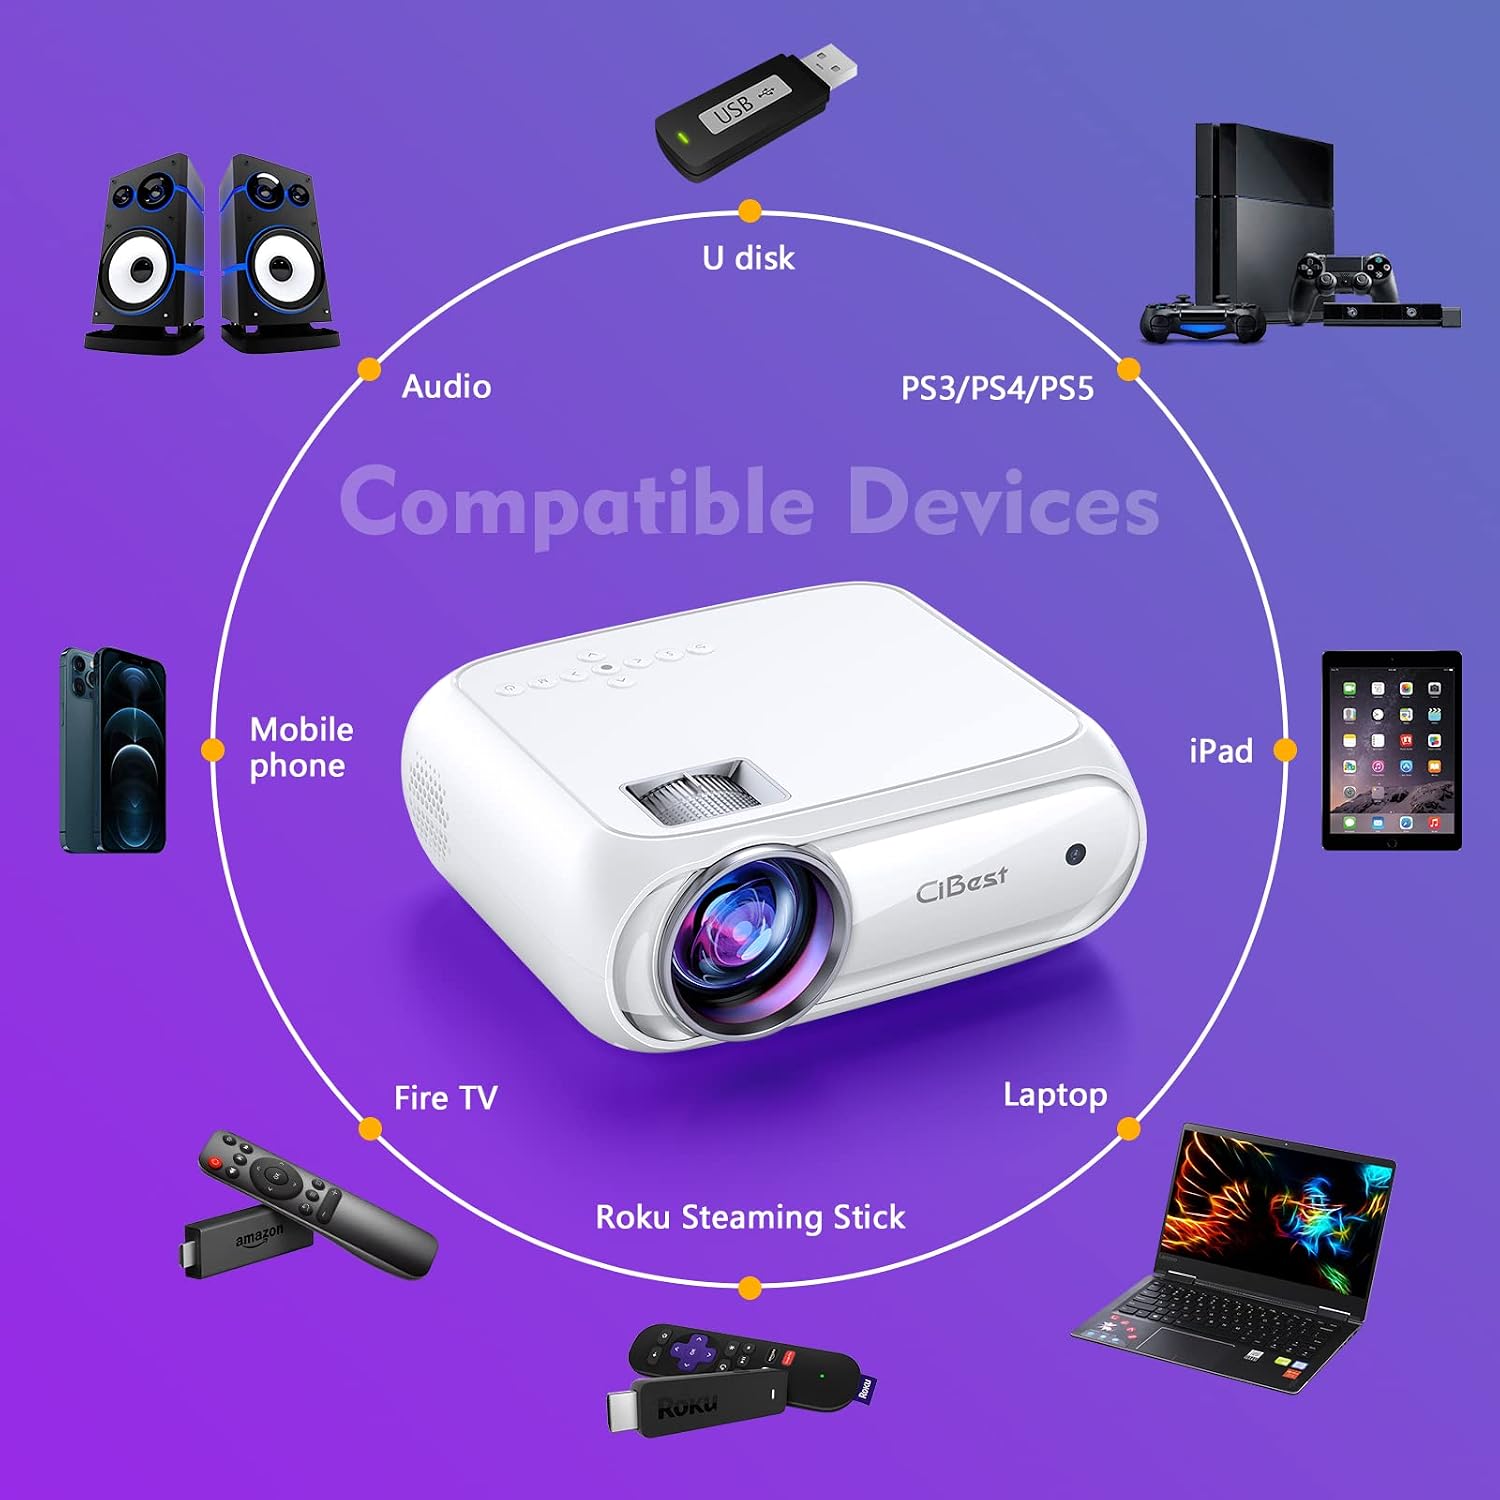
Image 6.2: Compatible devices for the CiBest BL108 projector.
- HDMI: Connect laptops, Blu-ray players, gaming consoles (PS3/PS4/PS5), Amazon Fire TV Stick, Roku Stick, etc., using an HDMI cable. Select the corresponding HDMI input.
- USB: Insert a USB flash drive to play media files (videos, photos, music, text). Select the 'USB' input.
- VGA: Connect older computers using a VGA cable. Select the 'VGA' input.
- AV: Use the provided AV cable to connect devices with composite video/audio output. Select the 'AV' input.
- Micro SD Card: Insert a Micro SD card into the TF slot to play media files. Select the 'TF' input.
6.4 Audio Output
The projector has a built-in HiFi stereo sound system. For enhanced audio, you can connect external speakers or headphones using the 3.5mm Audio Out port.
7. Maintenance
7.1 Cleaning
- Lens: Use a professional lens cleaning cloth or air blower to clean the lens. Do not use abrasive cleaners.
- Projector Body: Wipe the surface with a soft, dry cloth. For stubborn stains, use a slightly damp cloth and then dry thoroughly.
- Ventilation Ports: Regularly clean the ventilation ports to prevent dust buildup, which can affect performance and lifespan. Use a soft brush or vacuum cleaner.
7.2 Storage
When not in use for extended periods, store the projector in a cool, dry place, away from direct sunlight and extreme temperatures. Use the original packaging or a protective case to prevent dust and damage.
8. Troubleshooting
If you encounter issues with your projector, refer to the following common problems and solutions.
| Problem | Possible Cause | Solution |
|---|---|---|
| No image on screen | Power cable loose; Incorrect input source; Lens cap on; Device not connected. | Check power connection; Select correct input source; Remove lens cap; Ensure device is properly connected. |
| Image blurry | Focus not adjusted; Keystone not adjusted; Projector too far/close. | Adjust focus ring; Adjust keystone correction; Adjust projection distance. |
| No sound | Volume too low; Muted; Audio cable loose; Device audio settings. | Increase volume; Unmute; Check audio cable connection; Adjust audio output on source device. |
| Wireless mirroring not working | Not on same WiFi network; Device not compatible; Firewall issues. | Ensure both devices are on the same 2.4GHz WiFi network; Check device compatibility; Temporarily disable firewall if applicable. |
| Remote control not working | Batteries dead/incorrectly inserted; IR receiver blocked. | Replace batteries; Ensure correct polarity; Clear path to IR receiver. |
9. Specifications
| Feature | Detail |
|---|---|
| Model Number | BL108 |
| Native Resolution | 1920 x 1080p |
| Brightness | 8000 Lumens |
| Contrast Ratio | 9000:1 |
| Color Gamut | 16.77 Million Colors |
| Connectivity Technology | HDMI, USB, VGA, AV, Micro SD Card, 3.5mm Audio Out, Built-In Wi-Fi |
| Speaker Type | Stereo |
| Product Dimensions | 8.7 x 7.1 x 3.3 inches |
| Item Weight | 4.12 pounds |
| Included Screen Size | 100 inches (diagonal) |
10. Warranty and Support
The CiBest BL108 Projector comes with a manufacturer's warranty. Please refer to the warranty card included in your package for specific terms and conditions. For technical support, troubleshooting assistance, or warranty claims, please contact CiBest customer service through the official website or your purchase platform.
Please retain your proof of purchase for warranty purposes.
Ask a question about this manual
Ask about setup, troubleshooting, compatibility, parts, safety, or missing instructions. Manuals+ will review the question and use this page’s manual context to help answer it.