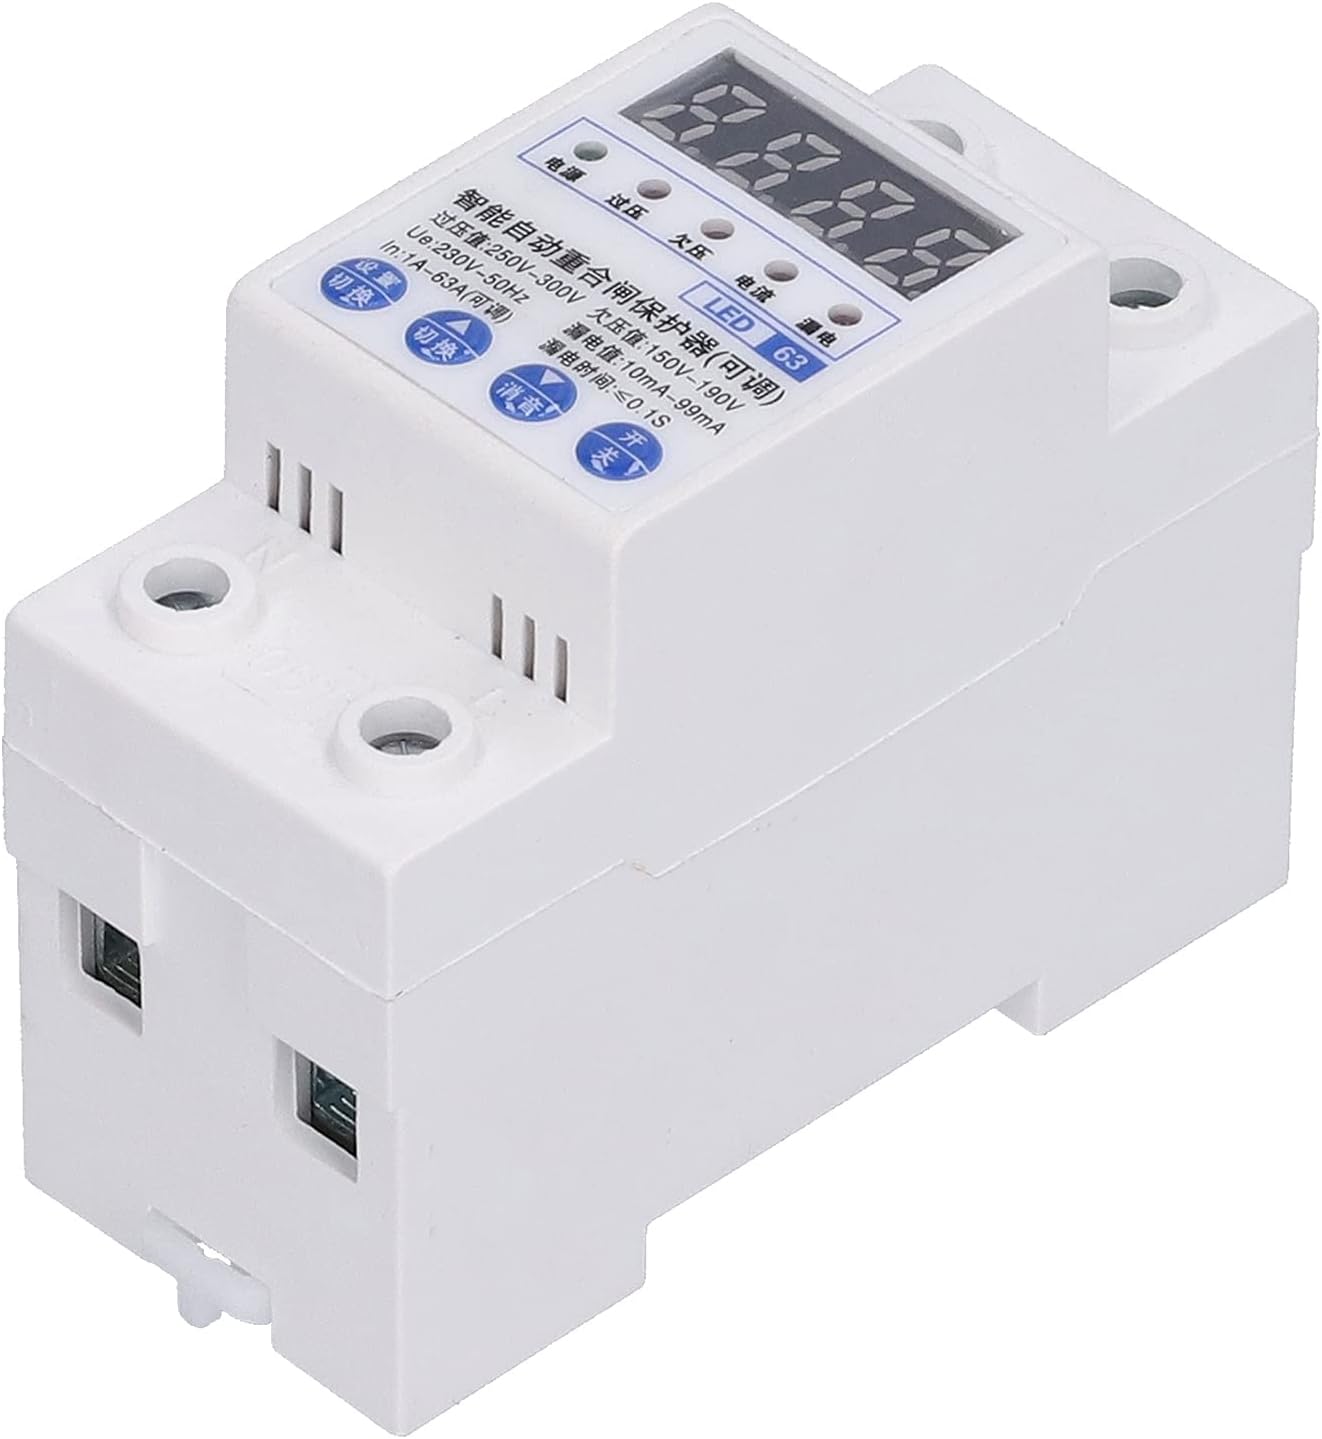
Product Overview
The Automatic Reclosing Power Supply Protector is designed to provide comprehensive electrical safety for industrial and home applications. It integrates multiple protection features to ensure stable and reliable operation of electrical circuits.

Key Features
- Comprehensive Protection: Provides overload, leakage, overvoltage, and undervoltage protection.
- Automatic Recovery: Features automatic overvoltage recovery to restore power safely.
- Enhanced Safety: Prevents reclosing in case of fault and includes anti-magnetic interference function.
- Durable Construction: Shell and parts are made from highly flame-retardant, pressure-resistant, and impact-resistant plastic.
- Quick Circuit Opening: Ensures rapid circuit disconnection for electrical safety, maintaining contacts in fully open or closed states.
- Status Indicator: A red control signal status light on the front indicates the current control state, especially for photovoltaic reclosing.
- Fast Closing Function: Extends product lifespan by mitigating negative effects of manual switch speed during reclosing and automatic opening.
- Easy Installation: Designed for DIN rail type installation, making it easy to interchange.

Specifications
| Parameter | Value |
|---|---|
| Item Type | Leakage Protection Switch |
| Rated Current (IN) | 1A~63A (Adjustable) |
| Rated Voltage | AC 220V |
| Number of Poles | 1P+N |
| Width | Approx. 36 mm / 1.4 inches |
| Automatic Closing Delay Time | 30S |
| Automatic Opening Delay Time | ≤4S |
| Undervoltage Protection Action Time | 2-5S |
| Overvoltage Protection Action Time | 2-5S |
| Manufacturer | 01 |
| Model Number | 01ok6p7d3zbm3687 |
| Package Dimensions | 12 x 8 x 6 cm |
| Item Weight | 213 g |
| Installation Type | DIN Rail |
Setup and Installation
Proper installation is crucial for the safe and effective operation of the Automatic Reclosing Power Supply Protector. This device is designed for DIN rail mounting.
Wiring Diagram
Refer to the diagram below for correct wiring. Ensure all connections are secure and comply with local electrical codes.

- Ensure the main power supply is turned off before beginning installation.
- Mount the protector securely on a standard DIN rail.
- Connect the "In line" (input) to the appropriate power source terminals as shown in the diagram.
- Connect the "Out line" (output) to the circuit or device you wish to protect.
- Verify all connections are tight and correctly polarized (firing line and null line).
- Once wiring is complete, turn on the master control switch. The automatic reclosing power protector will immediately turn on the circuit.

Operating Instructions
The protector features a digital display and control buttons for monitoring and setting parameters.
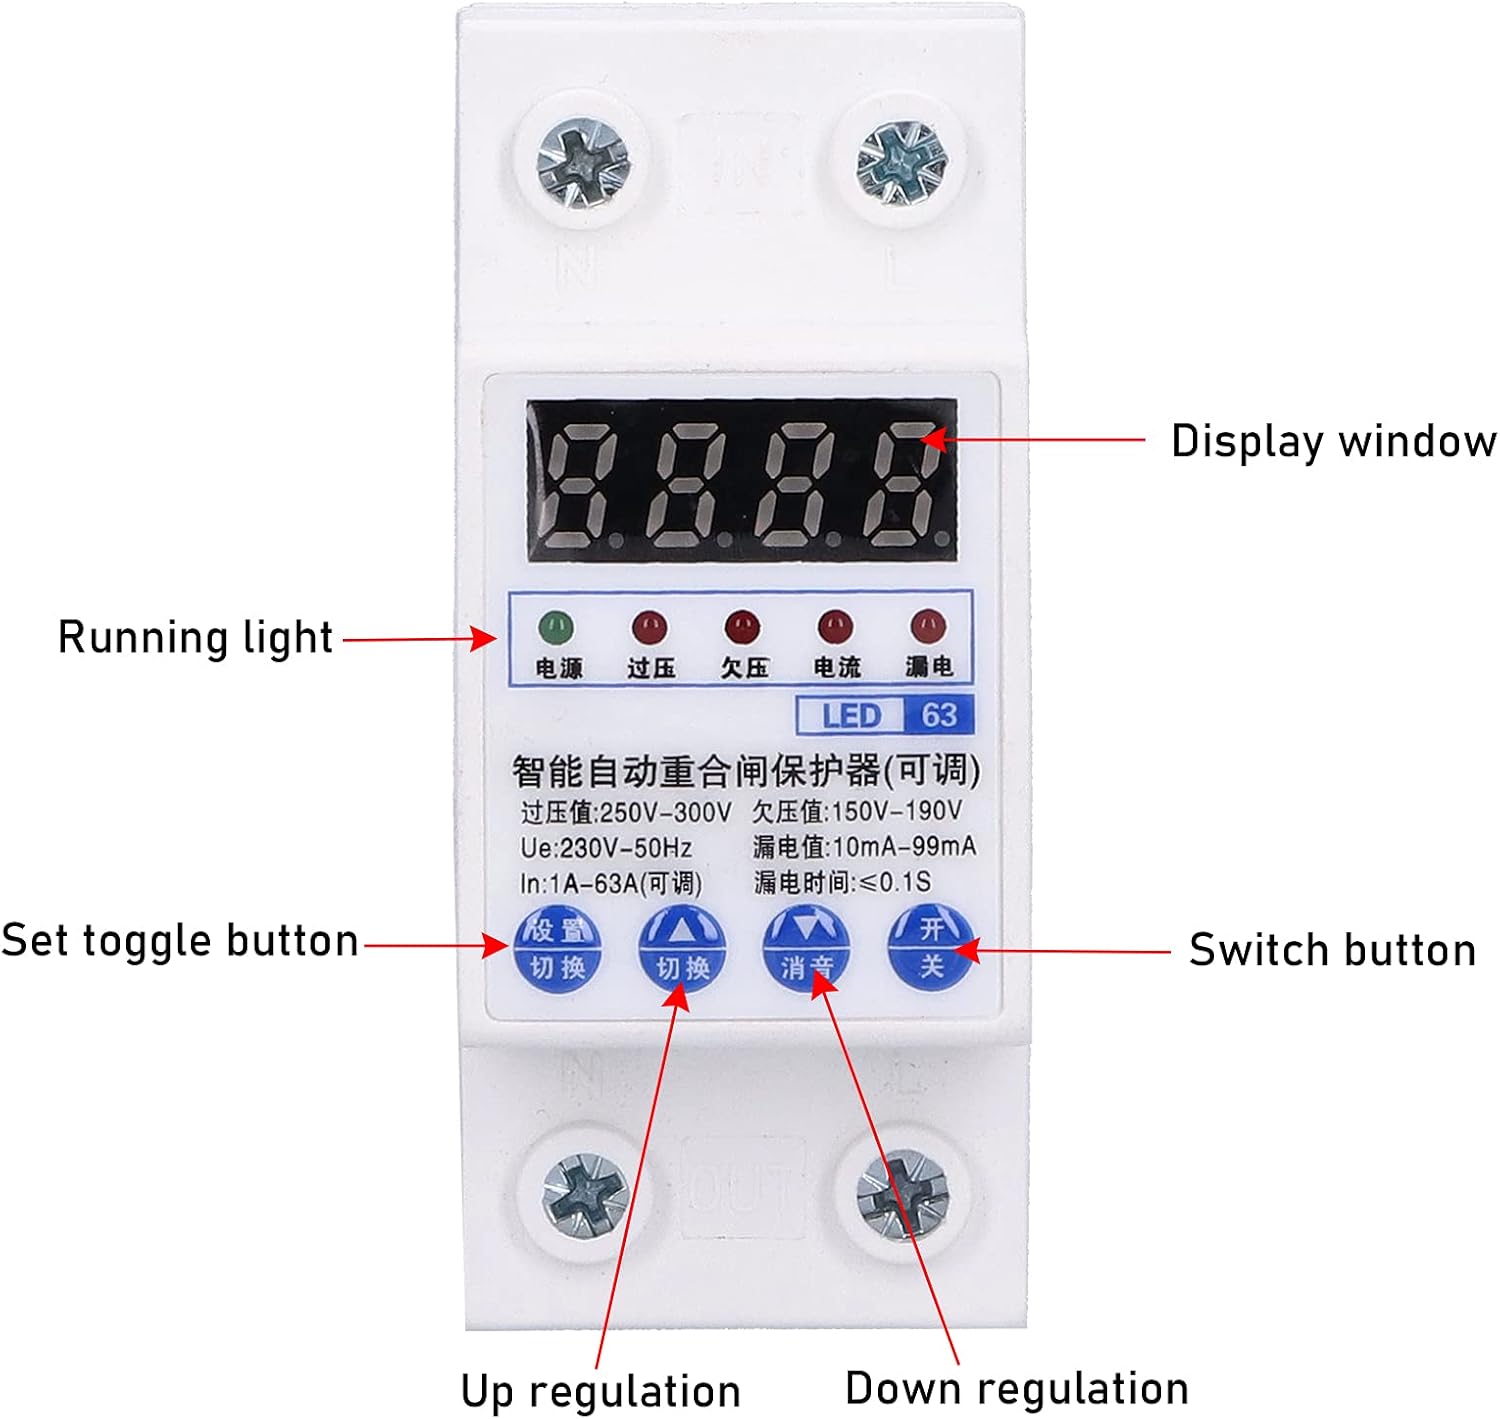
1. Operate on the Measurement Interface
- Long Press "Set/Switch" Key for 3S: View the current voltage (220V), current (63A), and leakage current (90mA). If no operation for 10S, it will automatically return to the voltage display interface.
- Short Press "clear/query" Button: View total fault times in turn (at this time, overvoltage/undervoltage/overcurrent/leakage indicators are on at the same time). If no operation for 10S, it will automatically return to the voltage display interface.
- Long Press "clear/query" Key for 5S: Clear all fault times.
- Short Press "△/Mute" Key: Mute the buzzer sound.
- Short Press "test" Button: Perform leakage function test.
2. Operate in the Setting Interface
- Short Press "Set/Switch" Key: Switch and set the overvoltage setting value, undervoltage setting value, overcurrent setting value, and leakage setting value in turn.
- Short Press "△/Silence" Key: Adjust the currently set value increase.
- Short Press "▽" Key: Decrease the currently set value.
- Long Press "Set/Switch" Key: Exit the parameter setting.
When the automatic reclosing power supply protector wiring is installed correctly, connect the power supply. Turn on the "master control switch", and the automatic reclosing power protector will immediately turn on the circuit. Press the "Test" button, the auto-reclosing power protector will cut off the circuit, and the "leakage indicator" will be on, and the power will be restored automatically after 30 seconds. This means that the auto-reclosing power protector is working properly. At this point, you have correctly installed the "Auto" reclosing power supply protector, and you can rest assured to enjoy the safety and convenience brought by automatic reclosing leakage protection.
Maintenance
The Automatic Reclosing Power Supply Protector is designed for low maintenance. However, regular checks can ensure its longevity and optimal performance.
- Visual Inspection: Periodically inspect the device for any signs of physical damage, loose connections, or discoloration.
- Cleaning: Keep the device clean and free from dust and debris. Use a dry, soft cloth for cleaning. Do not use liquid cleaners.
- Function Test: It is recommended to perform the leakage function test (short press "test" button) periodically to ensure the protection mechanism is working correctly.
- Environmental Conditions: Ensure the operating environment is within the specified temperature and humidity ranges to prevent premature wear.
Troubleshooting
If you encounter issues with your Automatic Reclosing Power Supply Protector, refer to the following common problems and solutions:
| Problem | Possible Cause | Solution |
|---|---|---|
| Device does not power on. | No power supply; incorrect wiring; master switch off. | Check main power supply; verify wiring according to diagram; ensure master control switch is on. |
| Protector trips frequently. | Overload, leakage, overvoltage, or undervoltage condition detected; sensitive settings. | Identify and resolve the underlying electrical issue; check connected appliances; adjust protection settings if necessary (refer to Operating Instructions). |
| Digital display is blank or erratic. | Power issue; internal fault. | Ensure stable power supply; if problem persists, contact customer support. |
| Cannot clear fault times. | Incorrect button press sequence. | Long press "clear/query" key for 5 seconds as per Operating Instructions. |
Warranty and Support
This product is covered by a standard manufacturer's warranty. For specific warranty terms and conditions, please refer to the documentation provided with your purchase or contact the seller.
For technical support, troubleshooting assistance, or warranty claims, please contact your retailer or the manufacturer directly. Please have your model number (01ok6p7d3zbm3687) and purchase information ready when contacting support.
Manufacturer: 01