
Introduction
Thank you for purchasing the Hampton Bay Flaxmere 11.8 in. Matte Black LED Flush Mount Ceiling Light. This manual provides important information regarding the safe installation, operation, and maintenance of your new lighting fixture. Please read these instructions thoroughly before beginning installation and retain them for future reference.
Important Safety Information
Always follow basic safety precautions when installing or using this product to reduce the risk of fire, electric shock, or personal injury.
- WARNING: Risk of electric shock. Disconnect power at the circuit breaker or fuse box before installation or servicing.
- All electrical connections must be in accordance with local codes, ordinances, or the National Electric Code (NEC). Consult a qualified electrician if you are unfamiliar with proper electrical wiring connections.
- Do not install this fixture in wet locations. Suitable for indoor, dry locations only.
- Ensure the fixture is securely mounted to a structurally sound ceiling junction box.
- Do not attempt to modify the integrated LED module. It is not replaceable.
- Wear safety glasses and gloves during installation.
Package Contents
Verify that all parts listed below are included in your package. If any parts are missing or damaged, contact customer service before proceeding with installation.
- LED Flush Mount Fixture (A)
- Frosted White Glass Shade (B)
- Mounting Hardware Kit (C) - includes mounting screws, wire nuts
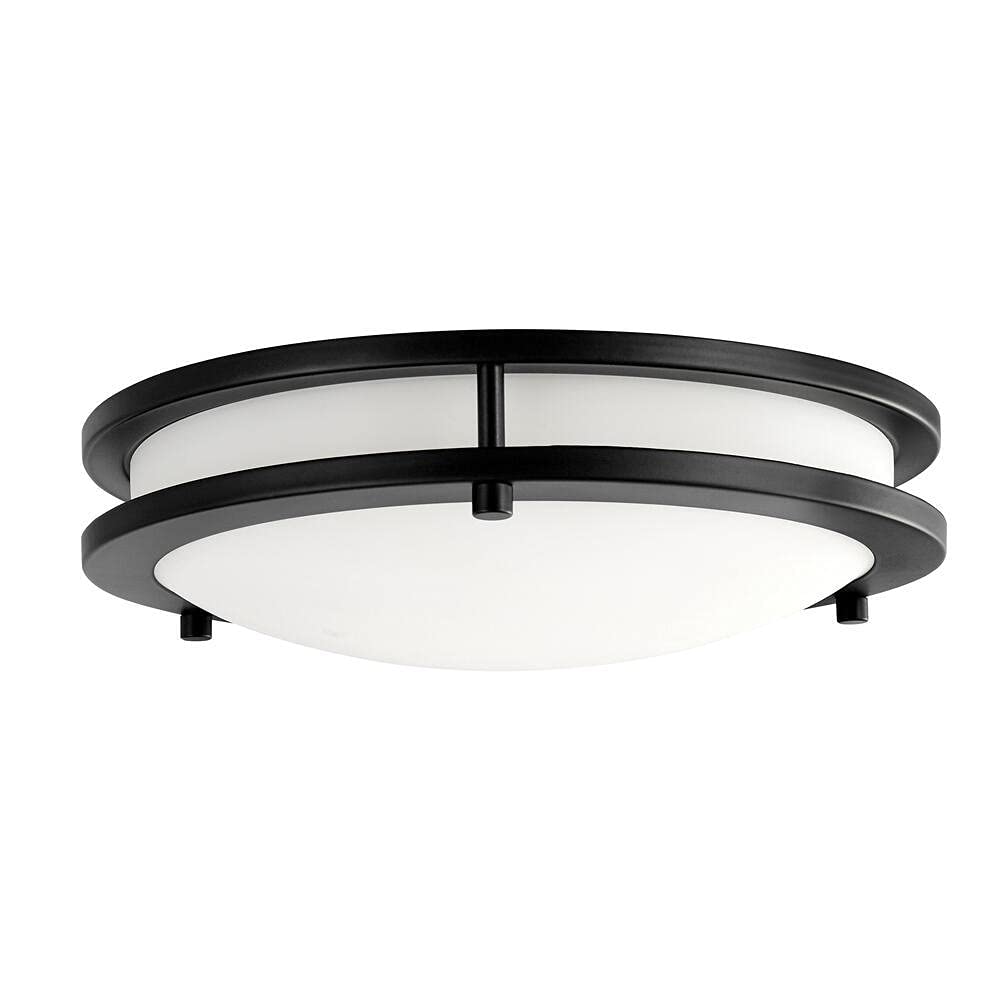
Image: The Hampton Bay Flaxmere 11.8 inch LED Flush Mount Ceiling Light, showcasing its matte black finish and frosted white glass shade.
Tools Required
The following tools are typically required for installation:
- Phillips Head Screwdriver
- Flat Head Screwdriver
- Wire Strippers
- Electrical Tape
- Safety Glasses
- Ladder
Setup (Installation)
Follow these steps to properly install your ceiling light fixture.
Step 1: Prepare for Installation
- Turn off the electrical power at the main fuse box or circuit breaker.
- Carefully unpack the fixture and its components. Lay out all parts on a clean, flat surface.
- Remove your existing fixture from the ceiling junction box, if applicable.
Step 2: Mount the Fixture
- Attach the mounting bracket (part of C) to the ceiling junction box using the provided mounting screws. Ensure it is securely fastened.
- Connect the electrical wires:
- Connect the bare copper or green ground wire from the fixture to the ground wire from the junction box using a wire nut.
- Connect the white wire from the fixture to the white (neutral) wire from the junction box using a wire nut.
- Connect the black wire from the fixture to the black (hot) wire from the junction box using a wire nut.
- Carefully tuck all wires into the junction box.
- Align the fixture base (A) with the mounting bracket and secure it using the provided screws.
Step 3: Install Glass Shade
- Carefully place the frosted white glass shade (B) onto the fixture.
- Secure the glass shade according to the fixture's design (e.g., by twisting into place or using decorative nuts). Do not overtighten.
Step 4: Restore Power
- Restore power at the main fuse box or circuit breaker.
- Test the light fixture to ensure proper operation.
Operating Instructions
This LED flush mount ceiling light is designed for simple operation.
- Turning On/Off: Operate the light using a standard wall switch connected to the fixture's circuit.
- Dimming: This fixture is dimmable. To utilize the dimming feature, install a compatible LED dimmer switch (sold separately) in place of your standard wall switch. Follow the dimmer switch manufacturer's instructions for installation and operation.
Maintenance
Proper care will ensure the longevity and appearance of your lighting fixture.
- Cleaning: Always disconnect power before cleaning. To clean the fixture, wipe it with a soft, dry, or slightly damp cloth. Do not use abrasive cleaners, solvents, or polishes as they may damage the finish or electrical components.
- LED Module: The integrated LED module is designed for long-term use and does not require replacement. Do not attempt to open or service the LED module.
Troubleshooting
If you experience issues with your light fixture, refer to the following common problems and solutions:
| Problem | Possible Cause | Solution |
|---|---|---|
| Light does not turn on. | 1. Power is off. 2. Loose wire connections. 3. Faulty wall switch. | 1. Check circuit breaker/fuse. 2. Ensure all wire connections are secure (with power off). 3. Test or replace the wall switch. |
| Light flickers or dims improperly. | 1. Incompatible dimmer switch. 2. Loose wire connections. | 1. Ensure you are using an LED-compatible dimmer switch. Consult the dimmer manufacturer's compatibility list. 2. Check all wire connections (with power off). |
| Humming noise from fixture. | Incompatible dimmer switch. | Replace with a high-quality, LED-compatible dimmer switch. |
Product Specifications
| Feature | Detail |
|---|---|
| Brand | Hampton Bay |
| Model Number | HB1023C-43 |
| Fixture Type | Flush Mount Ceiling Light |
| Dimensions | 11.8 inches (Diameter) |
| Finish | Matte Black |
| Shade Material | Frosted White Glass |
| Light Source | Integrated LED |
| Wattage | 20 Watts |
| Brightness | 1261 Lumens |
| Light Color | Warm White |
| Dimmable | Yes (with compatible LED dimmer switch, sold separately) |
| Indoor/Outdoor Usage | Indoor |
| Item Weight | 4.08 Pounds |
| Energy Efficiency | Energy Star Certified, High Efficiency |
Warranty Information
This Hampton Bay Flaxmere LED Flush Mount Ceiling Light is covered by a Limited Warranty. Please refer to the warranty documentation included with your purchase or contact customer service for specific terms and conditions. The warranty typically covers defects in materials and workmanship under normal use.
Customer Support
For technical assistance, missing parts, or warranty inquiries, please contact Hampton Bay customer service. Have your model number (HB1023C-43) and purchase information ready when you call.


