1. Introduction
The SANDOR Heavy Duty Automatic Center Punch is a precision hand tool designed for marking a starting point for drilling or other operations on various materials. Its spring-loaded mechanism allows for one-handed operation, delivering a consistent mark without the need for a hammer. This manual provides essential information for the proper setup, operation, and maintenance of your automatic center punch.

Image 1.1: Two SANDOR Automatic Center Punches. These tools are designed for creating precise indentations on surfaces.
2. Setup
2.1 Unpacking and Inspection
Carefully remove the automatic center punches from their packaging. Inspect both tools for any signs of damage. Ensure all components are present as illustrated below.
2.2 Component Identification

Image 2.1: Exploded view of the Automatic Center Punch, showing its internal components including the hammer spring, knurled handle, end cap, cap, thimble, intermediate pin spring, and intermediate pin.
Familiarize yourself with the parts of the center punch:
- Knurled Handle: Provides grip during operation.
- End Cap: Used to adjust spring tension.
- Hammer Spring: Provides the striking force.
- Intermediate Pin Spring: Assists in the internal mechanism.
- Intermediate Pin: Part of the internal striking mechanism.
- Thimble/Tip: The hardened steel point that makes the mark.
3. Operating Instructions
3.1 Marking a Surface
- Position the Tip: Place the hardened steel tip of the automatic center punch precisely on the desired marking location on your workpiece.
- Apply Downward Pressure: Hold the punch firmly with one hand and apply steady downward pressure. As pressure increases, the internal spring mechanism will compress.
- Automatic Strike: Once sufficient pressure is applied, the internal mechanism will automatically release, causing the tip to strike the surface and create a dimple or mark.
- Release Pressure: Lift the punch from the surface. The tool is now reset for the next mark.

Image 3.1: Proper technique for using the automatic center punch. Apply downward pressure until the punch automatically strikes the surface.
3.2 Adjusting Tension
The striking force of the center punch can be adjusted by rotating the end cap. Turning the end cap clockwise increases the spring tension, resulting in a deeper mark. Turning it counter-clockwise decreases tension for lighter marks. Test on a scrap piece of material to achieve the desired depth.
3.3 Compatible Materials
The SANDOR Automatic Center Punch is suitable for marking a variety of materials, including:
- Wood
- Metal (e.g., steel, aluminum, brass, copper)
- Hardened Steel
- Stainless Steel
- Ceramics
- Glass

Image 3.2: The automatic center punch is effective on a wide range of materials, from soft wood to hard metals and ceramics.
4. Maintenance
4.1 Cleaning
After each use, wipe down the center punch with a clean, dry cloth to remove any dust, debris, or moisture. This helps prevent corrosion and maintains the tool's appearance.
4.2 Tip Sharpening and Replacement
The hardened steel tip is designed for durability, but over time and with extensive use on hard materials, it may become dull. The tip can be removed for sharpening or replacement. To remove, fully unscrew the cap and disassemble the front section of the punch. Sharpen the tip using a fine-grit grinding stone or replace it with a genuine SANDOR replacement tip.

Image 4.1: The tip of the center punch can be easily removed for maintenance, such as sharpening or replacement, ensuring continued precision.
4.3 Storage
Store the automatic center punches in their provided hard-shell carry case when not in use. This protects the tools from damage, dust, and moisture, extending their lifespan and maintaining their performance.
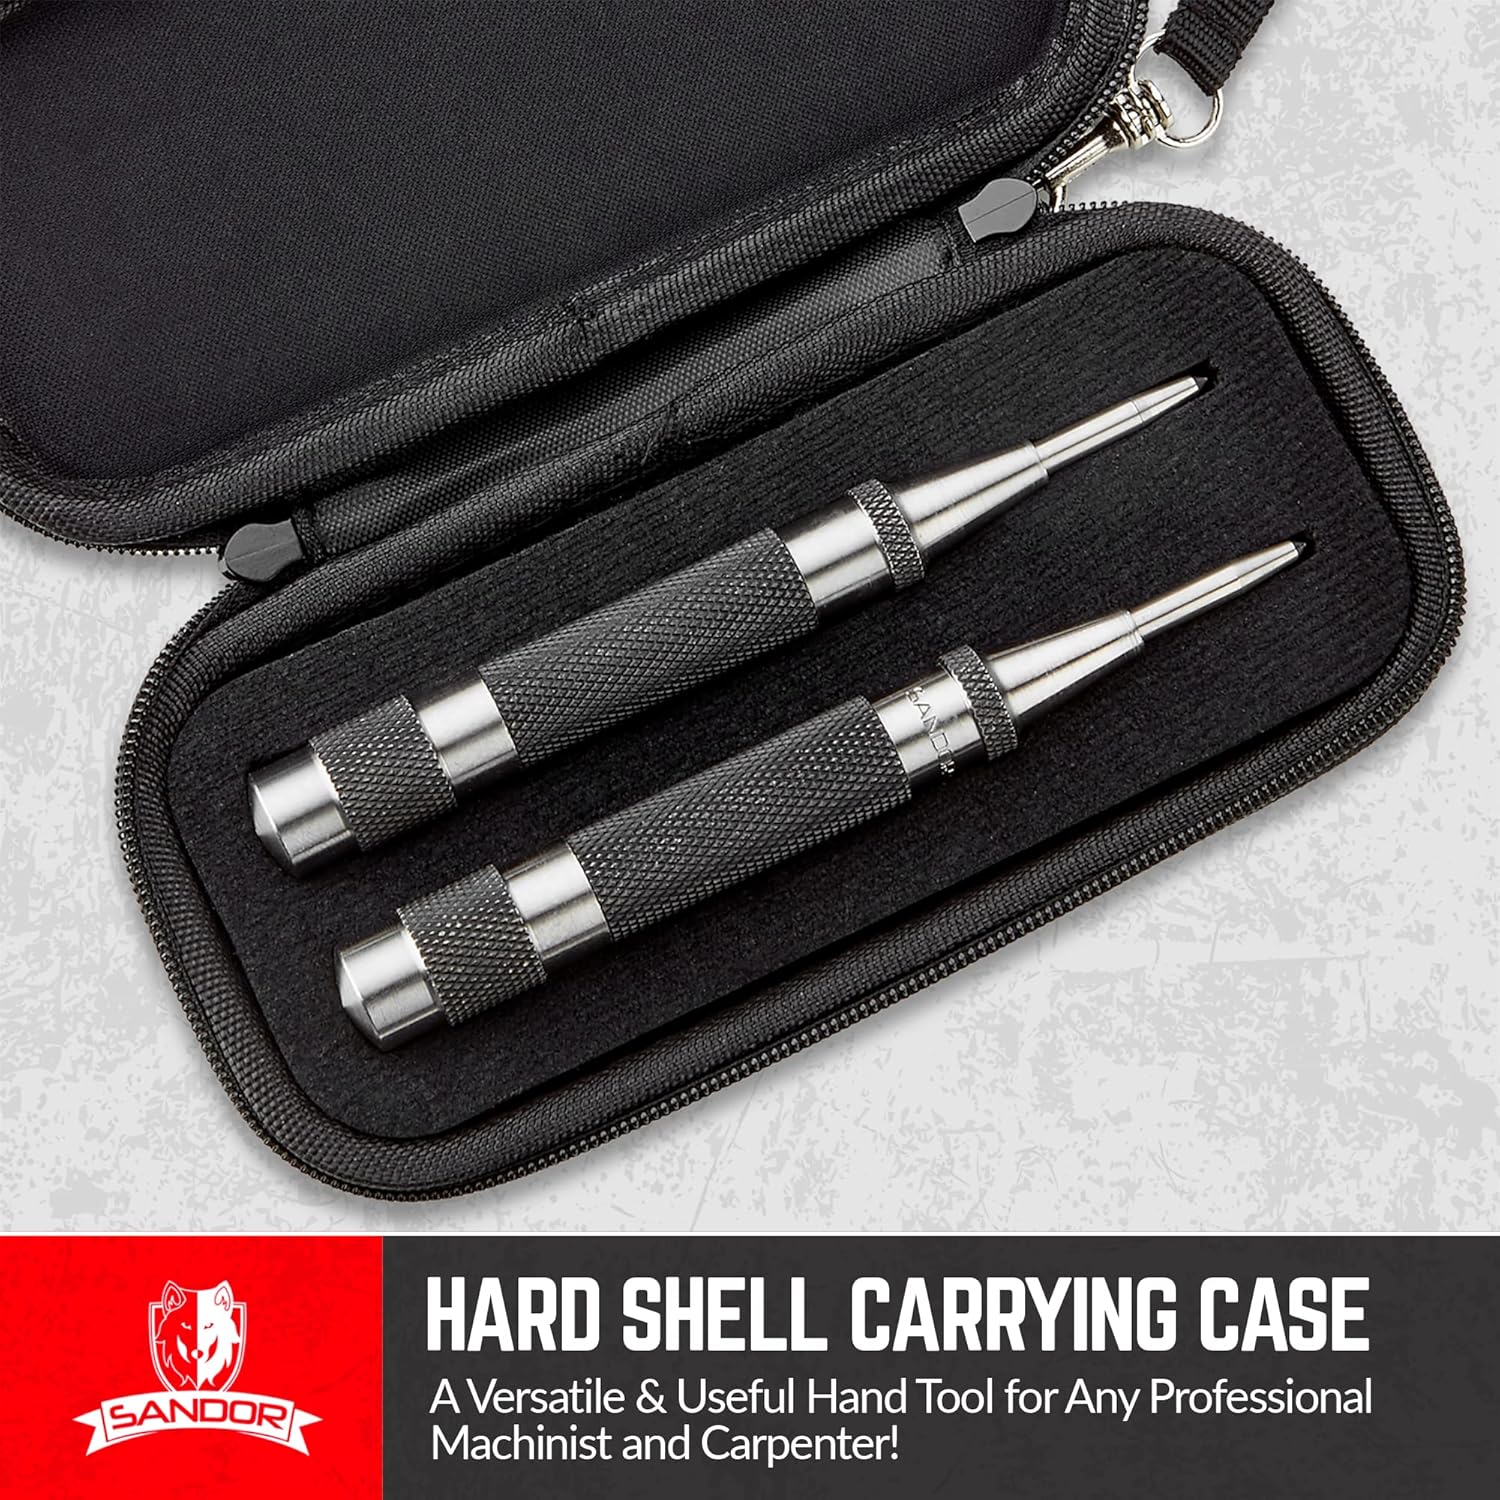
Image 4.2: The included hard-shell case provides secure storage and protection for your center punches.
5. Troubleshooting
- Issue: Punch does not strike or strikes inconsistently.
Solution: Ensure sufficient downward pressure is applied. Check if the end cap is too loose, reducing spring tension. Try disassembling and reassembling the punch to ensure all internal components are correctly seated. - Issue: Mark is too light or too deep.
Solution: Adjust the spring tension by rotating the end cap. Turn clockwise for a deeper mark, counter-clockwise for a lighter mark. - Issue: Tip appears dull or damaged.
Solution: The tip may require sharpening or replacement. Refer to Section 4.2 for instructions on tip maintenance. - Issue: Rust or corrosion on metal parts.
Solution: Clean the punch regularly and store it in a dry environment, preferably in its protective case. For minor rust, a fine abrasive pad can be used carefully, followed by a light application of machine oil.
6. Specifications
| Feature | Detail |
|---|---|
| Model Number | SR088 |
| Material | Hardened Steel |
| Product Dimensions | 5"L x 0.5"W x 5"H (5 x 0.5 x 0.5 inches) |
| Weight | Approximately 8.01 ounces (per punch) |
| Operation | Automatic, Spring-Loaded |
| Adjustability | Adjustable Tension (Strike Force) |
| Grip | Knurled Handle |
7. Warranty and Support
SANDOR stands by the quality of its products. We offer a 100% Satisfaction Guarantee. If you encounter any issues or have questions regarding your SANDOR Heavy Duty Automatic Center Punch, please contact our customer support team. Your satisfaction is our priority.
For further assistance, please visit the official SANDOR store: SANDOR Store on Amazon


