
Introduction
This manual provides detailed instructions for the setup, operation, maintenance, and troubleshooting of your symcode GMINI-POS-US POS PDA Thermal Receipt Printer. Please read this manual thoroughly before using the device to ensure proper functionality and longevity.
Product Overview
The symcode GMINI-POS-US is a versatile handheld POS device integrating a 5.5-inch touch screen, a 58mm thermal receipt printer, and advanced connectivity options. It operates on Android 12 and supports various payment and scanning functionalities.
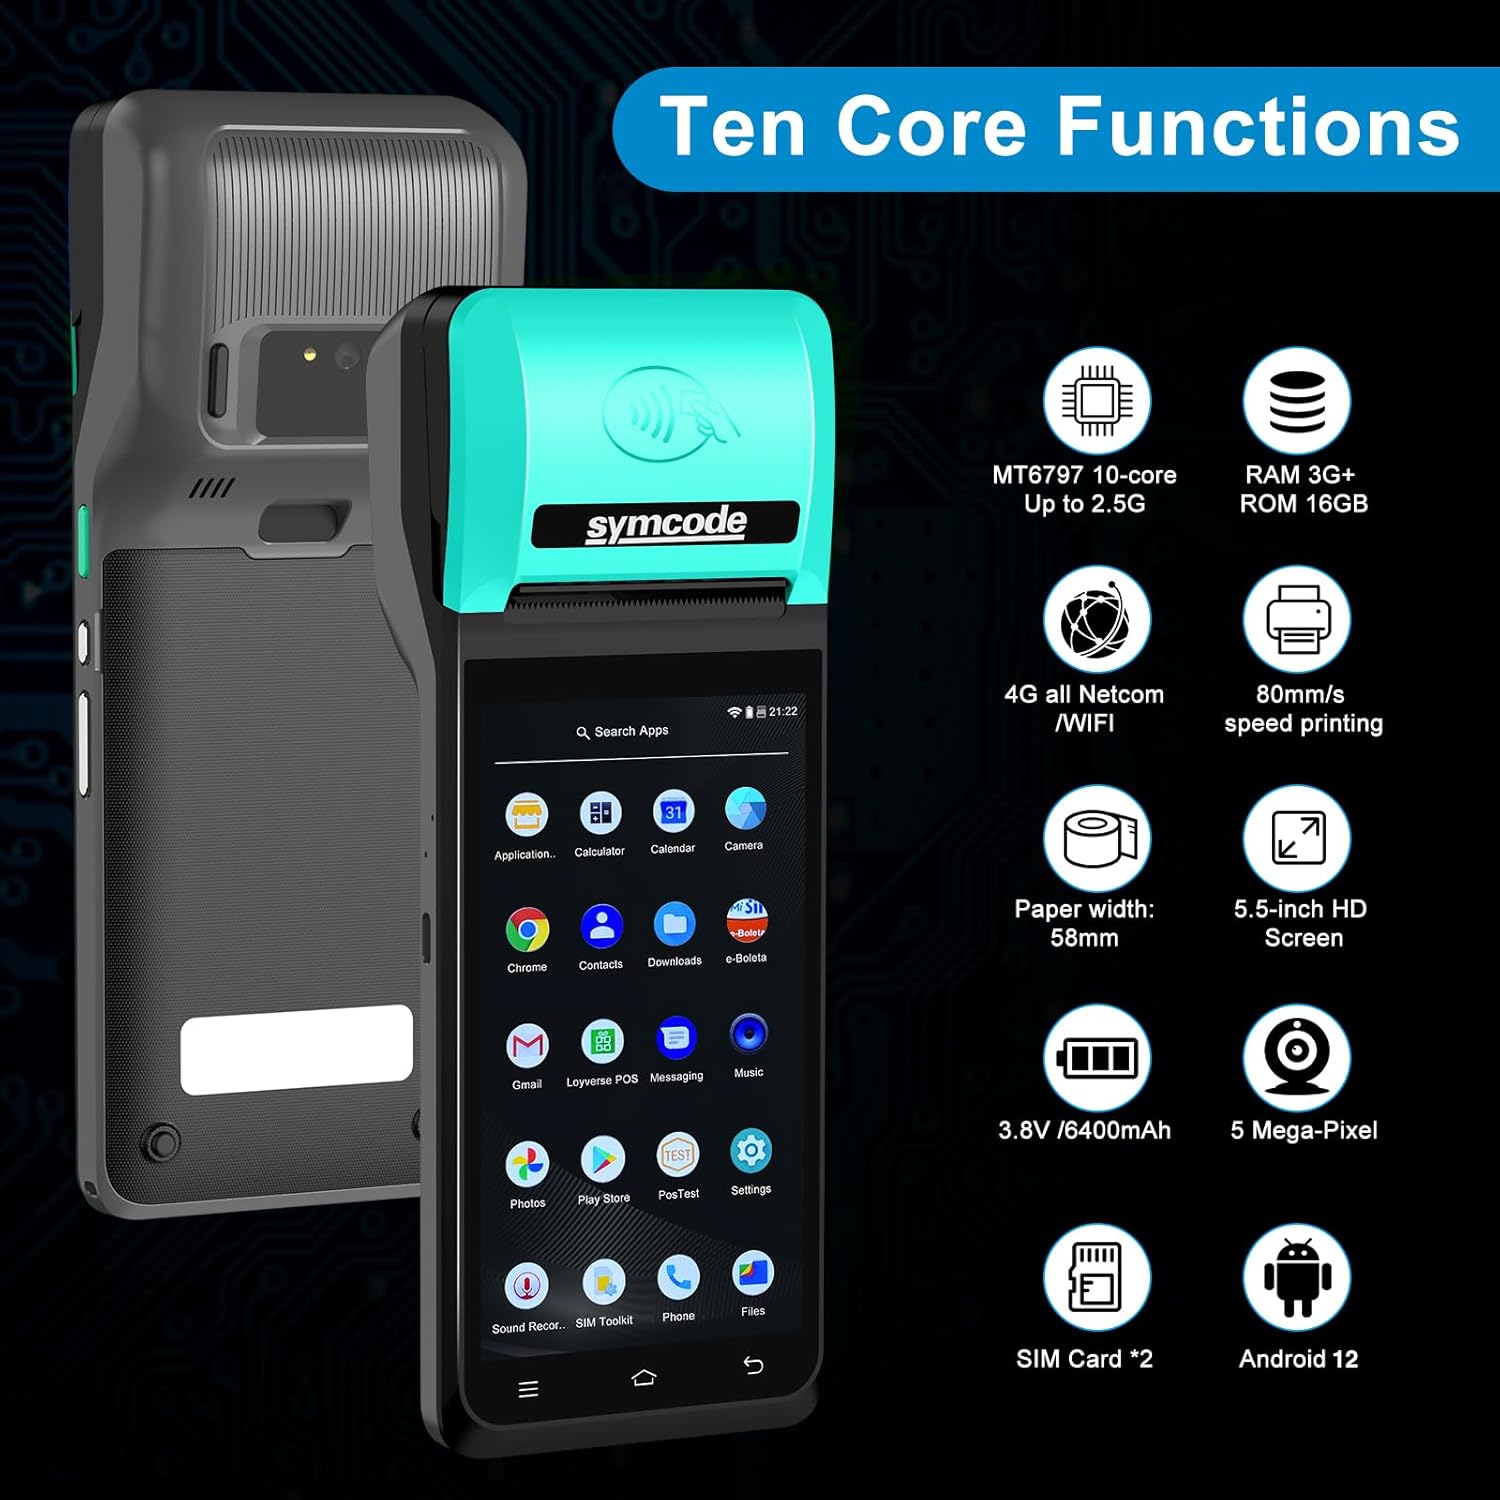
Image: Overview of the symcode GMINI-POS-US highlighting its ten core functions, including MT8797 10-core processor, 3GB RAM + 16GB ROM, 4G/WiFi connectivity, 80mm/s print speed, 58mm paper width, 5.5-inch HD screen, 3.8V/6400mAh battery, 5-megapixel camera, dual SIM card support, and Android 12 OS.
Setup
1. Unboxing and Package Contents
Carefully unpack the device and verify all components are present:
- 1 x symcode GMINI-POS-US POS PDA
- 1 x Power Adaptor
- 1 x USB Cable
- 1 x User Manual (this document)
- 1 x Roll of 58mm Thermal Paper

Image: The symcode GMINI-POS-US device shown alongside its standard accessories, including a USB charging cable, a power adapter, and a roll of 58mm thermal paper.
2. Charging the Device
Before initial use, fully charge the device. Connect the USB cable to the device's charging port and the power adaptor, then plug the adaptor into a power outlet. The charging indicator will illuminate.
3. Installing the Thermal Paper Roll
- Locate the printer cover release button on the side or top of the device.
- Press the button to open the printer cover.
- Insert the 58mm thermal paper roll with the printing surface facing the correct direction (usually outward from the roll).
- Pull a small amount of paper out past the cutting edge.
- Close the printer cover firmly until it clicks into place.
4. Installing SIM Cards (Optional)
The device supports dual SIM cards for 4G connectivity. Refer to the device's physical layout for the SIM card slot location and insertion method.
5. Powering On/Off
- Power On: Press and hold the power button until the screen illuminates.
- Power Off: Press and hold the power button, then select 'Power Off' from the options on the screen.
Operating Instructions
1. Basic Navigation
The device runs on Android 12. Navigate using the 5.5-inch touch screen similar to a smartphone. Swipe, tap, and use on-screen buttons to access applications and settings.
2. Printing Functions
The integrated 58mm thermal printer supports both receipt and label printing. Ensure the correct paper type is loaded for your printing needs.

Image: The symcode GMINI-POS-US demonstrating its capability to print both standard receipts with itemized lists and labels with barcodes, indicating its dual printing functionality.
3. NFC Contactless Payments
The device features NFC for contactless card reading. To process a contactless payment, ensure the NFC function is enabled and present the NFC-enabled card or device near the NFC reader area on the POS PDA.
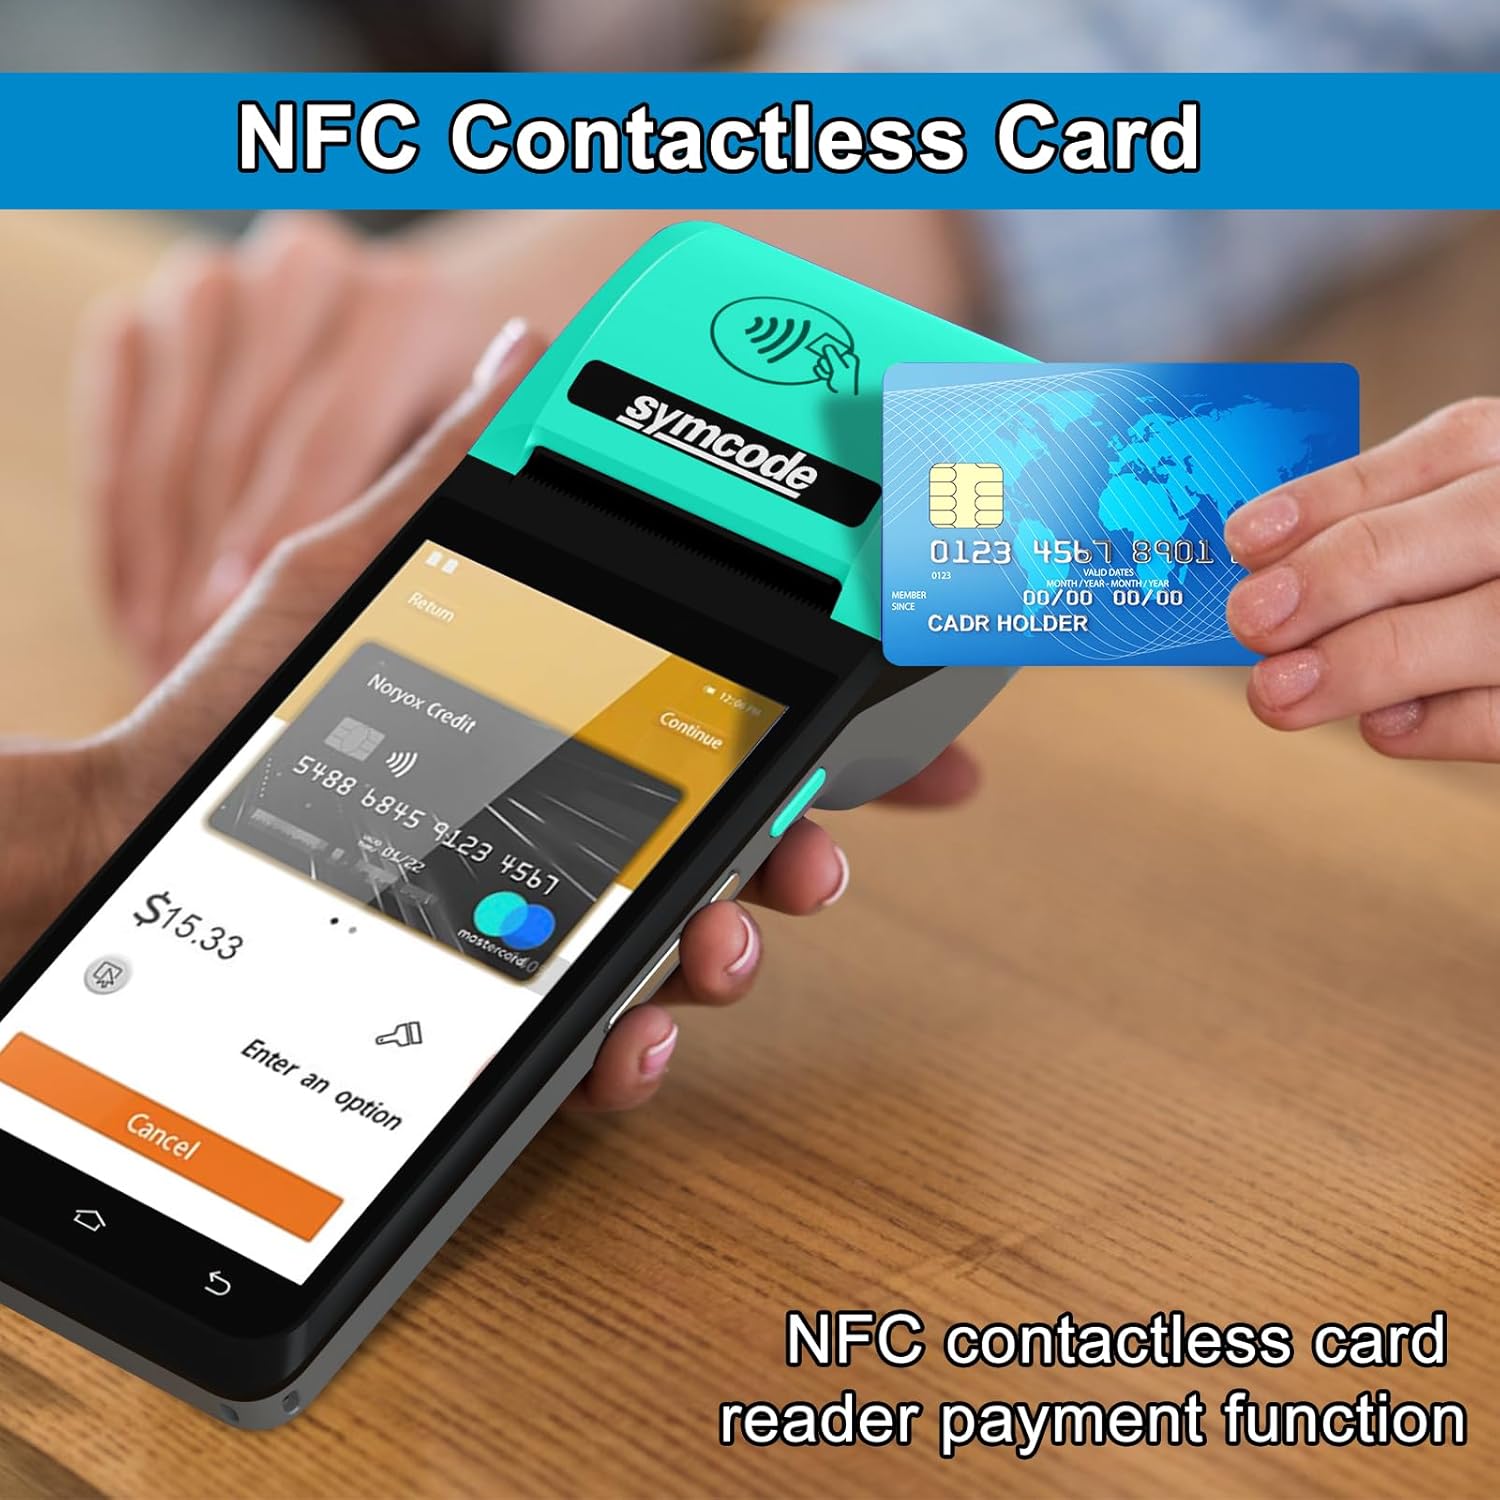
Image: A hand holding a credit card near the top of the symcode GMINI-POS-US, illustrating the NFC contactless payment function in use on the device's screen.
4. Barcode and QR Code Scanning
Utilize the integrated camera to scan 1D/2D barcodes and QR codes. Open the scanning application and position the code within the camera's view for recognition. The camera is primarily optimized for 2D codes, with 1D code decoding being relatively weaker.

Image: The symcode GMINI-POS-US being used to scan a QR code displayed on a smartphone screen, demonstrating its barcode reading capability.
5. Connectivity
- 4G: Insert a SIM card to enable 4G FDD-LTE, TD-LTE, WCDMA, GSM, and GPRS connectivity.
- Wi-Fi: Connect to available Wi-Fi networks via Android settings.
- Bluetooth: Pair with Bluetooth devices such as external scanners or peripherals.
6. Compatible Applications
The device is compatible with various POS software applications, including but not limited to: Loyverse POS, POS Steward, e-boleta, one-POS, Square POS, eHopper POS, and Imonggo POS.
Maintenance
1. Cleaning the Device
- Use a soft, dry, lint-free cloth to clean the screen and exterior.
- For stubborn marks, slightly dampen the cloth with water or a screen cleaner. Avoid harsh chemicals.
- Regularly clean the printer head with a specialized thermal printer cleaning pen or isopropyl alcohol on a cotton swab to ensure clear prints.
2. Battery Care
- Avoid fully discharging the battery frequently.
- Charge the device using only the provided power adaptor and USB cable.
- Store the device in a cool, dry place if not in use for extended periods.
3. Paper Roll Replacement
Replace the thermal paper roll as described in the 'Setup' section when the current roll runs out or prints faintly.
Troubleshooting
| Problem | Possible Cause | Solution |
|---|---|---|
| Device does not power on | Low battery; Faulty power button | Charge the device for at least 30 minutes. If issue persists, contact support. |
| Printer not printing | No paper; Paper incorrectly loaded; Printer head dirty; Software issue | Check paper roll and reload if necessary. Clean printer head. Restart the device and printing application. |
| Poor print quality | Dirty printer head; Low quality thermal paper | Clean the printer head. Use recommended thermal paper. |
| Cannot connect to Wi-Fi/4G | Wi-Fi/4G disabled; Incorrect password; No SIM card; Weak signal | Ensure Wi-Fi/4G is enabled in settings. Verify password. Check SIM card installation and signal strength. |
| Barcode/QR code not scanning | Poor lighting; Code damaged; Camera lens dirty; Incorrect scanning app settings | Ensure adequate lighting. Clean camera lens. Verify code is not damaged. Check scanning application settings. |
Specifications
| Feature | Detail |
|---|---|
| Model Number | GMINI-POS-US |
| Brand | symcode |
| Operating System | Android 12 |
| Screen Size | 5.5 inches, 1280*720 HD Touch Screen |
| Printer Type | 58mm Thermal Receipt Printer |
| Paper Roll Capacity | 40mm diameter |
| RAM | 3GB |
| ROM | 16GB |
| Battery | 3200mAh 7.6V Li-Po (equivalent to 3.8V 6400mAh) |
| Connectivity | 4G (FDD-LTE, TD-LTE), 3G (WCDMA), 2G (GSM, GPRS), Wi-Fi, Bluetooth, USB Cable |
| Camera | 5-megapixel (for 1D/2D/QR barcode scanning) |
| NFC | Supported for contactless payments |
| Item Weight | 400 Grams |
| Item Dimensions (D x W x H) | 3.1"D x 4.1"W x 0.7"H |
Warranty and Support
Warranty Information
For specific warranty details, please refer to the warranty card included with your product or contact the seller directly. Protection plans may be available for extended coverage.
Customer Support
If you encounter any issues not covered in this manual or require further assistance, please contact your point of purchase or the manufacturer's customer support. Have your model number (GMINI-POS-US) and purchase details ready when contacting support.