PowGrow 4 String
PowGrow 4 String Metal Solar PV Combiner Box Instruction Manual
Model: 4 String
1. Introduction
The PowGrow PV Combiner Box is designed to streamline the connection between photovoltaic (PV) modules and an inverter, simplifying maintenance and enhancing system reliability. This device allows users to connect multiple PV modules in series, forming PV arrays that are then connected to the combiner box. It is pre-wired with professional-grade solar system wires and includes essential safety components such as 15A rated current fuses, a surge protective device, and a 50A air circuit breaker, along with a ground wire connector.
This manual provides detailed instructions for the safe and efficient installation, operation, and maintenance of your PowGrow 4 String Metal Solar PV Combiner Box.
2. Product Features
- Professional PV Combiner Box: Suitable for Photovoltaic On/Off-Grid Solar Power Generation Systems, ensuring reliable and safe operation.
- Multi-functionality: Features PV array input combination, quick circuit cut-off, anti-thunder protection, anti-reverse current, and overload protection.
- Durable Metal Enclosure: Constructed from metal with an IP65 waterproof rating, offering superior durability and longevity compared to PVC plastic boxes, especially for outdoor installations. Includes a metal internal mount plate for high temperature resistance and solid component mounting.
- High-Quality Pre-Wired Components: All internal wiring uses professional solar system cables. Includes a built-in ground wire connector.
- Integrated Fuses: Equipped with four individual 15A rated fuses (10x38mm) for overload protection, protecting the PV solar panel and inverter. Max current of single PV input array is 10A.
- 50A Air Circuit Breaker: Provides short circuit fault protection and controls the combiner box output.
- Surge Protective Device (SPD): Offers lightning protection. A "Green" indicator signifies normal operation, while "Red" indicates a triggered state, requiring SPD replacement.
3. Components Overview
The PowGrow PV Combiner Box integrates several key components for optimal performance and safety:

Figure 3.1: Internal view of the combiner box with labeled components.

Figure 3.2: Key components of the PowGrow PV Combiner Box.

Figure 3.3: Exterior of the combiner box with lock and connection points.
- Fuses (15A): Four individual fuses protect each PV input string from overcurrent.
- Surge Protective Device (SPD): Protects the system from lightning strikes and voltage surges.
- Air Circuit Breaker (50A): Provides short-circuit and overload protection for the main output.
- DIN Rail: Standard mounting rail for modular electrical components.
- Ground Wire Connector: For proper grounding of the enclosure.
- Waterproof Lock with Keys: Secures the enclosure and protects internal components.
4. Installation Guide
4.1 Safety Precautions
- Ensure all power sources are disconnected before installation.
- Wear appropriate personal protective equipment (PPE), including insulated gloves and safety glasses.
- Installation should be performed by qualified personnel familiar with solar electrical systems.
- Verify that the current and voltage of a single PV array do not exceed 10A/250VDC.
- Proper grounding is essential for safety.
4.2 Mounting the Combiner Box
The metal enclosure is designed for outdoor use with an IP65 waterproof rating. Choose a suitable location that is easily accessible for maintenance and protected from direct mechanical impact.
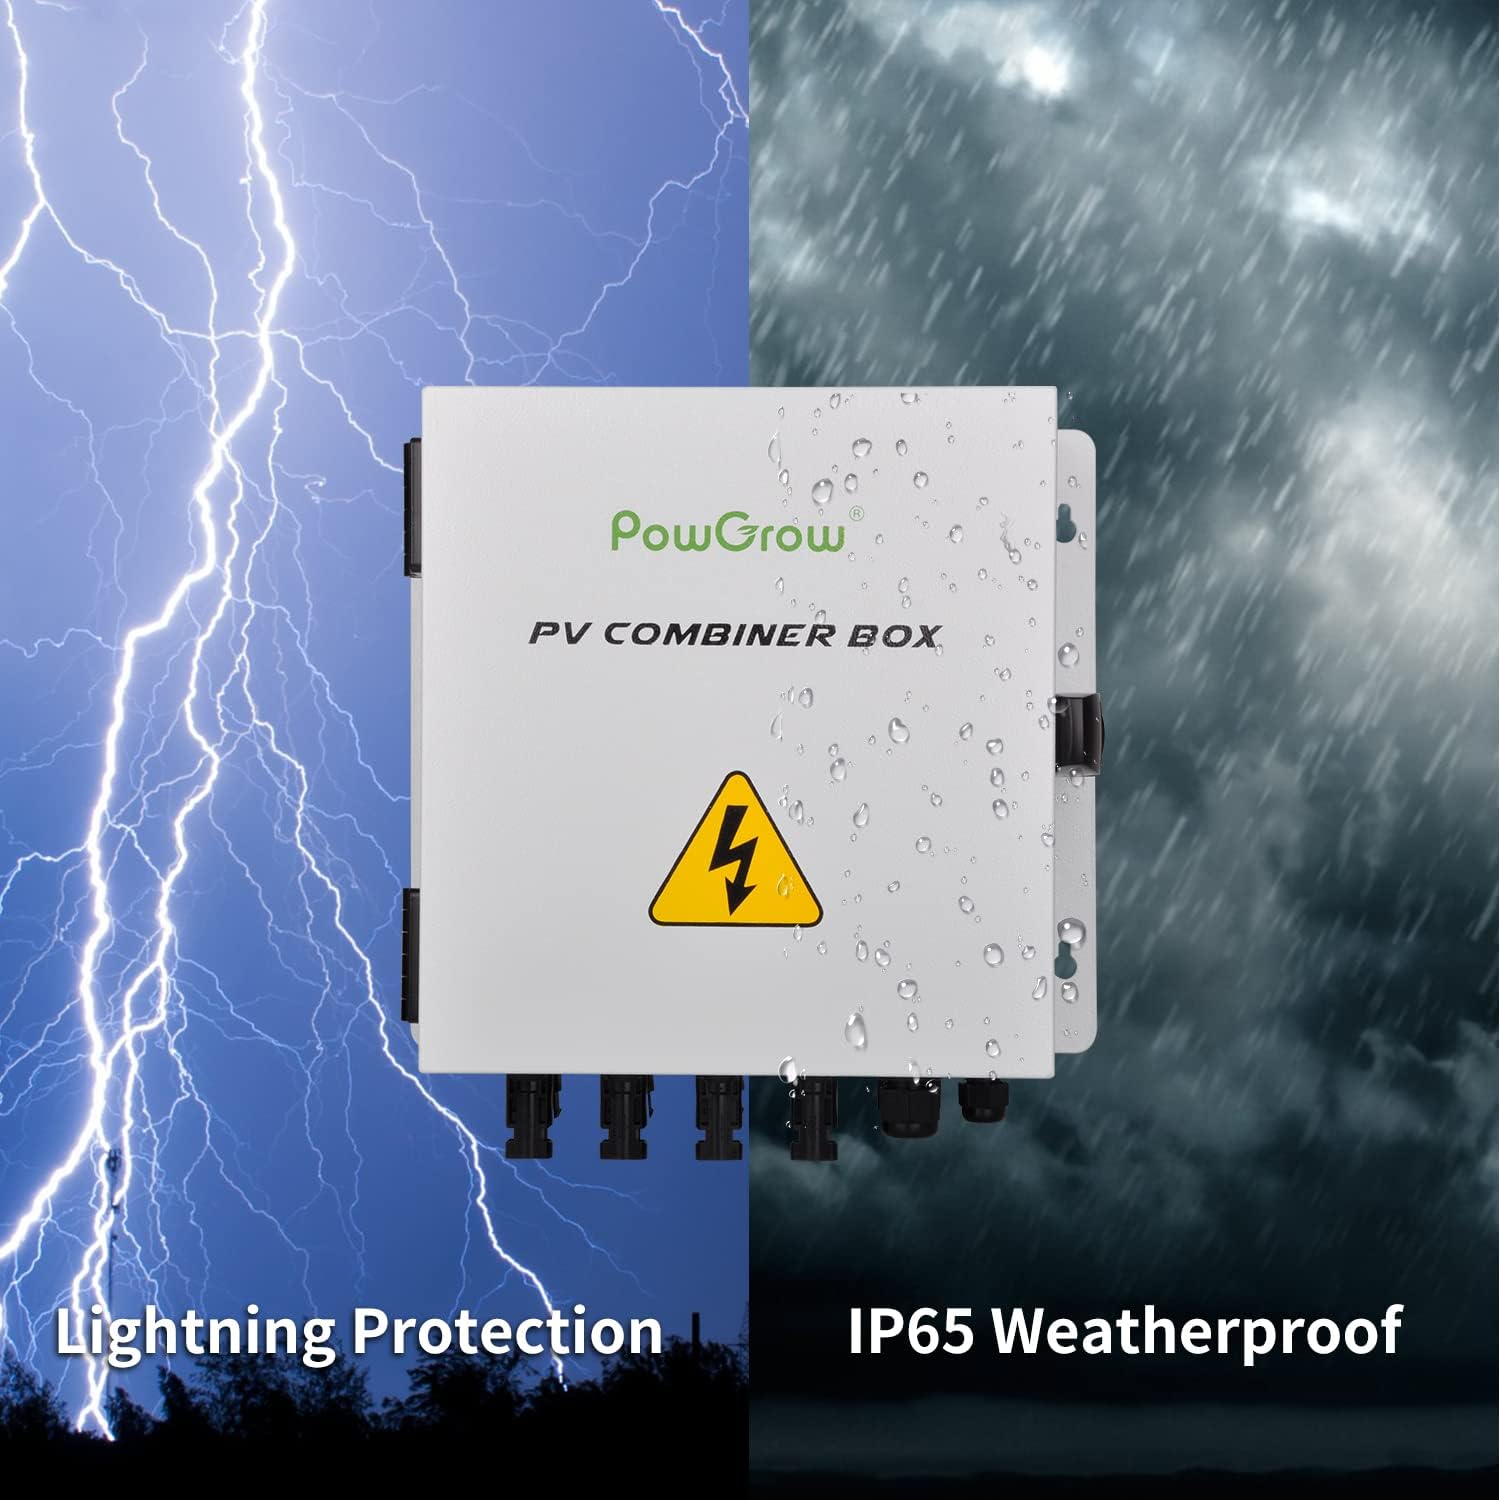
Figure 4.1: The combiner box offers IP65 weatherproofing and lightning protection.
- Mark the mounting points on the desired surface using the box's mounting holes as a template.
- Drill pilot holes if necessary and secure the combiner box firmly using appropriate fasteners.
- Ensure the box is level and securely attached to prevent movement.
4.3 Wiring Connections
The combiner box is pre-wired internally. Follow the diagrams below for connecting your solar panels and inverter.
4.3.1 Off-Grid Solar System Connection

Figure 4.2: Wiring diagram for an off-grid solar power system.
- Connect the positive (+) and negative (-) outputs from each solar panel string to the corresponding DC+ Input and DC- Input terminals on the combiner box.
- Connect the DC+ Output and DC- Output from the combiner box to your charge controller.
- Connect the charge controller to the battery bank.
- Connect the battery bank to the inverter.
- Ensure all connections are tight and secure.
4.3.2 On-Grid Solar System Connection

Figure 4.3: Wiring diagram for an on-grid solar power system.
- Connect the positive (+) and negative (-) outputs from each solar panel string to the corresponding DC+ Input and DC- Input terminals on the combiner box.
- Connect the DC+ Output and DC- Output from the combiner box to your hybrid inverter.
- Connect the hybrid inverter to the electric meter and the utility grid.
- Ensure all connections are tight and secure.
Grounding: Connect the ground wire from your solar array and the combiner box to a reliable earth ground point.
5. Operating Instructions
Once the combiner box is correctly installed and wired, follow these steps for operation:
- Initial Check: Before applying power, double-check all wiring connections for correctness and tightness. Ensure no loose wires or short circuits are present.
- Close the Box: Securely close the combiner box lid and engage the anti-rust lock.
- Engage Circuit Breaker: Switch the 50A air circuit breaker inside the box to the "ON" position. This will allow power to flow from the solar arrays through the combiner box to the inverter/charge controller.
- Monitor SPD Indicator: Observe the Surge Protective Device (SPD) indicator. A "Green" indicator signifies normal operation. If it turns "Red", the SPD has been triggered and needs replacement.
- System Monitoring: Monitor your solar system's performance via your inverter or charge controller.
6. Maintenance
Regular maintenance ensures the longevity and safe operation of your PV combiner box.
- Periodic Inspection: Annually inspect the combiner box for any signs of physical damage, corrosion, or loose connections.
- Cleanliness: Keep the exterior of the box clean from dust, dirt, and debris. Do not use abrasive cleaners.
- Check Fuses: If a solar string is not producing power, check the corresponding 15A fuse. Replace blown fuses with identical rated fuses (10x38mm, 15A).
- SPD Status: Regularly check the SPD indicator. Replace the SPD if the indicator is "Red".
- Seal Integrity: Ensure the waterproof seal around the lid is intact to maintain IP65 protection.
7. Troubleshooting
| Problem | Possible Cause | Solution |
|---|---|---|
| No power output from a PV string. | Blown fuse for that string. | Identify and replace the blown 15A fuse. Ensure the cause of the overload is resolved. |
| No power output from the combiner box. | Main air circuit breaker is OFF or tripped. | Check the 50A air circuit breaker. If tripped, reset it. If it trips repeatedly, investigate for a short circuit or overload in the system. |
| SPD indicator is RED. | Surge Protective Device has been triggered by a voltage surge (e.g., lightning). | Replace the SPD with a new one of the same specifications. |
| Loose connections or poor contact at terminals. | Improper installation or vibration. | With power disconnected, inspect and tighten all terminal connections. |
8. Technical Specifications
| Parameter | Value |
|---|---|
| Max. Input Current of Single PV Array | 10A |
| Total Input Current of PV Array | 40A |
| Max. Input Voltage of Single PV Array | 400VDC |
| Max. Output Power Voltage | 400VDC |
| Working Temperature | -22°F ~ 158°F (-30°C ~ +70°C) |
| Working Humidity | 0-95%, No Condensation |
| Surge Protective Device (SPD) | In: 20kA; Imax: 40kA; Up: 4.0kV |
| SPD Indicate Light Status | Green: Normal; Red: Triggered |
| Air Circuit Breaker Parameter | 500V, 50A; ON/OFF |
| Fuse Parameter | DC380V, 15A, 10x38mm |
| Fuse Holder Parameter | DC500V, 32A |
| Waterproof Class | IP65 |
| Dimensions (LWH) | 11.4 x 10.2 x 4.7 inches |
| Item Weight | 7.9 lb |

Figure 8.1: Detailed technical parameters.

Figure 8.2: Product dimensions.
9. Safety Information
Please read and understand all safety warnings before installing or operating the PowGrow PV Combiner Box.
- High Voltage Warning: Solar PV systems generate high DC voltage. Always treat all components as live and take appropriate precautions.
- Professional Installation: Installation and maintenance should only be performed by qualified electricians or solar technicians.
- Disconnect Power: Always disconnect all power sources (solar panels and battery/inverter) before performing any work on the combiner box.
- Proper Grounding: Ensure the combiner box is properly grounded to prevent electrical shock.
- Component Replacement: Use only original or manufacturer-approved replacement parts (fuses, SPD) with the correct ratings.
- Environmental Conditions: While the box is IP65 rated, avoid submerging it in water or exposing it to extreme conditions beyond its specified operating range.
10. Warranty and Support
For warranty information and technical support, please refer to the product packaging or contact PowGrow customer service directly. Keep your purchase receipt as proof of purchase for warranty claims.
Contact Information: Please visit the official PowGrow website or refer to the contact details provided with your product for support.
Ask a question about this manual
Ask about setup, troubleshooting, compatibility, parts, safety, or missing instructions. Manuals+ will review the question and use this page’s manual context to help answer it.