1. Introduction
This manual provides detailed instructions for the assembly, operation, maintenance, and care of your Baxton Studio IDEN King Size Headboard. Please read all instructions carefully before beginning assembly and retain this manual for future reference.

Image 1.1: Front view of the Baxton Studio IDEN King Size Headboard. This image displays the light grey fabric upholstery with chevron tufting and the walnut brown finished wood frame.
2. Safety Information
- Always assemble the headboard on a soft, clean surface to prevent scratches.
- Ensure all hardware is securely tightened before use. Periodically check and re-tighten as necessary.
- Do not use power tools for assembly unless specifically instructed, as this may damage the product.
- Keep small parts and packaging materials away from children.
- This headboard is designed for use with a standard King size bed frame. Ensure compatibility before attachment.
3. Package Contents
Please verify that all components are present before beginning assembly. If any parts are missing or damaged, contact customer support.
- One (1) King Size Headboard (includes upholstered panel and wood frame)
- Two (2) Headboard Legs
- Assembly Hardware (bolts, washers, nuts, Allen wrench - quantities may vary)
4. Setup and Assembly Instructions
Follow these steps to assemble your Baxton Studio IDEN King Size Headboard.
- Unpack Components: Carefully remove all parts from the packaging. Place them on a soft, clean surface to prevent damage.
- Attach Headboard Legs: Align the pre-drilled holes on the headboard legs with the corresponding attachment points on the back of the headboard panel. Secure the legs using the provided bolts, washers, and nuts. Do not fully tighten at this stage.
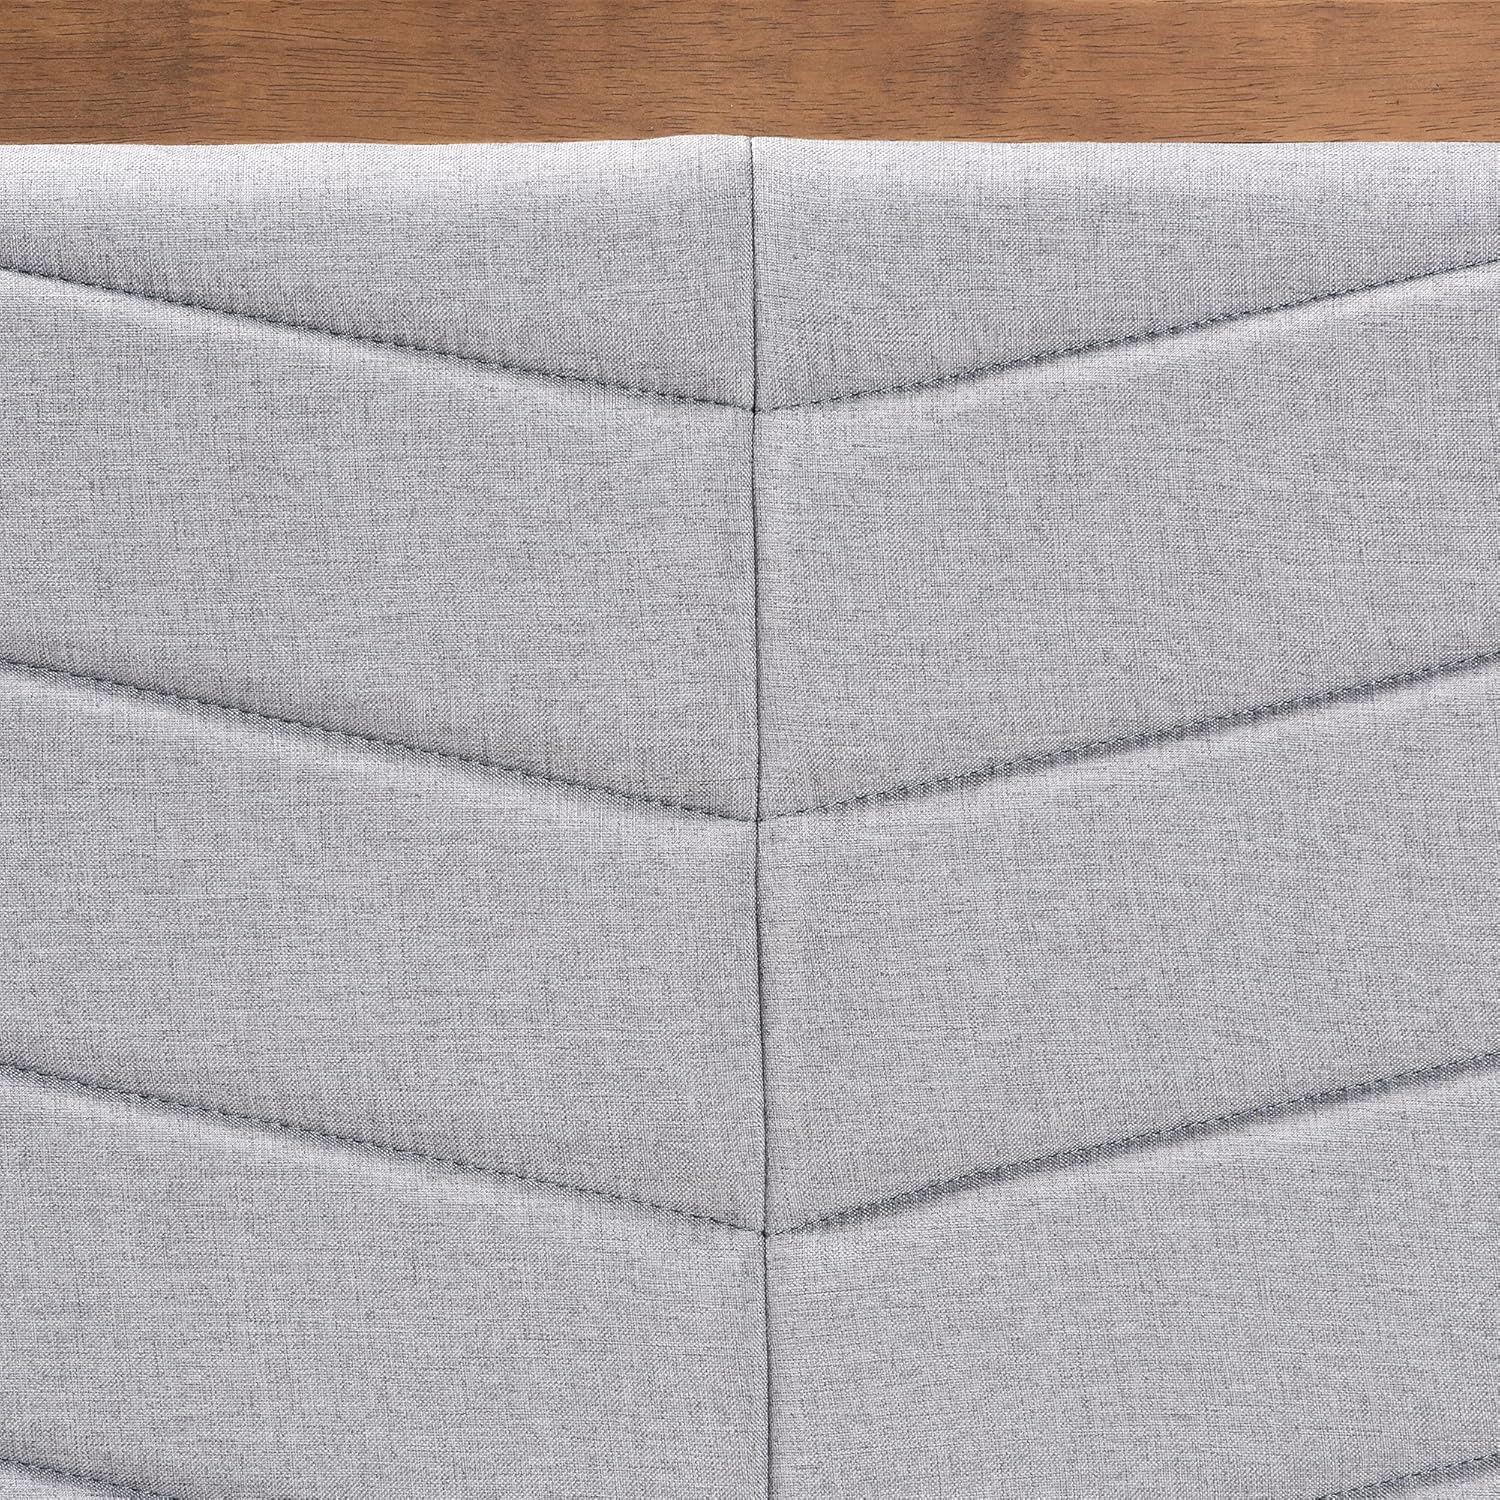
Image 4.1: Back view of the headboard, illustrating the attachment points for the legs. Ensure proper alignment before securing hardware.
- Adjust Headboard Height: The headboard legs feature six pre-drilled holes, spaced 2.50 inches apart, allowing for five unique height adjustment options. Choose the desired height by aligning the leg with the appropriate set of holes on the headboard panel.

Image 4.2: Detail of a headboard leg, showing the multiple pre-drilled holes for height adjustment. The measurements indicate the spacing between adjustment points.
- Secure All Hardware: Once the desired height is set, fully tighten all bolts and nuts using the provided Allen wrench. Ensure the legs are stable and firmly attached.
- Attach to Bed Frame: Position the assembled headboard against your King size bed frame. Use appropriate hardware (not included) to attach the headboard legs to your bed frame's mounting brackets. Alternatively, the headboard can be wall-mounted (hardware not included) as per its design.
5. Operating Instructions
The Baxton Studio IDEN Headboard is designed to provide a comfortable and stylish backrest for your bed. Its primary function is static support. The only adjustable feature is its height, which is set during assembly.
- Height Adjustment: If you wish to change the headboard's height after initial assembly, you will need to detach the legs, re-align them to a different set of pre-drilled holes, and re-secure all hardware. Refer to Step 3 in the Setup and Assembly Instructions.
6. Maintenance and Care
Proper care will help maintain the appearance and longevity of your headboard.
- Cleaning the Fabric: For general cleaning, wipe the upholstered fabric with a dry cloth. For spills or stains, gently blot with a clean, damp cloth and mild soap. Avoid harsh chemicals or abrasive cleaners. Test any cleaning solution on an inconspicuous area first.
- Cleaning the Wood: Wipe the walnut brown finished wood with a dry, soft cloth. Avoid using silicone-based polishes or cleaners that may damage the finish.
- Hardware Check: Periodically inspect all assembly hardware to ensure it remains tight. Re-tighten any loose connections to maintain stability.
- Avoid Direct Sunlight: Prolonged exposure to direct sunlight may cause fading of the fabric and wood finish.
7. Troubleshooting
- Headboard feels wobbly: Ensure all assembly bolts are fully tightened. If attached to a bed frame, verify the bed frame's mounting brackets are secure and compatible.
- Difficulty attaching to bed frame: Confirm your bed frame is a standard King size. If your bed frame does not have compatible mounting brackets, consider using a universal headboard bracket kit (sold separately) or wall-mounting the headboard.
- Fabric appears discolored or stained: Refer to the 'Cleaning the Fabric' section under Maintenance and Care. For persistent stains, professional upholstery cleaning may be required.
8. Specifications
| Brand | Baxton Studio |
| Model Number | 192-11541-AMZ |
| Size | King (U.S. Standard) |
| Color | Light Grey/Walnut Brown |
| Product Dimensions | 78.1"W x 51"H (adjustable height) |
| Item Weight | 28.7 pounds |
| Materials | Rubberwood, Engineered Wood, Polyester Fabric, Foam Padding |
| Mounting Type | Wall Mount / Bed Frame Mount |
| Special Feature | Sturdy, Height Adjustable Legs |
9. Warranty and Support
For warranty information, missing parts, or technical assistance, please contact Baxton Studio customer support directly. Keep your purchase receipt as proof of purchase.
Visit the official Baxton Studio website for additional product information and support resources.


