1. Introduction
This instruction manual provides essential information for the safe and effective use of your AMiO 01248 Antifreeze Hydrometer. This device is designed to measure the freezing point of engine coolant (antifreeze) in automotive cooling systems. Please read this manual thoroughly before operation and retain it for future reference.
2. Safety Information
Always observe the following safety precautions when using the antifreeze hydrometer:
- Eye Protection: Always wear appropriate eye protection (safety glasses or goggles) when working with automotive fluids.
- Skin Protection: Avoid direct skin contact with engine coolant. Wear gloves if necessary.
- Hot Surfaces: Do not attempt to test coolant when the engine is hot. Allow the engine and coolant to cool down to a safe temperature before proceeding. Hot coolant can cause severe burns.
- Chemical Handling: Engine coolant is toxic. Do not ingest. Keep out of reach of children and pets. Dispose of used coolant responsibly according to local regulations.
- Proper Use: Use the hydrometer only for its intended purpose of testing antifreeze concentration.
3. Product Overview
The AMiO 01248 Antifreeze Hydrometer is a simple, yet effective tool for checking the condition of your vehicle's coolant. It consists of a transparent body, a rubber bulb for drawing fluid, and a floating indicator with a scale.
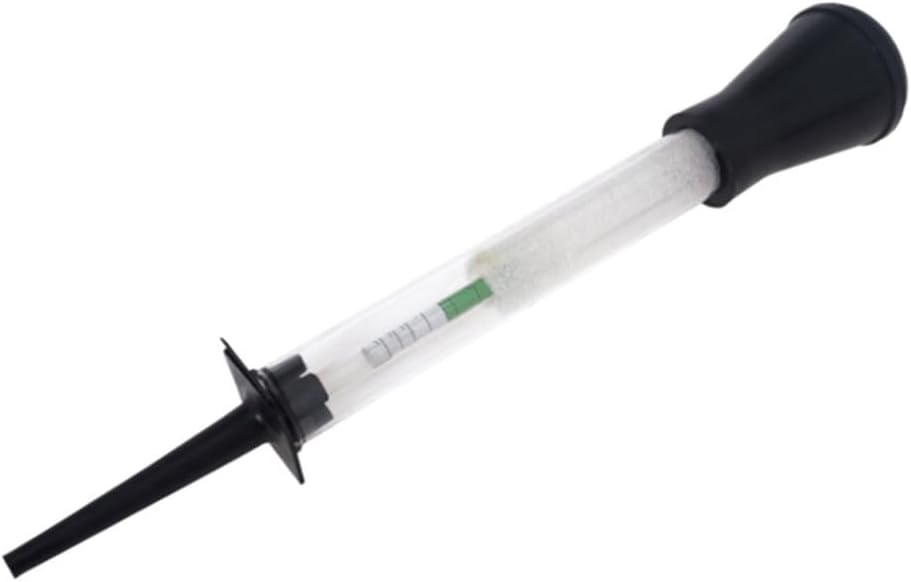
Figure 1: AMiO 01248 Antifreeze Hydrometer. This image shows the transparent tube with a black rubber bulb at one end and a black suction nozzle at the other, containing a floating indicator for measuring antifreeze concentration.
Components:
- Transparent Body: Allows visual inspection of the coolant and the floating indicator.
- Rubber Bulb: Used to create suction and draw coolant into the hydrometer.
- Suction Nozzle: The end that is inserted into the coolant reservoir.
- Floating Indicator (Float): Contains a calibrated scale to indicate the freezing point of the coolant.
4. Setup
Before using the hydrometer, ensure the engine is cool to the touch. Locate the vehicle's coolant reservoir or radiator fill neck.
- Inspect the Hydrometer: Check the hydrometer for any visible damage, cracks, or blockages. Ensure the rubber bulb is pliable and creates good suction.
- Prepare the Vehicle: With the engine completely cool, carefully remove the radiator cap or coolant reservoir cap. Caution: Never open a hot cooling system.
5. Operating Instructions
Follow these steps to accurately test your engine coolant:
- Draw Coolant: Submerge the suction nozzle of the hydrometer into the coolant. Squeeze the rubber bulb completely, then release it slowly to draw coolant into the transparent body of the hydrometer. Fill it enough so that the floating indicator can move freely.
- Remove Air Bubbles: Gently tap the hydrometer to dislodge any air bubbles that may cling to the float, as these can affect accuracy.
- Read the Float: Hold the hydrometer vertically at eye level. Read the scale on the floating indicator at the point where the coolant level intersects it. The scale will typically show the freezing point in degrees Celsius or Fahrenheit.
- Record Reading: Note down the freezing point indicated by the float. Compare this reading with your vehicle manufacturer's recommendations.
- Return Coolant: Carefully squeeze the rubber bulb to return the tested coolant to the reservoir or radiator.
- Clean Up: Replace the radiator or reservoir cap securely.
Note: For most accurate readings, ensure the coolant is at ambient temperature. Extreme temperatures can affect the density and thus the reading of the hydrometer.
6. Maintenance
Proper maintenance ensures the longevity and accuracy of your hydrometer:
- Cleaning: After each use, rinse the hydrometer thoroughly with clean water to remove any coolant residue. This prevents contamination and ensures accurate future readings.
- Drying: Allow the hydrometer to air dry completely before storage.
- Storage: Store the hydrometer in a clean, dry place, away from direct sunlight and extreme temperatures. Keep it in its original packaging or a protective case to prevent damage.
- Inspection: Periodically inspect the rubber bulb and transparent body for signs of wear, cracking, or leaks. Replace the unit if damage is observed.
7. Troubleshooting
| Problem | Possible Cause | Solution |
|---|---|---|
| Inaccurate readings | Air bubbles clinging to the float; coolant not at ambient temperature; hydrometer not clean. | Gently tap the hydrometer to remove bubbles. Allow coolant to cool. Rinse hydrometer thoroughly after each use. |
| Float does not move freely | Insufficient coolant drawn into the hydrometer; float stuck due to residue. | Draw more coolant. Clean the hydrometer thoroughly. |
| Difficulty drawing coolant | Rubber bulb or suction nozzle damaged; blockage in the nozzle. | Inspect for damage. Clear any blockages. If damaged, replace the hydrometer. |
8. Specifications
- Brand: AMiO
- Model: 01248 (TEST-02)
- Product Type: Antifreeze Hydrometer
- Compatibility: Universal
- Color: Transparent, Black
- Dimensions: Approximately 28.1 x 9.1 x 4.5 cm
- Weight: Approximately 68 g
- Package Contents: 1x AMiO 01248 Antifreeze Hydrometer
9. Warranty and Support
For information regarding warranty coverage or technical support, please refer to the documentation provided at the point of purchase or contact your retailer. Keep your purchase receipt as proof of purchase.


