
WeatherTech 801089
WeatherTech Custom Fit Side Window Deflectors User Manual
Model: 801089 for Ford Ranger
Brand: WeatherTech
1. Product Overview
The WeatherTech Custom Fit Side Window Deflectors are designed to provide a sleek, aerodynamic styling while allowing fresh air circulation and reducing wind noise. They are precision-machined to perfectly fit your vehicle's window channel, ensuring a seamless integration without the need for exterior tape.
- Custom Fit: Designed for select 2019-2023 Ford Ranger Models.
- Coverage Area: Front Pair, Dark Tint color.
- Installation: Installed inside the window channel, no exterior tape used.
- Benefits: Reduces wind noise, allows interior heat to escape, permits fresh air during rain.
Official WeatherTech product overview video showcasing the features and benefits of the Custom Fit Side Window Deflectors.
2. Installation Guide
Follow these steps for proper installation of your WeatherTech Side Window Deflectors. A clean paper towel and the included channel tool are required.
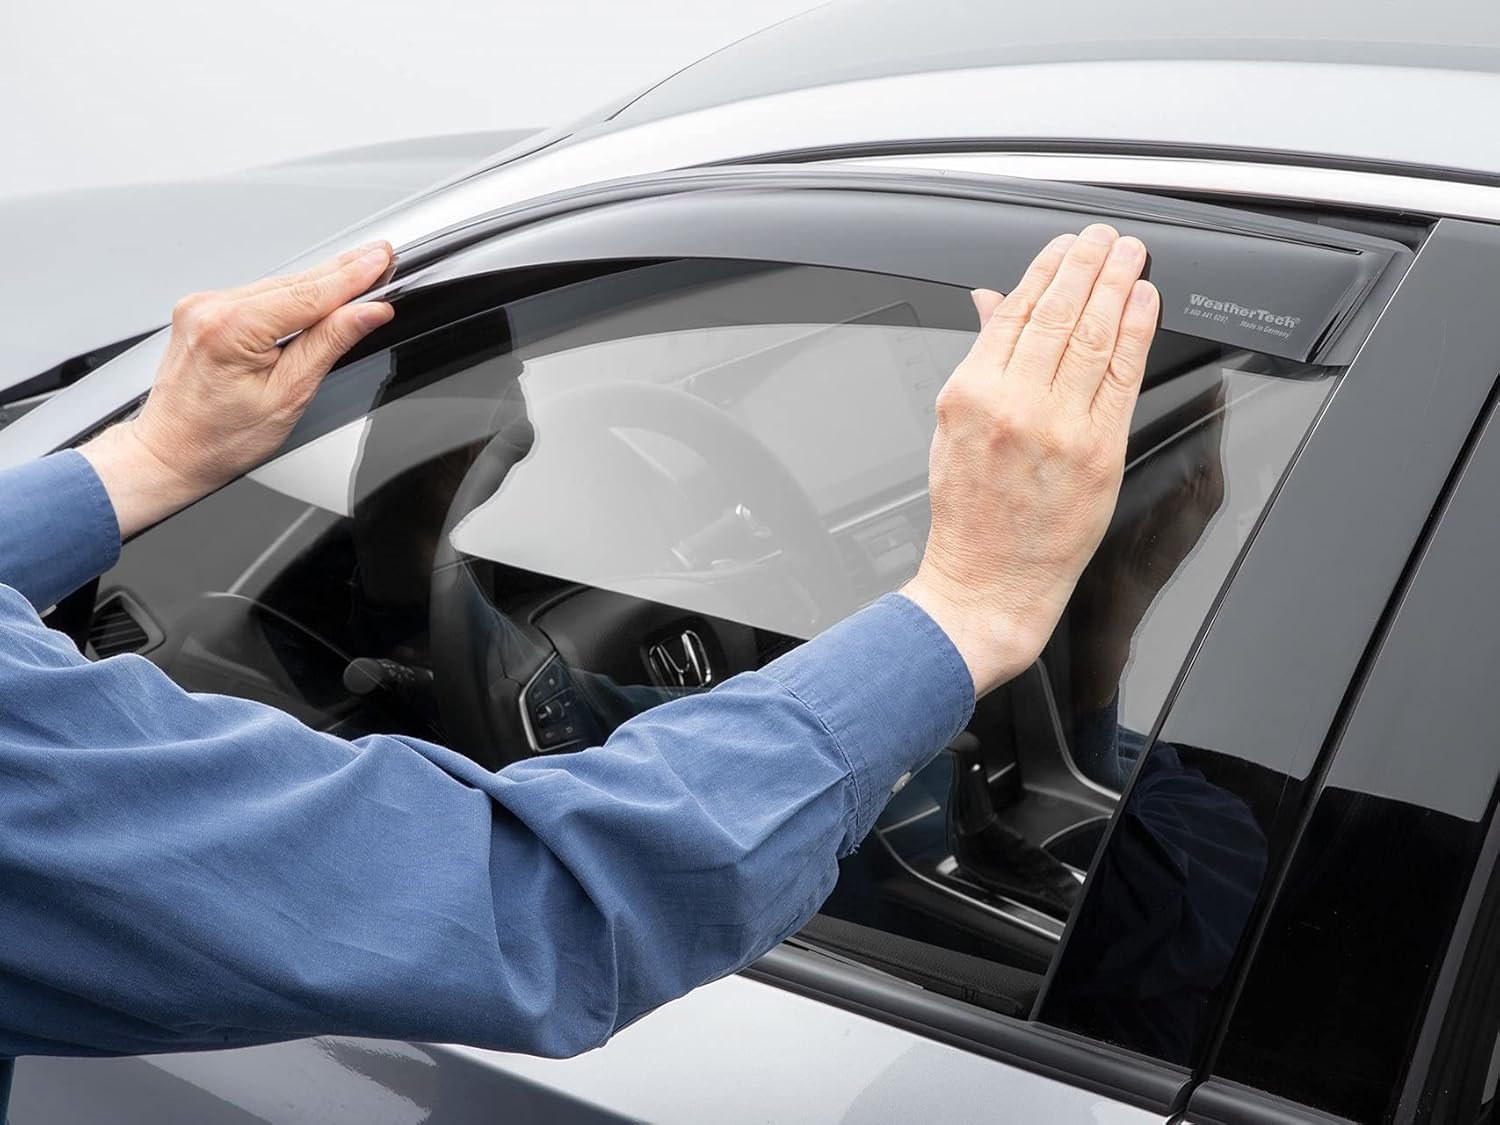
Image: Demonstrating the installation of a WeatherTech Side Window Deflector.
Front Side Window Deflector Installation:
- Prepare Window: Roll down your front window completely.
- Clean Channel: Wrap a paper towel around the flat end of the channel tool. Sweep it through the window channel and weatherstrip to clean it of dirt and debris.
- Raise Window: Raise your window, leaving approximately a 1.5-inch gap at the top.
- Insert Front Flange: Slide the machined flange of the deflector into the forward window channel. Ensure the front end of the deflector flange rests on top of the outer windowsill weatherstrip.
- Insert Rear Flange: With the front end in position, bow the deflector towards you to create tension. Slip the rear end of the flange into the rear vertical window channel, leaving a 0.5-inch gap at the top.
- Secure Deflector: Work front to back, pulling down and tucking the flange up into the window channel until it is fully seated.
- Final Roll-up: Once in the window channel, slowly roll up the window in small increments until it fully closes.
Rear Side Window Deflector Installation:
- Prepare Window: Roll down your rear window completely.
- Clean Channel: Wrap a paper towel around the flat end of the channel tool. Sweep it through the window channel and weatherstrip to clean it of dirt and debris.
- Remove Backing: Remove the backing from the adhesive on the deflector's flange.
- Fit Deflector: Fit the deflector into the rear window by orienting it at a slight angle.
- Slide into Channel: Straighten the deflector and slide it up into the window channel.
- Set Adhesive: Apply slight outward pressure with your fingertips to help set the adhesive.
- Check Obstruction: Before closing your window, make sure the deflector is fully inserted into the window channel and that there is no obstruction to the window track. Double-check by running the flat end of the channel tool across the top.
- Raise Window: Raise the window slowly and apply outward tension until the window reaches the threshold of the side window deflector. Then, finish raising the window without the added tension.
Official WeatherTech installation video for Side Window Deflectors, demonstrating both front and rear window installation steps.
3. Operation and Usage
Once installed, your WeatherTech Side Window Deflectors allow you to enjoy fresh air even during inclement weather. You can crack your windows slightly to allow air circulation without rain entering the vehicle's interior. This also helps to reduce heat buildup when parked.
The low-profile design ensures minimal wind noise and maintains the vehicle's aesthetic appeal. The deflectors are transparent, ensuring clear visibility.
4. Care and Maintenance
To ensure the longevity and appearance of your WeatherTech Side Window Deflectors, follow these simple maintenance tips:
- Cleaning: Clean the deflectors with mild soap and water. Avoid abrasive cleaners or harsh chemicals that could damage the acrylic material.
- Drying: Wipe dry with a soft cloth to prevent water spots.
- Channel Cleaning: Periodically clean the window channels to prevent dirt and debris buildup, which can affect window operation and deflector fit. Use the channel tool as described in the installation section.
5. Troubleshooting
| Problem | Possible Cause | Solution |
|---|---|---|
| Window does not roll up smoothly or gets stuck. | Deflector not fully seated; debris in window channel; weatherstrip deforming. | Ensure deflector is fully inserted and unobstructed. Clean window channel thoroughly. If weatherstrip is deforming, ensure proper alignment during installation. |
| Deflector appears loose or rattles. | Improper installation; adhesive not fully set. | Re-check installation steps, especially the bowing and tucking of the flange. Apply outward pressure to help set the adhesive. Ensure vehicle is parked in a warm environment for adhesive to cure. |
| Water leaks into the vehicle. | Deflector not properly sealed against the window channel. | Verify the deflector is correctly positioned and fully seated in the window channel. Ensure no gaps exist between the deflector and the vehicle's weatherstripping. |
6. Product Specifications
- Model: Side Window Deflector
- Item Model Number: 801089
- Color: Dark Tint
- Exterior Finish: Machined
- Style: Sleek
- Auto Part Position: Front
- Installation Type: In-Channel
- Automotive Fit Type: Vehicle Specific Fit
- Item Weight: 3 pounds
- Package Dimensions: 47 x 13 x 2 inches
- UPC: 787765344692
- Manufacturer: Weathertech
- Date First Available: July 21, 2021
7. Warranty and Support
WeatherTech products are proudly designed, engineered, and manufactured in the USA. For specific warranty information, please refer to the official WeatherTech website or contact their customer service directly. WeatherTech stands behind the quality and craftsmanship of its products.
For further assistance, technical support, or questions regarding your WeatherTech Side Window Deflectors, please visit the official WeatherTech website or contact their customer support team.
WeatherTech Customer Service: Contact Us Page
Related documents801089


Ask a question about this manual
Ask about setup, troubleshooting, compatibility, parts, safety, or missing instructions. Manuals+ will review the question and use this page’s manual context to help answer it.