
Introduction
This manual provides detailed instructions for the installation, operation, and maintenance of your DieseRC Wireless Light Remote Control 2-Gang Switch. Please read this manual thoroughly before use to ensure safe and efficient operation.
Safety Information
- Always disconnect power before installing or performing maintenance on the receiver.
- Do not exceed the maximum load capacity of 10 Amps or 2500 Watts for the receiver.
- The product is designed for indoor use with an IP20 rating. Avoid exposure to water or high humidity.
- Keep batteries out of reach of children.
- Ensure all electrical connections are secure and comply with local electrical codes.
Package Contents
Verify that all items are present in your package:
- 1 x DieseRC Wireless 2-Gang Switch
- 1 x DieseRC RF Receiver (Model 2201M+WP07)
- Mounting Screws
- Double-sided Adhesive Tape

Image: Package contents showing the wireless switch, receiver, mounting screws, and double-sided tape. Note that the 12V 27A battery for the switch is not included.
Product Overview
The DieseRC Wireless Light Remote Control system consists of a wireless wall panel switch and an RF receiver, designed for convenient control of lighting or other electrical devices without the need for new wiring.
Wireless Switch (2-Gang)
- Dimensions: 86mm x 86mm x 13mm (3.39in x 3.36in x 0.51in)
- Weight: 60 grams (0.21 lb)
- Battery: 1 x 12V 27A (not included)
- Lifespan: Over 500,000 operations
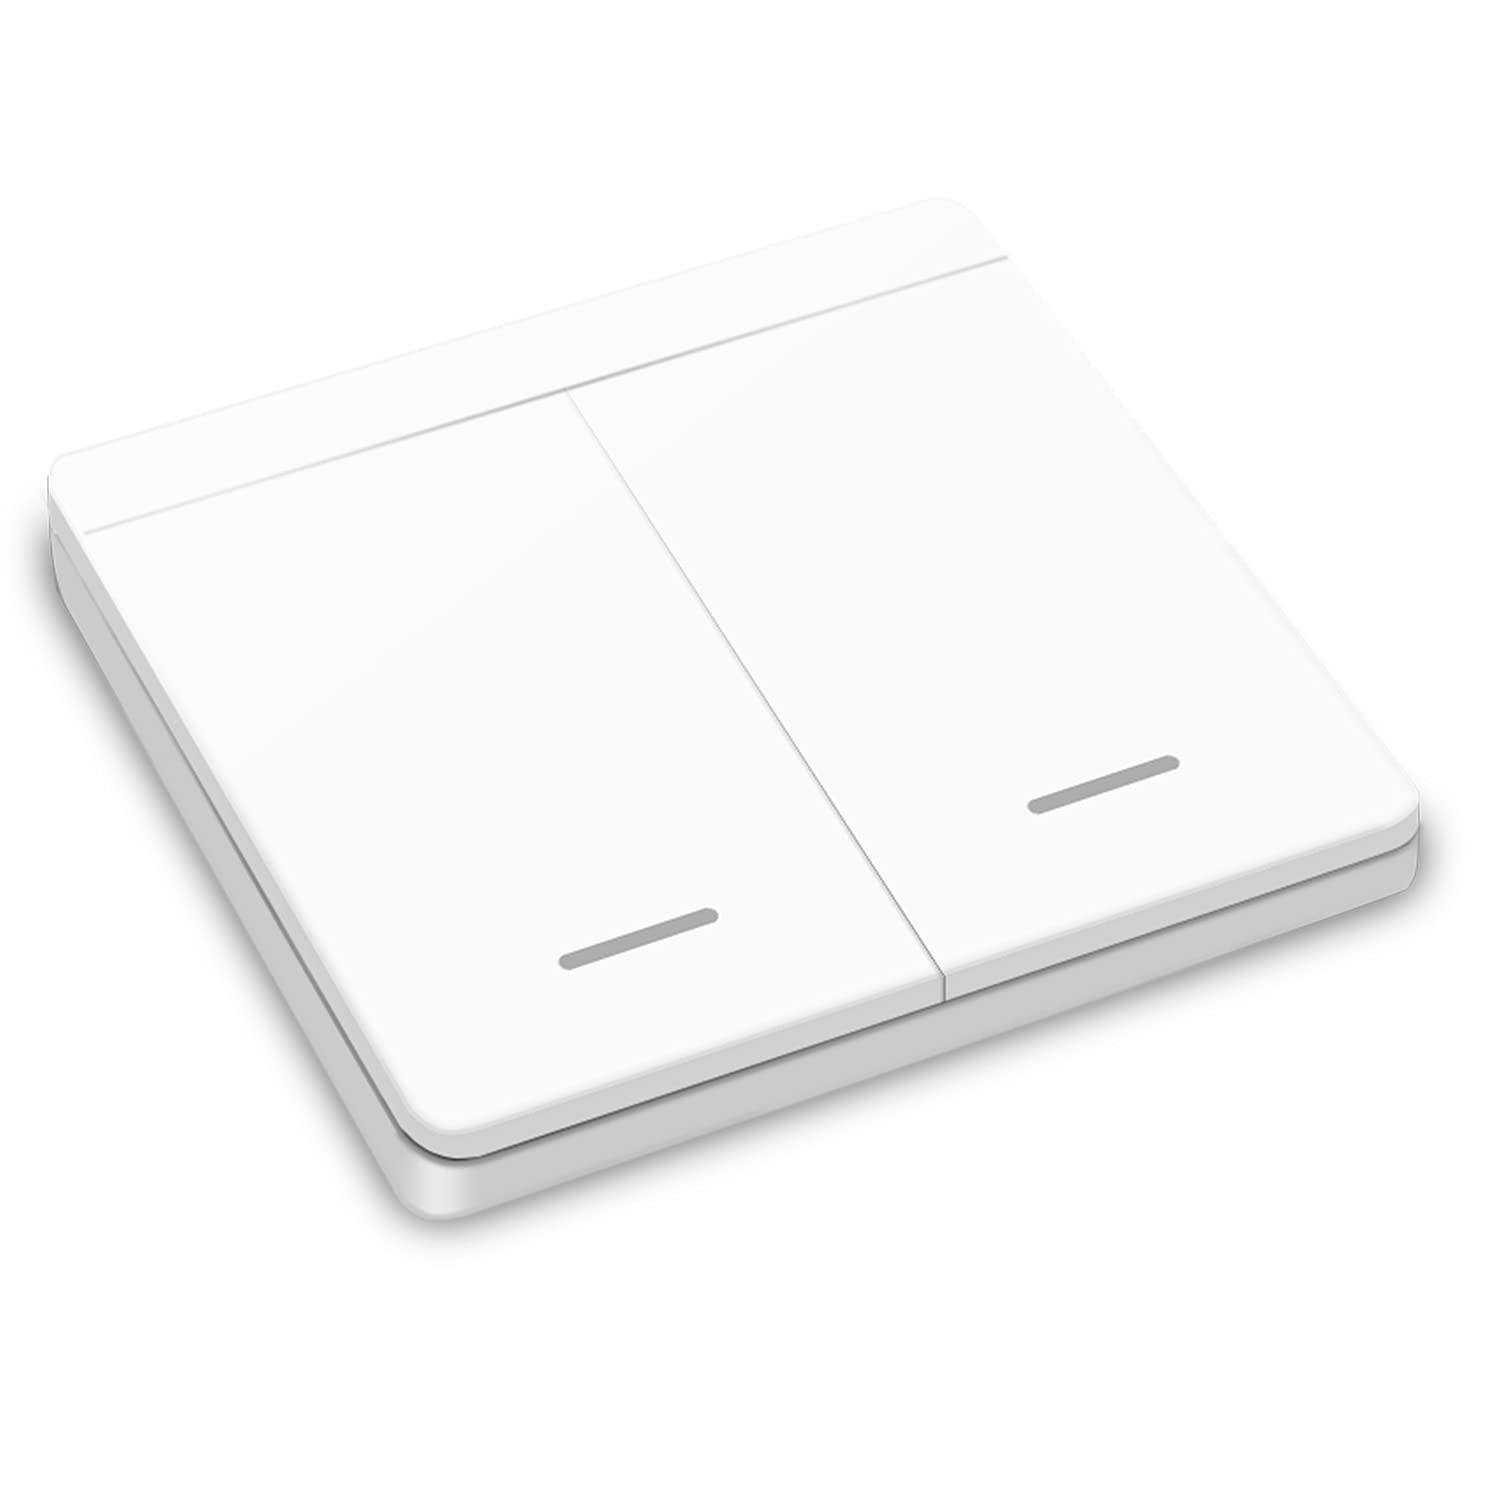
Image: Front view of the DieseRC 2-gang wireless wall switch.
RF Receiver (Model 2201M+WP07)
- Dimensions: 47mm x 42mm x 23mm
- Input Voltage: AC 85V-250V (compatible with 110V/220V/230V)
- Max Load: 10A / 2500W
- Lifespan: Over 400,000 relay operations
- Frequency: RF 433MHz
- Learning Code: EV1527 for stable and secure signal transmission

Image: Top view of the DieseRC RF receiver, detailing its input and output terminals and specifications.
Setup
1. Receiver Installation
- Disconnect Power: Before starting, ensure the main power supply to the circuit is turned off at the breaker.
- Connect Wiring: Install the receiver between the power source (AC 85V-250V) and the device you wish to control (e.g., light fixture). Refer to the wiring diagram below for correct connections.
- Placement: The compact size of the receiver (47x42x23mm) allows it to be easily hidden within most electrical boxes, junction boxes, or mounted with screws.

Image: Wiring diagram illustrating how to connect the receiver between the AC power input and the light/device output.
2. Wireless Switch Installation
The wireless switch requires no wiring. It can be installed in two ways:
- Adhesive Mounting: Use the provided double-sided adhesive tape to attach the switch to any smooth, clean wall surface.
- Screw Mounting: Secure the switch to the wall using the provided screws for a more permanent installation.
3. Pairing the Switch and Receiver
Follow these steps to pair your wireless switch with the receiver:
- Activate Learning Mode: Press the learning button on the receiver twice. Wait for 3 seconds.
- Press Switch Button: Press one of the buttons on your wireless switch. Wait for 3 seconds. The pairing for that button is now successful.
- Repeat for Second Gang: If you have a 2-gang switch, repeat step 2 for the second button to pair it with another receiver or another function on the same receiver (if supported).

Image: Step-by-step diagram illustrating the pairing process between the receiver's learning button and the wireless switch button.
4. Clearing the Signal (Reset)
To clear all paired switches from a receiver, effectively resetting its memory:
- Clear Learning Mode: Press the learning button on the receiver 8 times. Wait for 3 seconds. All previously paired switches will now be unpaired.

Image: Diagram showing the process to clear all paired signals from the receiver by pressing its learning button 8 times.
Operating Instructions
Once installed and paired, operating the DieseRC Wireless Light Remote Control system is straightforward.
Basic Operation
Simply press the corresponding button on the wireless switch to toggle the connected device (e.g., light) ON or OFF. The RF signal allows control from a distance of up to 50 meters in open areas and can pass through walls, floors, and doors.

Image: A wireless switch being used in a kitchen, demonstrating easy installation and control without wiring.
Multi-Control Functionality
The system offers flexible control options:
- Multiple Switches, One Receiver: Each receiver can store pairing information for up to 10 wireless switches. This allows you to control a single light or device from multiple locations (e.g., a light at the top and bottom of a staircase).
- One Switch, Multiple Receivers: A single wireless switch can also be paired with multiple receivers, allowing you to control several lights or devices simultaneously with one press.

Image: Illustration of multiple wireless switches controlling lights across different floors, enhancing convenience and energy saving.

Image: Various diagrams demonstrating how multiple switches can control one lamp, or one switch can control multiple lamps, offering flexible control solutions.
Maintenance
Battery Replacement (Wireless Switch)
The wireless switch is powered by a 12V 27A battery, which typically lasts approximately 5 years. To replace the battery:
- Carefully disassemble the wireless switch casing.
- Remove the old 12V 27A battery.
- Insert a new 12V 27A battery, ensuring correct polarity.
- Reassemble the switch casing.
Cleaning
Wipe the surfaces of the switch and receiver with a dry, soft cloth. Do not use abrasive cleaners, solvents, or immerse the devices in water.
Troubleshooting
If you encounter issues with your DieseRC Wireless Light Remote Control system, refer to the following common problems and solutions:
- Device not responding to switch:
- Ensure the receiver is properly wired and receiving power.
- Check if the wireless switch battery is depleted and replace if necessary.
- Re-pair the switch and receiver by following the "Pairing the Switch and Receiver" instructions in the Setup section.
- If multiple switches are paired, try clearing the signal from the receiver and then re-pairing only the desired switches.
- Reduced signal range or intermittent control:
- Ensure the receiver's antenna is fully extended for optimal signal reception.
- Minimize obstructions (e.g., large metal objects, thick walls) between the wireless switch and the receiver.
- Ensure there are no strong sources of RF interference nearby.
Specifications
| Feature | Specification |
|---|---|
| Brand | DieseRC |
| Model Number | 750828381484 (2201M+WP07) |
| Wireless Protocol | RF 433MHz |
| Learning Code | EV1527 |
| Receiver Input Voltage | AC 85V-250V |
| Receiver Max Load | 10A / 2500W |
| Wireless Switch Battery | 1 x 12V 27A (not included) |
| Wireless Switch Lifespan | >500,000 operations |
| Receiver Relay Lifespan | >400,000 operations |
| Dimensions (Switch) | 8.8 x 8.8 x 2.3 cm |
| Dimensions (Receiver) | 4.7 x 4.2 x 2.3 cm |
| Weight (Switch) | 60 grams |
| Operating Mode | Automatic |
| Mounting Type | Wall Mount |
| IP Rating | IP20 |
| Certifications | CE |
| Compatible Devices | Lamps, lighting, ventilation devices, food waste disposers, DIY wireless sockets, signal transmission, etc. |
Warranty and Support
DieseRC products are manufactured with high-quality components and undergo strict quality control to ensure reliability and performance.
For any product-related inquiries, technical assistance, or support, please refer to the seller's contact information provided at the point of purchase or visit the official DieseRC website for further resources.


