1. Introduction and Safety Information
Thank you for choosing the CREATE KETTLE RETRO L Electric Kettle. This manual provides important information for the safe and efficient use of your appliance. Please read all instructions carefully before first use and retain for future reference.
Important Safety Precautions:
- Always ensure the kettle is placed on a stable, flat, heat-resistant surface.
- Do not immerse the kettle, power base, cord, or plug in water or any other liquid.
- Keep the appliance out of reach of children and pets.
- Do not operate the kettle if the power cord or plug is damaged, or if the appliance malfunctions or has been damaged in any way.
- Avoid contact with hot surfaces. Use the handle when moving the kettle.
- Do not fill the kettle above the maximum fill line or below the minimum fill line.
- Ensure the lid is securely closed before operating.
- Only use the kettle with its supplied power base.
- Unplug the kettle from the outlet when not in use and before cleaning.
- This appliance is for household use only.
2. Product Components
Familiarize yourself with the parts of your CREATE KETTLE RETRO L electric kettle:
- Kettle Body: The main container for water, made of stainless steel.
- Lid: Removable lid with a cool-touch knob for safe handling.
- Handle: Ergonomically designed, cool-touch handle for comfortable pouring.
- Spout: Designed for easy pouring. Contains an anti-limescale filter.
- Water Level Indicator: Located on the side to show water volume.
- On/Off Switch: Lever-style switch to activate the heating element.
- Power Base: 360-degree rotational base with cord storage.

Image 1: Front view of the CREATE KETTLE RETRO L electric kettle.
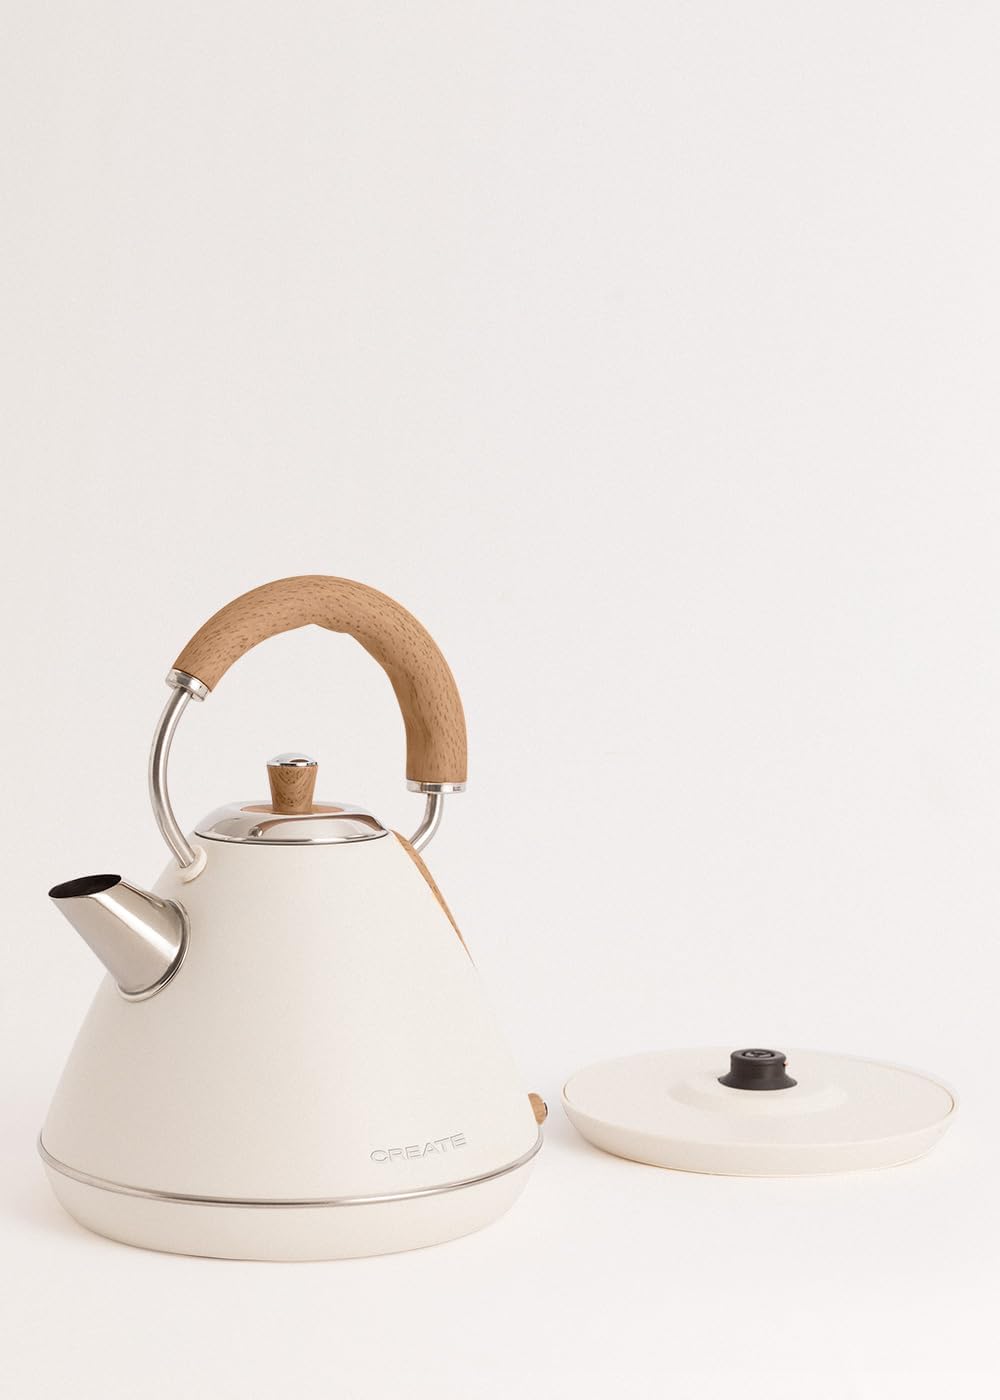
Image 2: The kettle body, power base, and lid shown separately.

Image 3: Detailed view of the kettle's spout and lid.
3. Setup
- Unpack: Carefully remove the kettle and all accessories from the packaging. Dispose of packaging materials responsibly.
- Position the Base: Place the power base on a dry, flat, and stable surface near a power outlet. Ensure the cord is not dangling or creating a tripping hazard.
- Initial Cleaning: Before first use, fill the kettle with clean water to the maximum level. Boil the water, then discard it. Repeat this process two to three times to remove any manufacturing residues.
4. Operating Instructions
Follow these steps to safely operate your electric kettle:
- Fill the Kettle: Open the lid and fill the kettle with the desired amount of fresh water. Do not fill below the minimum mark or above the maximum mark.
- Close the Lid: Ensure the lid is securely closed before placing the kettle on its power base.
- Place on Base: Position the kettle firmly onto its power base.
- Connect to Power: Plug the power cord into a suitable electrical outlet.
- Switch On: Press the On/Off switch downwards. The indicator light will illuminate, signaling that the kettle is heating.

Image 4: Operating the On/Off switch.
The kettle features a rapid boil function, heating 0.5 liters of water in approximately 2 minutes and 1 liter in approximately 3 minutes. Once the water has boiled, the kettle will automatically switch off, and the indicator light will extinguish. You can also manually switch off the kettle by lifting the On/Off switch.
5. Maintenance and Cleaning
Regular cleaning and maintenance will prolong the life of your kettle.
Exterior Cleaning:
- Always unplug the kettle and allow it to cool completely before cleaning.
- Wipe the exterior with a soft, damp cloth. Do not use abrasive cleaners or harsh chemicals.
Interior Cleaning and Descaling:
Over time, mineral deposits (limescale) may build up inside the kettle, especially in hard water areas. This can affect performance and taste.
- Descaling Solution: Use a commercial descaling solution suitable for kettles, following the manufacturer's instructions. Alternatively, you can use a mixture of white vinegar and water (1 part vinegar to 2 parts water).
- Process: Fill the kettle with the descaling solution or vinegar mixture to the maximum level. Bring to a boil and let it stand for 15-30 minutes (or as per descaler instructions).
- Rinse: Pour out the solution and rinse the kettle thoroughly with fresh water several times to remove any residue and odor.
- Anti-Limescale Filter: The kettle is equipped with an anti-limescale filter in the spout. This filter can be removed for cleaning. Rinse it under running water and gently brush away any deposits. Ensure it is properly reinserted before use.
6. Troubleshooting
If you encounter any issues with your kettle, please refer to the following common problems and solutions:
| Problem | Possible Cause | Solution |
|---|---|---|
| Kettle does not turn on. | Not plugged in; power outage; kettle not properly seated on base; faulty switch. | Check power connection; ensure kettle is correctly placed on base; try a different outlet. |
| Water not boiling. | Insufficient water; limescale buildup; automatic shut-off activated prematurely. | Ensure water is above minimum fill line; descale the kettle; check for proper lid closure. |
| Kettle leaks. | Lid not properly closed; overfilled; internal seal issue. | Ensure lid is securely closed; do not overfill; if problem persists, contact customer support. |
| Automatic shut-off not working. | Faulty sensor; limescale buildup affecting sensor. | Descale the kettle thoroughly; if issue continues, discontinue use and seek professional service. |
7. Specifications
Technical details for the CREATE KETTLE RETRO L electric kettle:
| Specification | Detail |
|---|---|
| Brand | CREATE |
| Model Number | 69420_176628 |
| Color | Off-white |
| Product Dimensions (L x W x H) | 22 x 22 x 26.5 cm |
| Capacity | 1.7 Liters |
| Power | 2200 Watts |
| Voltage | 240 Volts |
| Material | Stainless Steel |
| Item Weight | 1.6 Kilograms |
| Special Features | Automatic shut-off, Rapid boil, Anti-limescale filter, Cool-touch handle/lid |
8. Warranty and Support
For information regarding the product warranty, please refer to the documentation provided at the time of purchase or contact your retailer. Specific details about spare parts availability are not provided in this manual. For further assistance or service, please contact CREATE customer support through their official website or the contact information provided with your purchase.


