1. Product Overview
The EmpireTech IPC-Color4K-X is an 8-megapixel (8MP) AI Bullet IP Camera designed for surveillance applications. It features a 1/1.2" CMOS image sensor for ultra-low light performance, delivering high-definition 4K (3840 × 2160) video at 30 frames per second. This camera supports full-color imaging even in low-light conditions, enhanced by built-in warm LED illumination with a maximum distance of 60 meters (196.85 ft).
Key features include built-in dual microphones and a speaker for two-way audio, ePOE and standard POE (Power over Ethernet) for flexible power and network connectivity, and advanced AI capabilities such as motion detection, video metadata, IVS (Intelligent Video System), FD (Face Detection), and people counting. The camera is rated IP67 for weather resistance, making it suitable for both indoor and outdoor use.

Figure 1.1: Front view of the EmpireTech IPC-Color4K-X camera, showing the dual lenses and warm LED lights.
Video 1.1: This video demonstrates the 4K Full Color 8MP IP Camera (IPC-Color4K-X) in operation, showcasing its ability to capture clear, full-color video.
2. Setup
2.1 Package Contents
Before installation, verify all components are present:
- EmpireTech IPC-Color4K-X Camera
- Mounting Bracket
- Waterproof Connector
- Ethernet Cable (short)
- Pack of Screws and Hex Key
- Quick Start Guide
- Surveillance Sign
2.2 Physical Installation
The camera can be wall-mounted or ceiling-mounted. Use the provided mounting template to drill pilot holes. Secure the mounting plate with screws, then attach the camera to the plate and adjust its position. Ensure the power ports are not directly exposed to water or moisture.
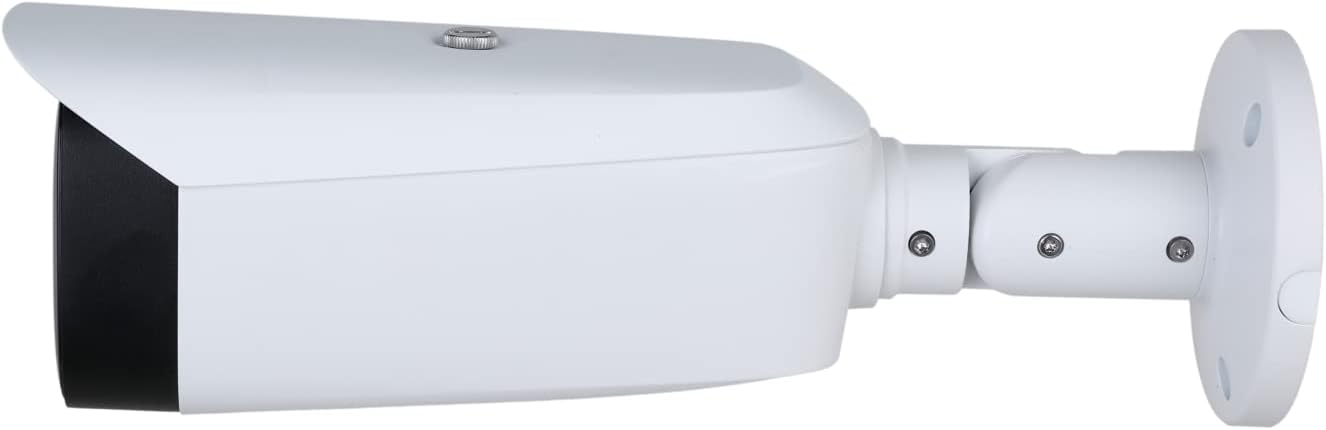
Figure 2.1: Dimensional diagram of the IPC-Color4K-X camera, illustrating its physical measurements and mounting hole pattern for precise installation.
2.3 Network Connection
Connect the camera to your network using an Ethernet cable. The camera supports ePOE and standard POE, allowing both power and data transmission over a single Ethernet cable. If not using POE, a DC 12V power adapter (not included) is required.
For outdoor installations, utilize the waterproof connector to protect the Ethernet cable connection from moisture.
2.4 Initial Configuration
Download the Reolink App or Client software on your smartphone or PC. Scan the QR code on the device or manually input the device details to add the camera. Follow the on-screen instructions to complete the initial setup, including setting a device password.


