
1. Introduction
This manual provides detailed instructions for the installation, operation, and maintenance of your ACUMEN XR10 4K Mirror Dash Cam. Please read this manual thoroughly before using the device to ensure proper functionality and safety. Keep this manual for future reference.
2. Product Overview
2.1 Package Contents
- ACUMEN XR10 4K Mirror Dash Cam (Front Unit)
- Rear View Camera
- GPS Module
- Power Cable (Car Charger)
- Rear Camera Extension Cable
- Mounting Straps/Accessories
- 64GB Memory Card
- User Manual
2.2 Key Features
- Front Camera: 4K (3840×2160P@30fps) recording with starlight CMOS sensor and 6-glass wide-angle lens.
- Rear Camera: FHD 1080P recording with 155° wide-angle lens.
- Display: 12-inch IPS touchscreen with 2.5D curved glass for reduced glare.
- Night Vision: WDR (Wide Dynamic Range) and 3D noise reduction for clear low-light recording.
- Connectivity: Built-in high-speed 5.8G WiFi for app connection and video download.
- GPS: Built-in GPS module and external antenna for precise location and speed tracking.
- Parking Monitoring: 24/7 protection with G-sensor collision detection and time-lapse recording.
- Power: Supercapacitor for reliable operation in extreme temperatures (-4°F to 158°F).
- Storage: Supports up to 256GB SD card (64GB included).
3. Setup and Installation
3.1 Inserting the Memory Card
Before installation, ensure the memory card is inserted correctly. The device supports Micro SD cards up to 256GB. A 64GB card is included.
- Locate the Micro SD card slot on the side of the mirror dash cam.
- Insert the memory card with the gold contacts facing the front of the device until it clicks into place.
- To remove, gently push the card until it springs out.
Note: It is recommended to format the memory card within the dash cam settings periodically to ensure optimal performance and prevent recording errors.
3.2 Installing the Front Mirror Dash Cam
The mirror dash cam is designed to attach over your existing rearview mirror.
- Place the dash cam over your vehicle's original rearview mirror.
- Secure the dash cam using the provided rubber straps, hooking them around the original mirror and the dash cam's clips. Ensure it is firmly attached and does not obstruct your view.
- Adjust the angle of the front camera lens to capture the road ahead clearly.
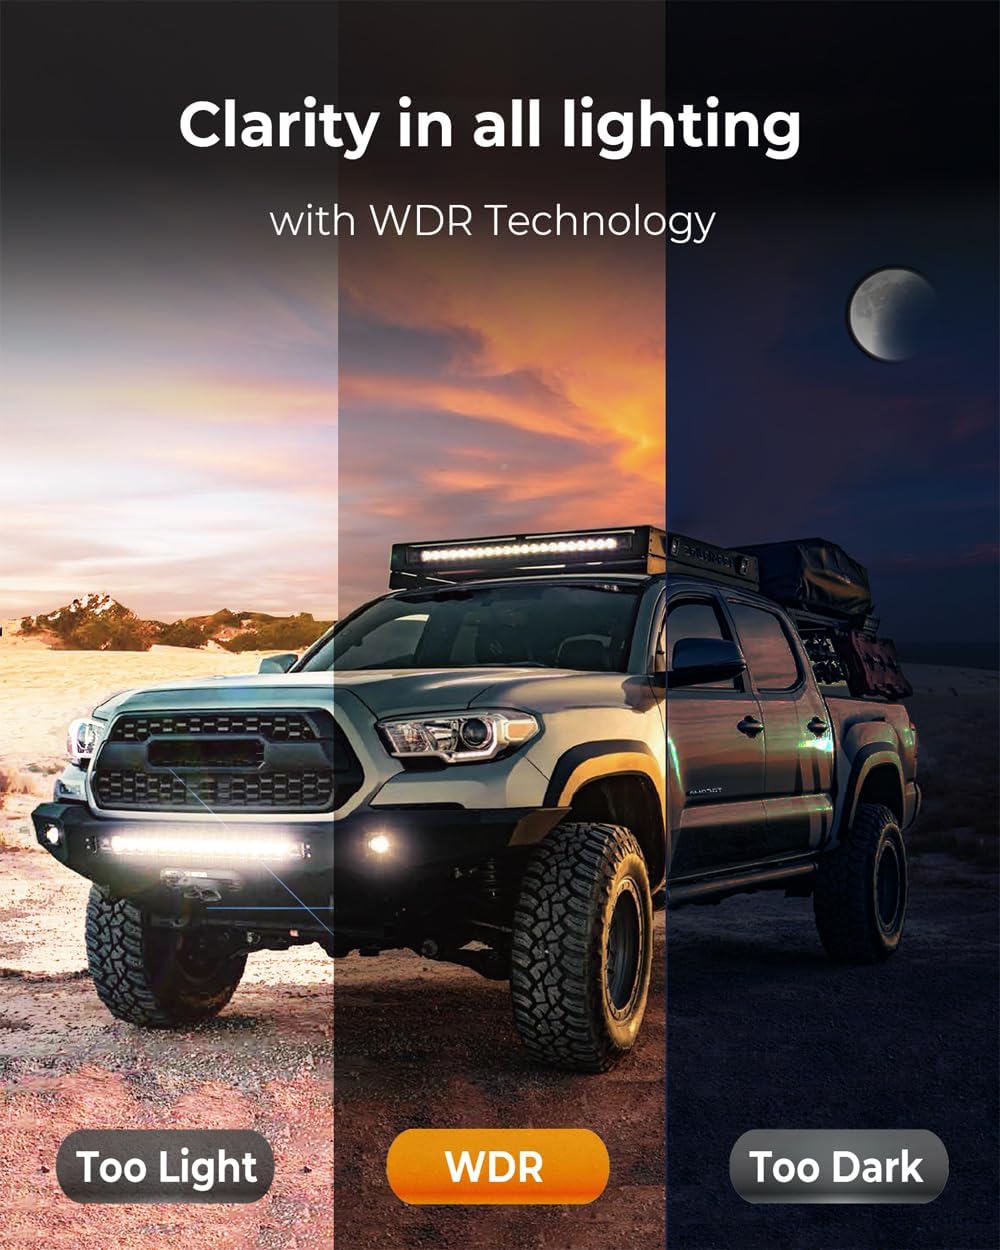
Image: The ACUMEN XR10 4K Mirror Dash Cam installed in a vehicle, showing its placement over the existing rearview mirror.
3.3 Installing the Rear View Camera
The rear camera provides a wide-angle view of the area behind your vehicle.
- Choose a suitable location for the rear camera, typically above the license plate or on the rear windshield. Ensure it has a clear view and does not obstruct the license plate or vehicle lights.
- Clean the mounting surface thoroughly.
- Attach the rear camera using the provided adhesive or screws.
- Route the rear camera extension cable from the rear camera to the front mirror dash cam. Conceal the cable along the vehicle's headliner and A-pillars for a neat installation.
- Connect the rear camera cable to the designated port on the mirror dash cam.

Image: A waterproof rear view camera with its mounting bracket, suitable for external vehicle installation.
3.4 Connecting the GPS Module
The external GPS module provides accurate location and speed data.
- Connect the GPS module to the dedicated GPS port on the mirror dash cam.
- Mount the GPS module on the dashboard or windshield, ensuring it has a clear view of the sky for optimal signal reception.
3.5 Power Connection
Connect the dash cam to your vehicle's power source.
- Plug the car charger into your vehicle's 12V power outlet (cigarette lighter socket).
- Connect the other end of the power cable to the power input port on the mirror dash cam.
- Route the power cable neatly to avoid obstruction.
Note: For 24/7 parking monitoring, a hardwire kit (sold separately or included in some packages) is required to provide continuous power to the dash cam when the vehicle is off.
4. Operating Instructions
4.1 Powering On/Off
- Automatic Power On/Off: The dash cam will automatically power on and begin recording when your vehicle's engine starts and power is supplied. It will power off automatically shortly after the engine is turned off.
- Manual Power On/Off: Press and hold the power button on the device to manually turn it on or off.
4.2 Screen Display Modes
The 12-inch IPS touchscreen allows you to switch between various display modes.
- Front View: Displays only the front camera feed.
- Rear View: Displays only the rear camera feed.
- Split View: Displays both front and rear camera feeds simultaneously.
Tap the screen or use the on-screen icons to cycle through these display modes.

Image: The mirror dash cam display showing a split-screen view, with the front camera on one side and the rear camera on the other.
4.3 Recording Functionality
- Loop Recording: The dash cam continuously records video in segments (e.g., 1, 3, or 5 minutes). When the memory card is full, it automatically overwrites the oldest unlocked footage.
- G-Sensor (Emergency Recording): The built-in G-sensor detects sudden impacts or collisions. When triggered, it automatically locks the current video segment, preventing it from being overwritten by loop recording. These files are stored in a separate folder.

Image: An illustration depicting a car collision with a prominent 'locked' icon, indicating the G-sensor's function to protect incident footage.
4.4 Menu Navigation and Settings
Access the device settings via the touchscreen interface.
- Tap the screen to bring up the menu icons.
- Navigate through settings such as video resolution, loop recording duration, G-sensor sensitivity, date/time, and more.
- Adjust settings as needed and confirm your selections.
5. Advanced Features
5.1 Wi-Fi Connectivity and Mobile App
The built-in 5.8G WiFi allows for fast connection to your smartphone via the dedicated mobile app.
- Download the "AcumenCam" app from the App Store (iOS) or Google Play Store (Android).
- On the dash cam, enable Wi-Fi from the settings menu.
- On your smartphone, connect to the dash cam's Wi-Fi network (SSID and password will be displayed on the dash cam screen).
- Open the AcumenCam app to view live footage, browse recorded videos, download files to your phone, and adjust settings remotely.

Image: A smartphone displaying the AcumenCam app, illustrating the ability to view and download videos via Wi-Fi.
5.2 GPS Tracking and Route Playback
The GPS module records your driving route, speed, and location data.
- GPS data is embedded into the video files.
- Use the mobile app or a compatible PC viewer software to review your past driving routes on a map, along with corresponding video footage.

Image: An illustration of the GPS logger function, displaying a tracked route on a map alongside video playback on a phone and laptop.
5.3 Parking Monitoring and Security
The dash cam offers comprehensive 24/7 parking protection.
- Time-Lapse Recording: When parked, the dash cam can record continuously at a low frame rate (e.g., 5FPS) to save battery and memory card space while still capturing events. This feature requires a hardwire kit.
- Collision Detection (G-Sensor): If an impact is detected while parked, the G-sensor will trigger an emergency recording, saving the footage as a locked file.

Image: An illustration highlighting 24/7 parking protection, featuring time-lapse recording and collision detection with a hardwire kit.
5.4 WDR and Night Vision
Wide Dynamic Range (WDR) technology enhances video clarity in varying light conditions, from bright daylight to low-light environments.
- WDR balances exposure, preventing overexposure in bright areas and underexposure in dark areas.
- Combined with 3D noise reduction, this ensures clear and detailed recordings even at night.

Image: A visual comparison demonstrating the effectiveness of WDR technology in achieving clear video quality across various lighting conditions: too light, WDR-enhanced, and too dark.
5.5 Parking Assist Lines
When reversing, the rear camera display can show customizable parking assist lines to aid in safe maneuvering.
- These lines can be adjusted via the touchscreen settings to match your vehicle's dimensions.
- The rear camera image can also be flipped horizontally or vertically to suit your preference.
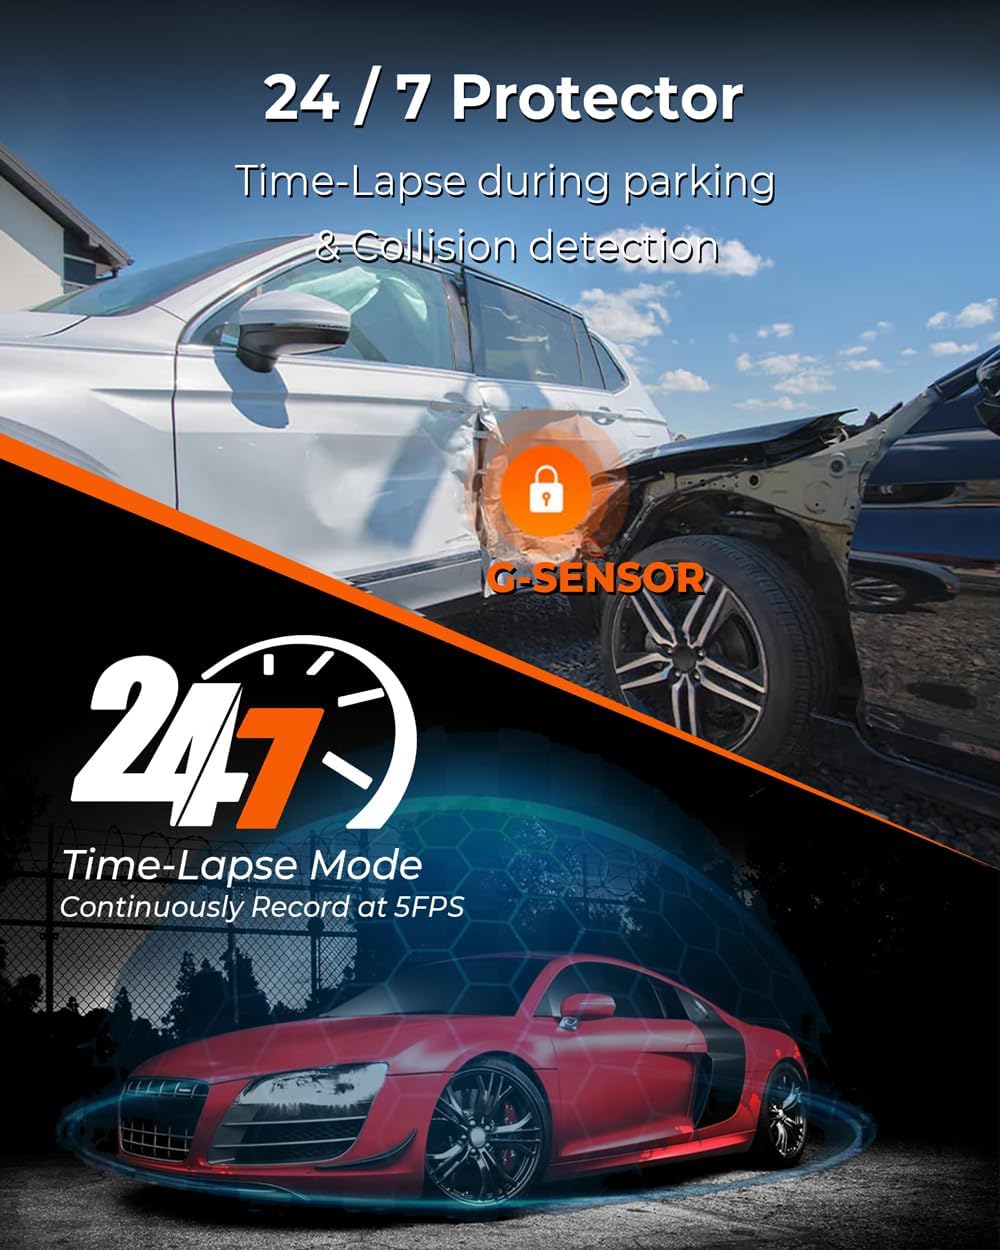
Image: The mirror dash cam display showing parking assist lines overlaid on the rear camera view, aiding in precise vehicle maneuvering.
6. Maintenance
6.1 Cleaning the Device
- Use a soft, dry cloth to clean the dash cam's screen and lens.
- Avoid using abrasive cleaners or solvents, as they may damage the device.
- Ensure the lenses are clean for optimal video quality.
6.2 Memory Card Management
- Formatting: Regularly format the memory card (at least once a month) through the dash cam's settings menu. This helps maintain card health and prevents data corruption.
- Replacement: Memory cards have a limited lifespan. If you experience frequent recording errors or corrupted files, consider replacing the memory card. Use high-endurance Micro SD cards designed for dash cam use.
6.3 Firmware Updates
Periodically check the ACUMEN official website for available firmware updates. Firmware updates can improve performance, add new features, or fix bugs. Follow the instructions provided with the firmware update carefully.
7. Troubleshooting
| Problem | Possible Cause | Solution |
|---|---|---|
| Dash cam does not power on. | No power supply; faulty power cable; vehicle's 12V outlet not working. | Check power cable connection. Test the 12V outlet with another device. Try a different power cable. |
| Recording stops or files are corrupted. | Memory card full; memory card error; low-quality memory card. | Format the memory card. Replace with a new, high-endurance Micro SD card. |
| GPS signal is weak or not found. | GPS module obstructed; poor satellite reception. | Ensure the GPS module has a clear view of the sky. Relocate the module if necessary. |
| Wi-Fi connection issues. | Incorrect password; Wi-Fi not enabled on dash cam; app issues. | Verify Wi-Fi password. Ensure Wi-Fi is enabled on the dash cam. Restart the app and dash cam. |
| Rear camera not displaying. | Loose cable connection; faulty rear camera. | Check the rear camera cable connection to the main unit. Ensure the cable is not damaged. |
| Screen is unresponsive. | Temporary software glitch. | Press and hold the power button to restart the device. |
8. Specifications
| Feature | Detail |
|---|---|
| Model Name | XR10 4K |
| Front Video Resolution | 3840×2160P (4K) @ 30fps |
| Rear Video Resolution | 1920×1080P (FHD) |
| Screen Size | 12 Inches IPS Touchscreen |
| Front Field of View | 140 Degrees |
| Rear Field of View | 155 Degrees |
| Connectivity | Wi-Fi (5.8G) |
| Special Features | Built-In GPS, Built-In Supercapacitor, G-Sensor, WDR Night Vision, Parking Mode |
| Storage | Micro SD Card, up to 256GB (64GB included) |
| Operating Temperature | -4°F to 158°F (-20°C to 70°C) |
| Power Input | 9V~30V (Wide Voltage Range) |
| Control Method | Touchscreen, Mobile App |
| Supported Video Format | MP4 |
9. Warranty and Support
9.1 Warranty Information
Your ACUMEN XR10 4K Mirror Dash Cam comes with a standard warranty. By registering your purchase on the official ACUMEN website, you can receive a free extended 1-year warranty, totaling up to 24 months of coverage. This warranty covers manufacturing defects and ensures product reliability.
9.2 Customer Support
For technical assistance, warranty claims, or any questions regarding your product, please contact ACUMEN customer support:
- Email: info@acumen-camera.com
- Website: Visit the official ACUMEN website for FAQs, firmware updates, and additional support resources.

Image: ACUMEN's policy details, including information on money-back guarantee, quality assurance, product line, and official warranty with a support email address.