GreenLife Digital Rice Cooker Instruction Manual
Model: CC005064-001
1. Introduction
Thank you for choosing the GreenLife Digital Rice Cooker. This appliance is designed to simplify your cooking process, offering one-touch presets for various grains. Its compact design and healthy ceramic nonstick coating ensure efficient and convenient meal preparation. Please read this manual thoroughly before first use to ensure safe and optimal operation.
2. Important Safeguards
When using electrical appliances, basic safety precautions should always be followed, including the following:
- Read all instructions.
- Do not touch hot surfaces. Use handles or knobs.
- To protect against electrical shock, do not immerse cord, plugs, or the main unit in water or other liquid.
- Close supervision is necessary when any appliance is used by or near children.
- Unplug from outlet when not in use and before cleaning. Allow to cool before putting on or taking off parts.
- Do not operate any appliance with a damaged cord or plug, or after the appliance malfunctions or has been damaged in any manner.
- The use of accessory attachments not recommended by the appliance manufacturer may cause injuries.
- Do not use outdoors.
- Do not let cord hang over edge of table or counter, or touch hot surfaces.
- Do not place on or near a hot gas or electric burner, or in a heated oven.
- Extreme caution must be used when moving an appliance containing hot oil or other hot liquids.
- Always attach plug to appliance first, then plug cord into the wall outlet. To disconnect, turn any control to "off", then remove plug from wall outlet.
- Do not use appliance for other than intended use.
3. Product Overview
The GreenLife Digital Rice Cooker is designed for ease of use and consistent results. It features a compact design and a user-friendly control panel.
Components
- Main Unit (Rice Cooker)
- Removable Inner Pot (Ceramic Nonstick)
- Measuring Cup
- Serving Spatula

Figure 3.1: GreenLife Digital Rice Cooker (Yellow)

Figure 3.2: Included accessories: measuring cup and serving spatula.
Key Features
- One-Touch Presets: Dedicated settings for White Rice, Brown Rice, Quinoa, and Steel Cut Oats.
- Compact Capacity: Designed for 2-cups uncooked (4-cups cooked) portions, ideal for individuals or small families.
- Healthy Ceramic Nonstick: The inner pot features a PFAS, PFOA, lead, and cadmium-free ceramic nonstick coating for easy food release and cleanup.
- Fuzzy Logic Technology: Automatically adjusts cooking time and temperature for optimal grain texture.
- Delay Timer: Allows for customizable cooking start times.
- Keep Warm Function: Automatically activates after cooking to maintain food temperature.
- Dishwasher-Safe Inner Pot: Removable inner pot for convenient cleaning.
4. Setup and First Use
Unpacking
- Carefully remove all components from the packaging.
- Remove any promotional stickers or labels.
- Retain packaging materials for future storage or shipping.
Cleaning Before First Use
- Wash the removable inner pot, measuring cup, and serving spatula with warm, soapy water. Rinse thoroughly and dry completely.
- Wipe the exterior of the rice cooker with a damp cloth. Do not immerse the main unit in water.
Placement
Place the rice cooker on a stable, flat, heat-resistant surface, away from walls or cabinets to allow for proper ventilation during operation.
5. Operating Instructions
Control Panel Overview
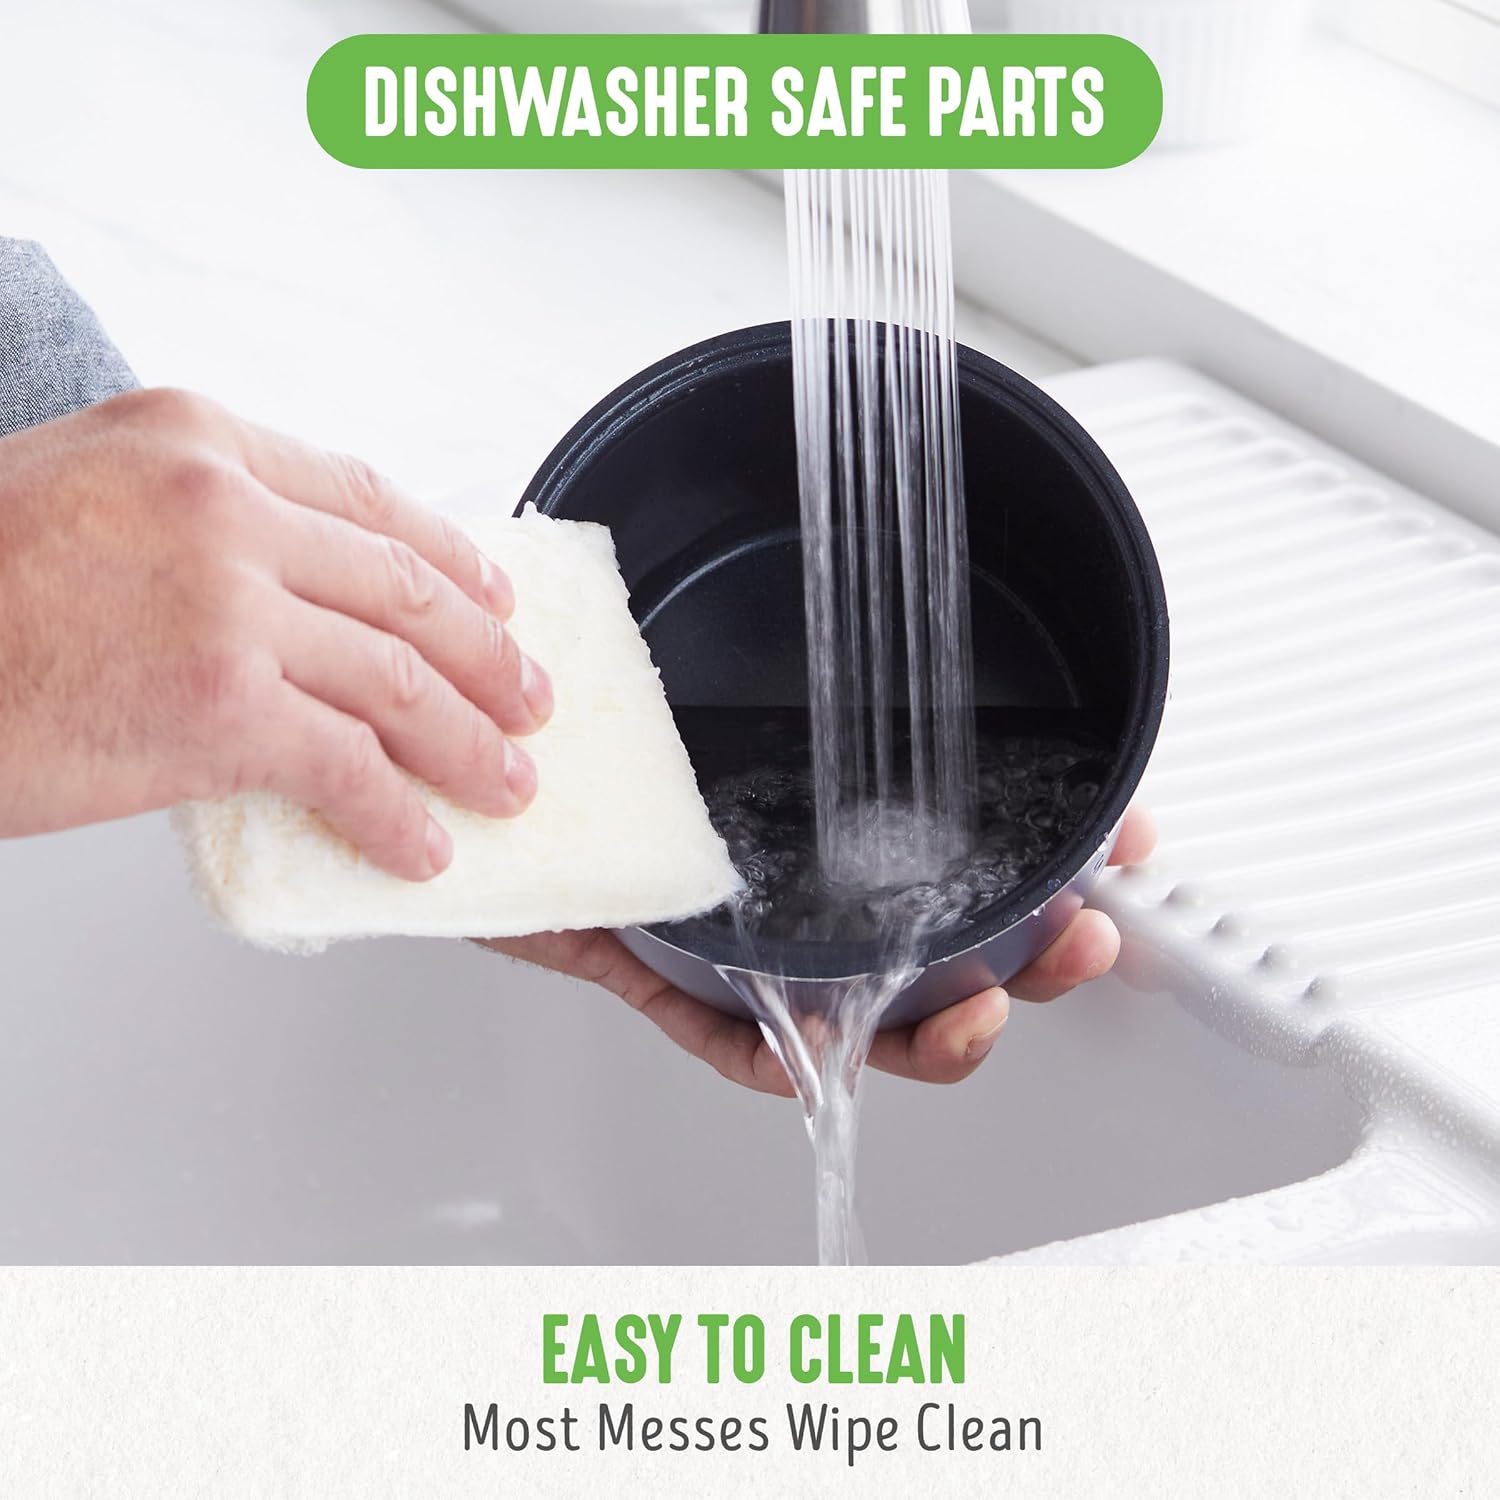
Figure 5.1: Digital Control Panel
- White Rice: One-touch program for white rice.
- Brown Rice: One-touch program for brown rice.
- Quinoa: One-touch program for quinoa.
- Steel Cut Oats: One-touch program for steel cut oats.
- Menu: Cycles through available cooking programs.
- Delay Timer: Sets a delayed start time for cooking.
- Keep Warm/Stop: Activates/deactivates the keep warm function or stops the current cooking cycle.
- Start: Initiates the selected cooking program.
- +/- Buttons: Adjusts time settings for the Delay Timer.
Basic Cooking Steps
- Measure Ingredients: Use the provided measuring cup to measure your desired amount of grain. Rinse grains if necessary according to recipe or preference.
- Add to Inner Pot: Place the measured grain into the removable inner pot.
- Add Water: Add the appropriate amount of water. Refer to the cooking guide below or the water level markings inside the inner pot.
- Place Inner Pot: Insert the inner pot into the main unit, ensuring it is seated correctly. Close the lid securely.
- Select Program: Plug in the rice cooker. Press the desired one-touch preset button (White Rice, Brown Rice, Quinoa, Steel Cut Oats) or use the 'Menu' button to cycle through options.
- Start Cooking: Press the 'Start' button. The indicator light for the selected program will illuminate, and the display will show the cooking time.
- Keep Warm: Once cooking is complete, the cooker will automatically switch to 'Keep Warm' mode. The 'Keep Warm' indicator will light up.
- Serve: Use the provided serving spatula to fluff and serve the cooked grains.
- Turn Off: Press 'Keep Warm/Stop' to end the 'Keep Warm' cycle, then unplug the appliance.
Using the Delay Timer
- Follow steps 1-4 from 'Basic Cooking Steps'.
- Select your desired cooking program (e.g., White Rice).
- Press the 'Delay Timer' button. The display will show a default delay time.
- Use the '+/-' buttons to adjust the delay time in hours.
- Press 'Start'. The 'Delay Timer' indicator will light up, and the countdown will begin. The cooker will automatically start cooking once the delay time has elapsed.
6. Cooking Guide
The following table provides general guidelines. Adjust water ratios and cooking times based on personal preference and specific grain types.
| Grain Type | Grain (Measuring Cups) | Water (Measuring Cups) | Program | Approx. Cook Time |
|---|---|---|---|---|
| White Rice | 1 | 1.25 - 1.5 | White Rice | 25-30 min |
| White Rice | 2 | 2.5 - 3 | White Rice | 30-35 min |
| Brown Rice | 1 | 1.5 - 2 | Brown Rice | 50-60 min |
| Brown Rice | 2 | 3 - 4 | Brown Rice | 60-70 min |
| Quinoa | 1 | 1.5 - 2 | Quinoa | 25-30 min |
| Steel Cut Oats | 1 | 3 | Steel Cut Oats | 30-35 min |
Note: The provided measuring cup is typically 180ml (approximately 3/4 standard US cup). Always use the provided measuring cup for accurate ratios.

Figure 6.1: Cooked rice in the inner pot.
7. Care and Maintenance
Cleaning
- Always unplug the rice cooker and allow it to cool completely before cleaning.
- Inner Pot, Measuring Cup, Spatula: These parts are dishwasher safe. Alternatively, wash with warm, soapy water and a non-abrasive sponge. Rinse thoroughly and dry.
- Main Unit: Wipe the exterior with a damp cloth. Do not use abrasive cleaners or scourers. Never immerse the main unit in water or any other liquid.
- Inner Lid: The inner lid is removable for thorough cleaning. Gently pull it down to detach, wash, rinse, and dry, then reattach.

Figure 7.1: Cleaning the removable inner pot.
Storage
Ensure all parts are clean and dry before storing. Store the rice cooker in a cool, dry place. Do not wrap the power cord tightly around the appliance.
8. Troubleshooting
If you encounter issues with your rice cooker, please refer to the following table:
| Problem | Possible Cause | Solution |
|---|---|---|
| Cooker does not turn on. | Not plugged in; power outlet malfunction. | Ensure the power cord is securely plugged into a working outlet. |
| Rice is too hard/undercooked. | Insufficient water; incorrect grain-to-water ratio; lid not sealed properly. | Add more water next time; ensure lid is closed tightly; refer to cooking guide for ratios. |
| Rice is too soft/mushy. | Too much water; incorrect grain-to-water ratio. | Reduce water next time; refer to cooking guide for ratios. |
| Water overflows during cooking. | Too much water; cooking too large a quantity of grain. | Ensure water level does not exceed the maximum fill line; do not exceed 2 measuring cups of uncooked grain. |
| Grains stick to the bottom. | Not enough water; 'Keep Warm' cycle too long. | Add slightly more water; avoid leaving grains on 'Keep Warm' for extended periods. |
If the problem persists, please contact customer support.
9. Specifications
- Brand: GreenLife
- Model Name: CC005064-001
- Capacity: 2 Cups Uncooked / 4 Cups Cooked
- Product Dimensions: 7.44"D x 8.23"W x 7.36"H
- Power Source: Corded Electric
- Wattage: 240 watts
- Voltage: 220 Volts
- Material: Ceramic (Inner Pot)
- Special Features: Advanced Fuzzy Logic, Easy Clean, Non-Stick, Timer
- Included Components: Inner Pot, Measuring Cup, Rice Cooker, Rice Paddle
10. Warranty and Support
For warranty information and customer support, please refer to the warranty card included with your product or visit the official GreenLife website. Please have your model number (CC005064-001) and purchase date available when contacting support.
Online Resources: Visit the GreenLife Store on Amazon


