1. Setup and Assembly
This GIANTEX clothes rack is designed for easy assembly. Please follow these steps carefully to ensure proper setup.
1.1 Unpacking and Component Check
Carefully unpack all components from the packaging. Verify that all parts listed in the included parts list are present and undamaged. Refer to the image below for a visual guide of the components.

Image 1.1: All components of the GIANTEX clothes rack laid out, including base bars, vertical poles, horizontal rods, and wheels.
1.2 Assembly Steps
- Attach Wheels to Base: Insert the four wheels into the designated holes on the base bars. Ensure two of the wheels with locking mechanisms are placed on one side for easy access.
- Connect Vertical Poles: Securely attach the vertical support poles to the base bars. Ensure they are firmly seated.
- Install Horizontal Rods: Place the main horizontal clothes hanging rod onto the top of the vertical poles. For the single rod model, there will be one main rod. For models with an additional lower rod, attach it to the designated connectors on the vertical poles.
- Adjust Height and Length: Loosen the locking mechanisms on the vertical poles and horizontal rods to adjust the height and length to your desired dimensions. Once set, tighten the locks to secure the rack.
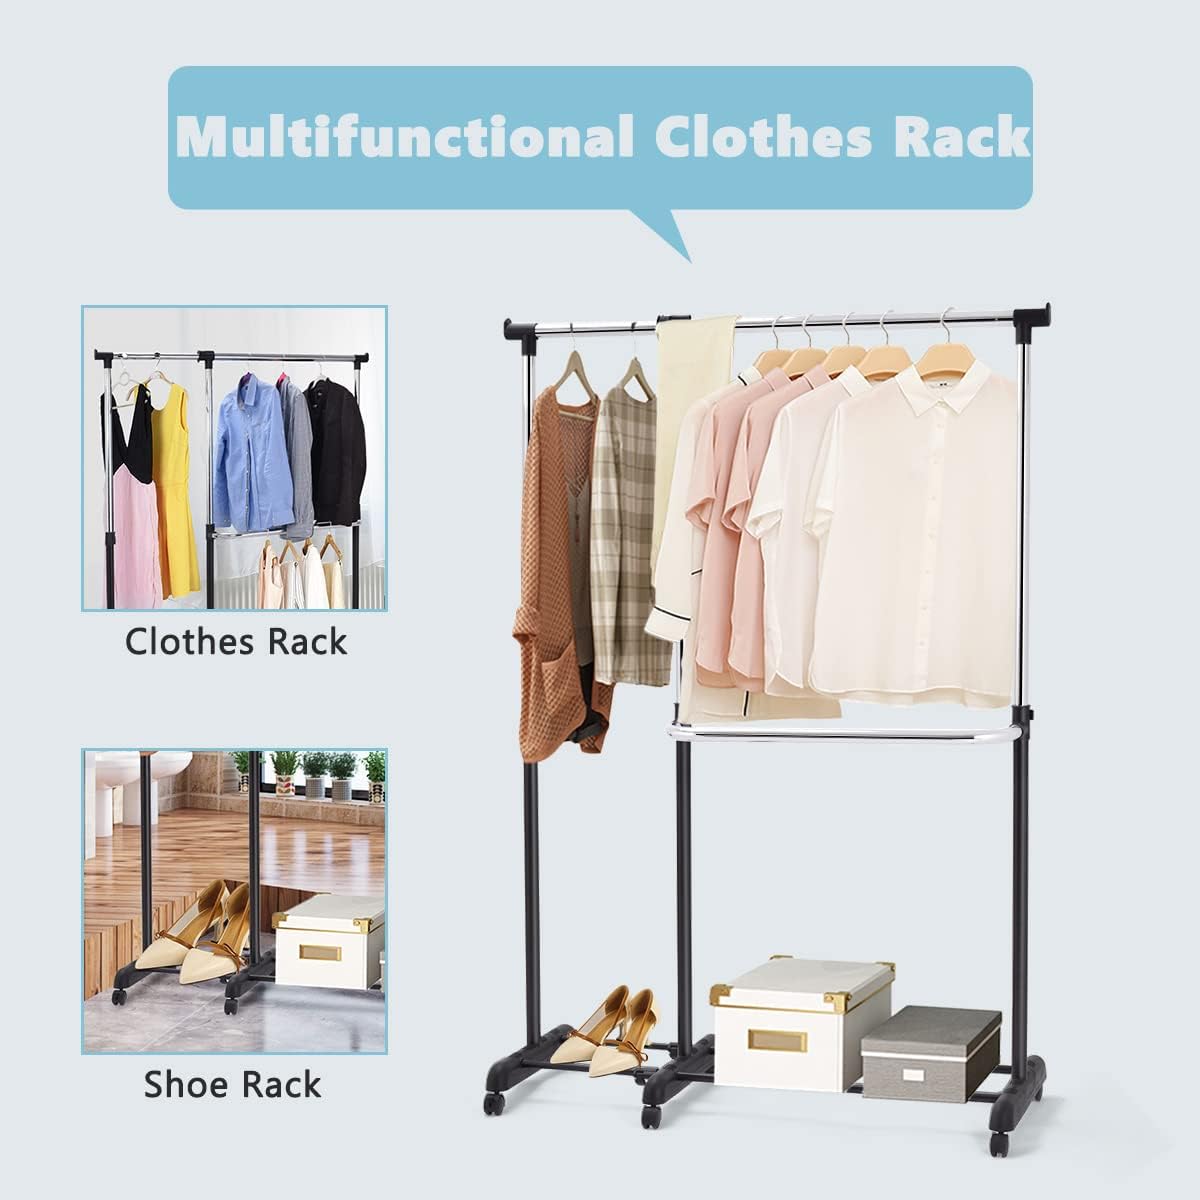
Image 1.2: A close-up image showing the assembly of the vertical poles and horizontal rods of the clothes rack.
2. Operation
The GIANTEX clothes rack offers flexible storage solutions. Understand its features for optimal use.
2.1 Adjusting Height and Length
The clothes rack features adjustable height and length to accommodate various garment sizes and space requirements. To adjust:
- Locate the locking clips on the vertical poles and horizontal rods.
- Open the clips to release the locking mechanism.
- Extend or retract the poles/rods to the desired height or length.
- Close the clips firmly to secure the adjustment. Ensure all clips are fully engaged before loading clothes.

Image 2.1: Close-up of the adjustment mechanism on the clothes rack, showing how to loosen and tighten the clips for height and length adjustments.
2.2 Using the Wheels
The rack is equipped with four universal wheels for easy mobility. Two of these wheels include a braking mechanism for stability.
- Moving the Rack: Ensure the wheel brakes are disengaged. Gently push the rack to move it to the desired location.
- Securing the Rack: Once in position, press down on the levers of the two braked wheels to engage the brakes. This will prevent the rack from moving unintentionally.

Image 2.2: An image highlighting the universal wheels of the clothes rack, with an inset showing a close-up of a wheel with a brake.
2.3 Loading Clothes and Accessories
Hang clothes on the horizontal rod(s). The base can be used for storing shoes or storage boxes. Distribute weight evenly to maintain stability.

Image 2.3: The GIANTEX clothes rack in a bedroom setting, fully assembled and loaded with various garments and shoes on the bottom shelf.
3. Maintenance
Regular maintenance ensures the longevity and optimal performance of your clothes rack.
- Cleaning: Wipe down the metal tubes and plastic parts with a soft, damp cloth. Avoid abrasive cleaners or harsh chemicals that could damage the finish.
- Inspection: Periodically check all connections, screws, and locking mechanisms to ensure they are tight and secure. Tighten any loose parts as needed.
- Wheel Care: Keep the wheels free from dust, hair, and debris to ensure smooth movement. If wheels become stiff, clean them and apply a small amount of silicone-based lubricant if necessary.
- Weight Distribution: Always distribute the weight of clothes evenly across the hanging rods to prevent tipping or stress on the frame.
4. Troubleshooting
If you encounter any issues with your GIANTEX clothes rack, refer to the following common problems and solutions.
4.1 Rack is Unstable or Wobbly
- Check Connections: Ensure all vertical poles are fully inserted into the base and all horizontal rods are securely locked into place.
- Verify Locks: Make sure all height and length adjustment clips are fully closed and tightened.
- Even Weight Distribution: Redistribute clothes to ensure weight is balanced across the entire rack. Avoid hanging heavy items predominantly on one side.
- Surface Level: Ensure the rack is placed on a flat, level surface. Uneven surfaces can cause instability.
4.2 Wheels Not Moving Smoothly or Locking
- Clear Debris: Check wheels for any accumulated dust, hair, or small objects that might be obstructing movement. Clean as necessary.
- Brake Engagement: For smooth movement, ensure the brakes on the two lockable wheels are fully disengaged (lever up). To lock, ensure the lever is fully pressed down.
- Lubrication: If wheels are still stiff after cleaning, a small amount of silicone spray lubricant can be applied to the wheel axles.
4.3 Difficulty Adjusting Height or Length
- Loosen Clips: Ensure the adjustment clips are fully opened before attempting to slide the poles or rods.
- Clean Mechanism: Dust or dirt inside the adjustment mechanism can cause friction. Clean the area around the clips and sliding parts.
- Avoid Over-extension: Do not force adjustments beyond the designed limits.
5. Specifications
| Feature | Detail |
|---|---|
| Brand | GIANTEX |
| Model Number | KZ86167 |
| Material | High-quality Steel Tubes |
| Color | Silver/Argentato |
| Dimensions (Adjustable) | Length: 91-160 cm, Width: 43 cm, Height: 93-168 cm |
| Weight | Approximately 3.94 kg |
| Wheels | 4 Universal Wheels (2 with Brakes) |
| Installation Method | Floor-standing |
| Special Features | Extendable, Adjustable Height, Lockable Wheels |

Image 5.1: Diagram showing the adjustable dimensions of the clothes rack.
6. Warranty and Support
6.1 Warranty Information
GIANTEX products are manufactured to high-quality standards. For specific warranty details, please refer to the purchase documentation or contact your retailer. Keep your proof of purchase for any warranty claims.
6.2 Customer Support
If you have any questions, require assistance with assembly, or encounter issues not covered in this manual, please contact GIANTEX customer support through the retailer where you purchased the product or visit the official GIANTEX website for contact information.
For online purchases, you can often find support contact details on the product page or within your order history.