1. Introduction
Thank you for choosing the AUMATE 2LB Bread Maker. This appliance is designed to simplify your bread-making process with its versatile features and user-friendly interface. With 12 digital presets, a gluten-free setting, an automatic fruit and nut dispenser, and a non-stick pan, you can enjoy fresh, healthy homemade bread with ease. Please read this manual thoroughly before first use to ensure safe and optimal operation.
2. Important Safety Instructions
- Always unplug the bread maker from the power outlet when not in use, before cleaning, or when adding/removing parts.
- Do not immerse the appliance, cord, or plug in water or any other liquid.
- Close supervision is necessary when any appliance is used by or near children.
- Avoid contact with moving parts.
- Do not operate any appliance with a damaged cord or plug, or after the appliance malfunctions or has been damaged in any manner.
- The bread maker's surfaces become hot during operation. Always use oven mitts when handling the hot bread pan or hot bread.
- Ensure proper ventilation around the appliance during use.
- Do not use attachments not recommended by the manufacturer.
3. Parts and Components
Familiarize yourself with the components of your AUMATE Bread Maker:


Included Accessories:
- 1 x Bread Machine
- 1 x Non-stick Bread Pan
- 1 x Operation Instruction Manual (this document)
- 1 x Measuring Spoon
- 1 x Hook (for removing kneading paddle)
- 1 x Kneading Paddle
- 1 x Measuring Cup
- 1 x Fruit Nut Dispenser
4. Initial Setup
- Unpacking: Carefully remove all packaging materials and accessories.
- Initial Cleaning: Before first use, wash the bread pan, kneading paddle, measuring cup, and measuring spoon in warm, soapy water. Rinse thoroughly and dry all parts. Wipe the exterior of the bread maker with a damp cloth.
- Positioning: Place the bread maker on a stable, flat, heat-resistant surface, ensuring adequate ventilation around the unit.
- Install Kneading Paddle: Attach the kneading paddle onto the shaft inside the bread pan.
- Insert Bread Pan: Place the bread pan into the bread maker, aligning it with the base. Turn the pan clockwise until it locks securely into place.
5. Operating Instructions
The AUMATE Bread Maker offers 12 automatic programs and various settings to customize your bread. Follow these steps for successful baking:
5.1 Adding Ingredients
- Ensure the kneading paddle is correctly installed in the bread pan.
- Add liquid ingredients first (e.g., water, milk, eggs), followed by dry ingredients (e.g., flour, sugar, salt). Create a small well in the center of the flour and add yeast last, ensuring it does not come into direct contact with liquid or salt initially.
- For recipes requiring fruits or nuts, place them in the automatic fruit nut dispenser located on the lid. The dispenser will release them at the optimal time during the kneading cycle.
5.2 Program Selection and Settings
The control panel features an LCD display and intuitive buttons for easy operation.
- Menu Button: Press the 'Menu' button repeatedly to cycle through the 12 available programs. The selected program will be displayed on the LCD. Programs include: Basic, French, Whole Wheat, Quick, Sweet, Gluten-Free, Ultra Fast, Dough, Jam, Cake, Sandwich, and Bake.
- Color Button: Select your desired crust color: Light, Medium, or Dark.
- Loaf Size Button: Choose between 1.5 LB (650g) or 2 LB (800g) loaf sizes.
- Delay Timer (13 Hours): Use the '+' and '-' buttons to set a delay start time, allowing you to wake up to freshly baked bread. You can set up to 13 hours in advance.
- Keep Warm Function (1 Hour): After baking, the bread maker automatically enters a 1-hour keep warm cycle to maintain bread temperature.
- Memory Function (10 Minutes): In case of a power interruption, the machine has a 10-minute memory function to resume operation once power is restored.
- Start/Stop Button: Press to start or stop the selected program.


5.3 Demonstration Video
Watch this official video from AUMATE for a visual guide on using your bread maker:
Video 5.5: AUMATE Automatic Bread Maker Machine Demonstration. This video provides a step-by-step guide on how to prepare and bake bread using the AUMATE bread maker, including ingredient addition and program selection.
6. Maintenance and Cleaning
Regular cleaning ensures the longevity and optimal performance of your bread maker.
6.1 Cleaning the Bread Pan and Kneading Paddle
- After use, allow the bread pan and kneading paddle to cool completely.
- The non-stick bread pan is made of premium aluminum alloy and is easy to clean. Wash with warm, soapy water using a soft sponge. Do not use abrasive cleaners or metal scouring pads, as this can damage the non-stick coating.
- If the kneading paddle is stuck in the bread, allow it to cool, then fill the pan with warm water and let it soak for about 30 minutes. This will loosen the paddle for easy removal. Use the provided hook to carefully remove the paddle.
- Ensure all parts are thoroughly dry before reassembling or storing.

6.2 Cleaning the Exterior
- Wipe the exterior of the bread maker with a soft, damp cloth. Do not use harsh chemicals or abrasive cleaners.
- Never immerse the main unit in water or any other liquid.
7. Troubleshooting
If you encounter issues with your bread maker, refer to the common problems and solutions below:
| Problem | Possible Cause | Solution |
|---|---|---|
| Bread does not rise or rises poorly. | Expired yeast, incorrect water temperature, too much salt, or incorrect flour type. | Check yeast expiration date. Use lukewarm water (105-115°F / 40-46°C). Ensure correct ingredient measurements. |
| Bread is too dense or heavy. | Too much flour, not enough liquid, or insufficient kneading. | Accurately measure ingredients. Ensure the kneading paddle is properly installed. |
| Kneading paddle stuck in bread. | Common occurrence, especially with larger loaves. | Allow bread to cool. If still stuck, soak the pan in warm water for 30 minutes to loosen. Use the provided hook to remove. |
| Machine does not turn on. | Not plugged in, power outage, or faulty outlet. | Check power connection. Test outlet with another appliance. |
| Gluten-Free bread is dense. | Gluten-free flours behave differently; some recipes may require only one kneading cycle. | Experiment with gluten-free recipes specifically designed for bread machines. Adjust liquid content if dough appears too stiff. |
8. Product Specifications
| Feature | Detail |
|---|---|
| Brand | AUMATE |
| Model Number | AUMATE |
| Product Dimensions | 12.99 x 14.96 x 11.4 inches (12.99"D x 14.96"W x 11.4"H) |
| Item Weight | 12.62 pounds |
| Color | White |
| Number of Programs | 12 |
| Loaf Sizes | 1.5 LB (650g), 2 LB (800g) |
| Crust Settings | Light, Medium, Dark |
| Delay Timer | Up to 13 hours |
| Keep Warm Function | 1 hour automatic |
| Power Interruption Memory | 10 minutes |
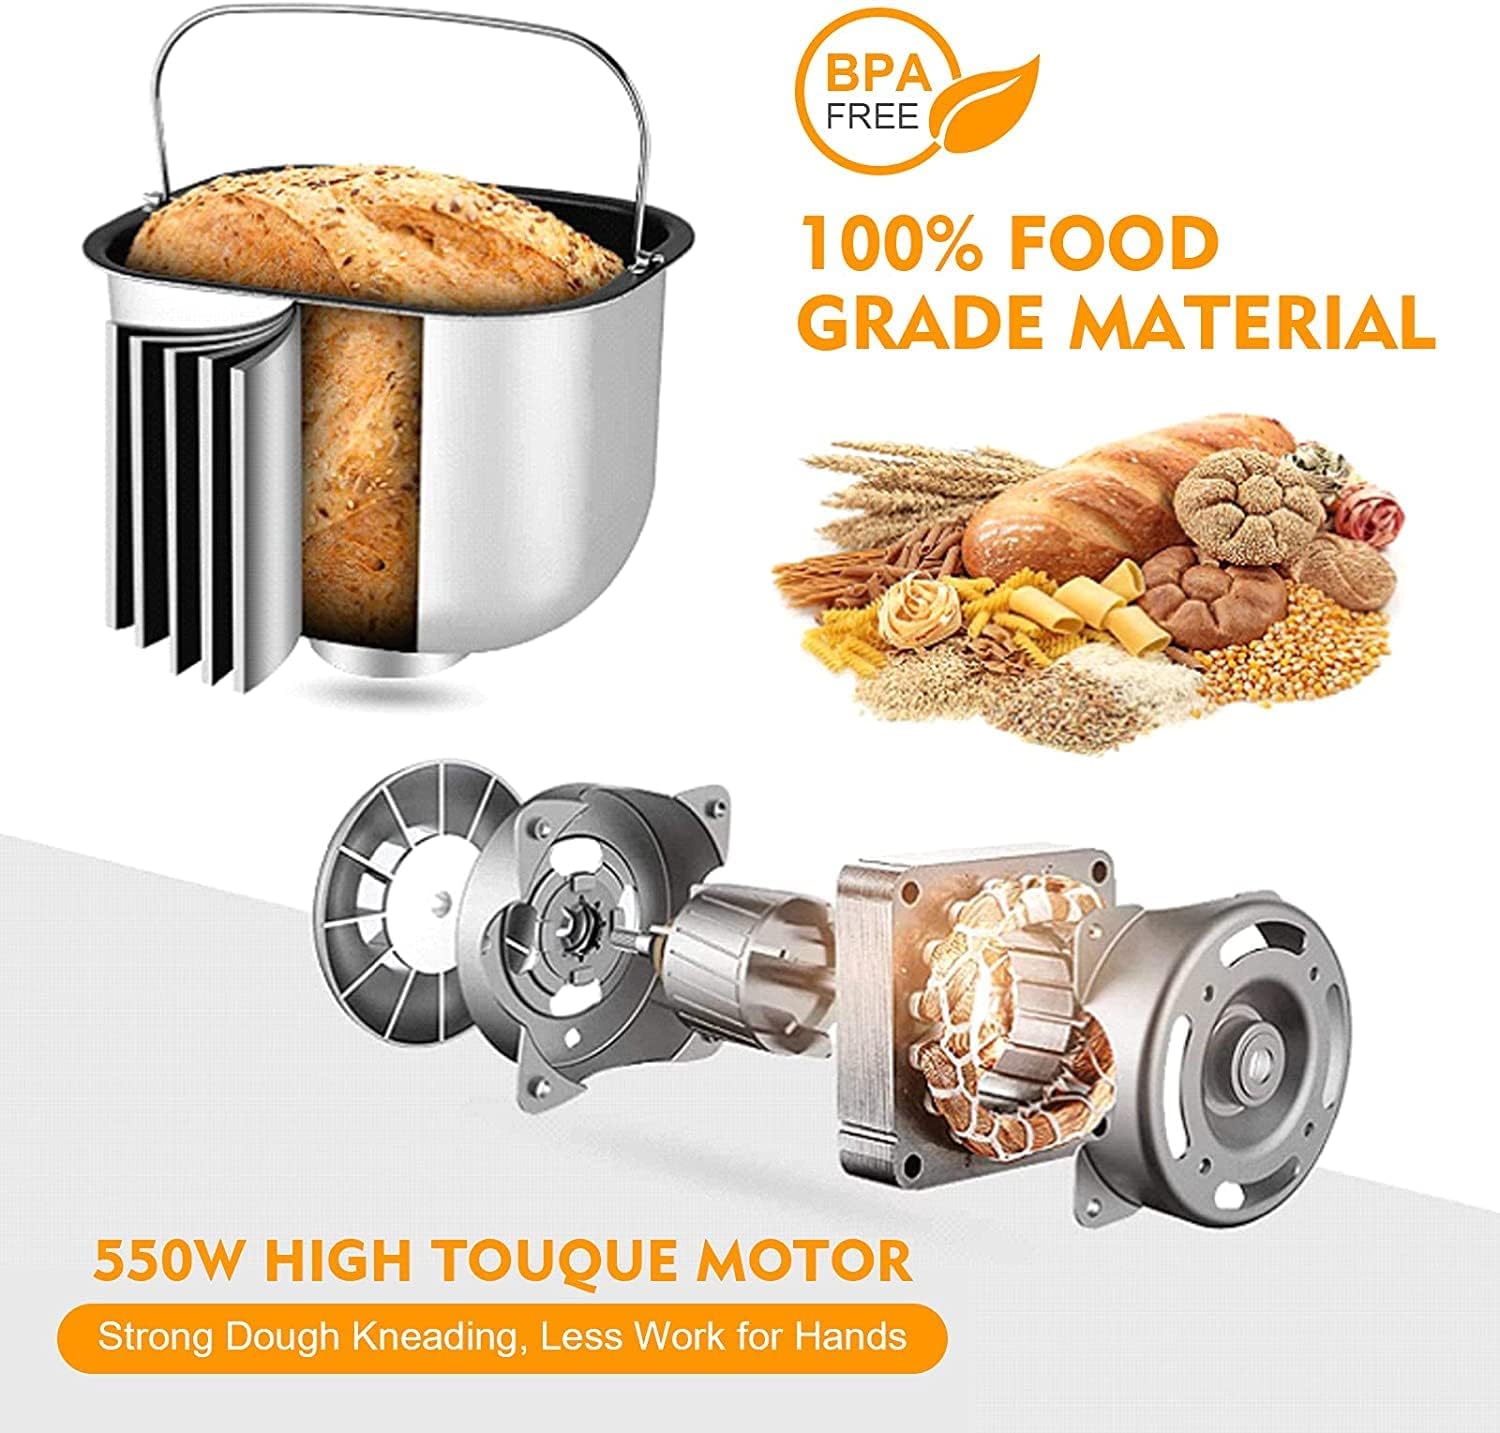
| Motor Power | 550W |
| Pan Material | BPA-Free, Food Grade Aluminum Alloy |
9. Warranty and Support
AUMATE provides a 2-YEAR Warranty for this bread maker. We are committed to providing excellent customer service. If you have any problems or questions regarding your product, please do not hesitate to contact us. Our customer service team aims to respond within 24 hours.
For support, please refer to the contact information provided with your purchase or visit the official AUMATE website.