Product Overview
The DXQ GC355 Mini Projector is a portable, full HD 1080P supported projector designed for home cinema, gaming, and various multimedia applications. It features WiFi connectivity, 6500 lumens brightness, and a long-lasting LED light source. This manual provides essential information for setting up, operating, maintaining, and troubleshooting your projector.

Image: The DXQ GC355 Mini Projector, a compact black device, shown with an HDMI cable and a screen displaying a WiFi connection symbol, highlighting its connectivity features.
Setup Guide
1. Unboxing and Package Contents
Carefully unpack all components from the box. Ensure all items listed below are present:
- Mini Projector
- Remote Control
- User Manual
- HDMI Cable
- RCA Cable
- Power Supply
2. Placement and Projection
Position the projector on a stable, flat surface. For optimal viewing, ensure the projection surface (wall or screen) is clean and smooth. The projector supports a screen size range of 35 to 300 inches. For best results, consider using a dedicated projector screen and tripod.

Image: An illustration demonstrating the large projection size of up to 200 inches achievable with the projector, contrasted with a smaller 42-inch television, suggesting the use of a projector screen and tripod for optimal setup.
The projector can be ceiling mounted. Refer to the mounting type specification for details.

Image: A projector positioned on a table, casting a large, clear image onto a wall, illustrating its capability for a shorter throw distance while maintaining image quality.
3. Power Connection
Connect the provided power supply to the projector's power input port and then plug it into a standard electrical outlet.
4. Initial Power On and Focus Adjustment
Press the power button on the projector or the remote control to turn on the device. Once powered on, adjust the focus ring on the projector lens until the projected image appears sharp and clear. If the image is trapezoidal, use the keystone correction feature (if available) to square the image.
Operating Instructions
1. Connectivity Options
The GC355 projector offers multiple input options for connecting various devices:
- HDMI: For high-definition video and audio from laptops, gaming consoles (PS5), TV sticks, and Blu-ray players.
- USB: For playing media directly from USB drives.
- SD Card: For playing media directly from SD memory cards.
- VGA: For connecting older computers or laptops.
- WiFi: For wireless screen mirroring from iOS and Android devices.

Image: The side of the projector displaying various input ports including HDMI, TF (SD card), Audio, AV, VGA, and USB, indicating its compatibility with multiple devices.
2. Wireless Screen Mirroring (WiFi)
The projector features enhanced WiFi connectivity for stable and ultra-fast screen mirroring from your smartphone or tablet. This allows you to project content from iOS and Android devices without cables.
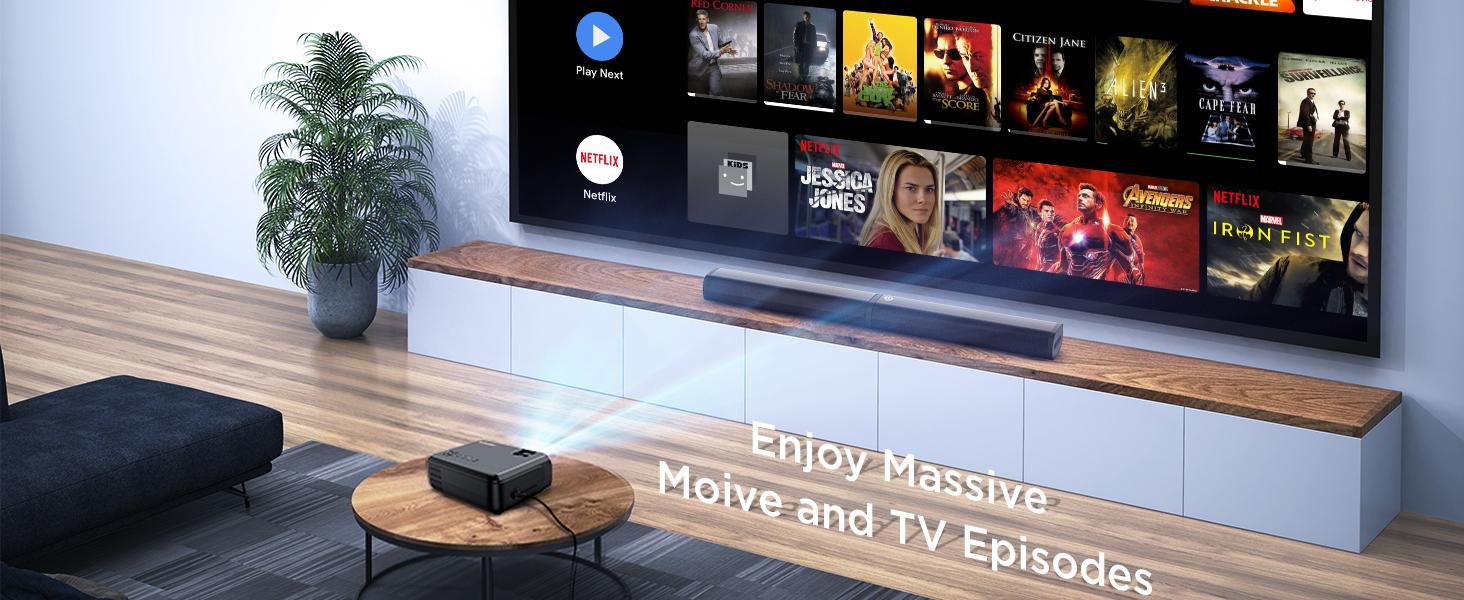
Image: A family enjoying content projected by the mini projector, highlighting its low input lag feature for smooth gaming and media consumption.
For detailed steps on connecting via WiFi, refer to the "WiFi Connect" section in the included user manual.
3. Audio Output
The projector has built-in high-fidelity speakers. For enhanced audio experience, especially for outdoor movie nights, you can connect an external soundbar or speaker system via the 3.5mm audio input jack.

Image: A four-step guide illustrating how to connect a soundbar to the projector via Bluetooth, showing the process from turning on the soundbar to successful connection.
4. Display and Image Quality
The GC355 features native 720P resolution with support for 1080P video decoding, providing detailed and rich colors with a 9000:1 contrast ratio. Its 6500 lumens brightness ensures a clear image even with some ambient light.

Image: A projector casting a vibrant and sharp 1080P HD image onto a large screen, emphasizing the clarity and detail, particularly in the corners.
Utilizing diffuse reflection technology, the projector's soft light is designed to protect your eyes from eyestrain, making it suitable for extended viewing.
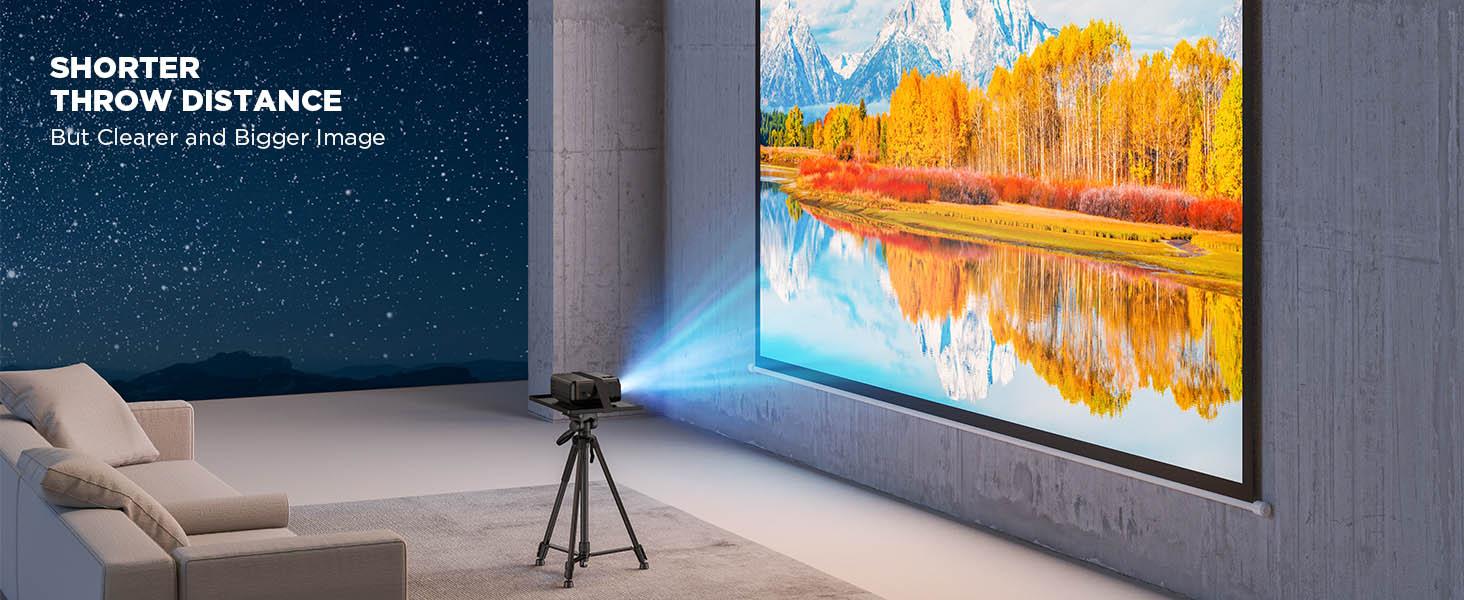
Image: A projected image with vibrant colors and clear details, illustrating the upgraded brightness achieved with premium optical lenses, even in a room with ambient light.

Image: A projector casting a massive 300-inch image onto a wall, demonstrating the overall brightness uniformity across the entire display area.
5. Usage Scenarios
This projector is versatile and suitable for various uses:
- Home Cinema: Enjoy movies and TV shows on a large screen.
- Gaming: Experience immersive gaming with low input lag (as low as 35ms).
- Presentations: Connect to laptops for business or educational presentations.
- Outdoor Entertainment: Ideal for backyard movie nights (ensure appropriate lighting conditions).
- Online Activities: Suitable for online yoga, fitness classes, story reading, and online learning.

Image: Two children interacting in front of a large, vibrant projected image, illustrating the projector's suitability for gaming, movies, and children's entertainment.
Maintenance
1. Cleaning
To maintain optimal performance and image quality, regularly clean the projector. Use a soft, dry cloth to wipe the exterior. For the lens, use a lens cleaning cloth and specialized lens cleaning solution to avoid scratches. Do not use abrasive cleaners or solvents.
2. Lamp Life
The GC355 projector uses an LED light source with an estimated lifespan of 70,000 hours, significantly reducing the need for lamp replacement. If the light source ever needs servicing, contact customer support.
For information on light bulb recycling and clean-up procedures, please refer to local regulations and guidelines.
3. Storage
When not in use for extended periods, store the projector in a cool, dry place, away from direct sunlight and extreme temperatures. Use the original packaging or a protective case to prevent dust accumulation and physical damage.
Troubleshooting
This section addresses common issues you might encounter with your DXQ GC355 Mini Projector.
No Image or Signal
- Ensure the projector is powered on and the power cable is securely connected.
- Verify that the correct input source (HDMI, USB, VGA, WiFi) is selected on the projector.
- Check the connection cable (HDMI, VGA) between the projector and the source device. Try a different cable if possible.
- Ensure the source device (laptop, TV stick) is powered on and outputting a signal.
Blurry or Distorted Image
- Adjust the focus ring on the projector lens until the image is sharp.
- Use the keystone correction feature to correct any trapezoidal distortion.
- Ensure the projection surface is flat and smooth.
- Check the projection distance; ensure it is within the recommended range for optimal clarity.
No Audio or Low Volume
- Increase the volume on both the projector and the source device.
- If using external speakers, ensure they are properly connected and powered on.
- Check audio settings on the source device to ensure audio is being outputted correctly.
Excessive Fan Noise
- Ensure the projector's ventilation vents are not blocked.
- Place the projector in an area with good airflow.
- While some fan noise is normal for projectors, if it's unusually loud, contact customer support. The projector is designed for low noise operation (less than 15dB).

Image: The projector placed on a bedside table next to a sleeping person, with text indicating "Noise <15dB", highlighting its quiet operation.
Specifications
| Feature | Detail |
|---|---|
| Brand | DXQ |
| Model Number | GC355 |
| Native Resolution | 1280 x 720 Pixels |
| Max Supported Resolution | 1980 x 1080 Pixels (1080P) |
| Brightness | 6500 Lumens |
| Contrast Ratio | 9000:1 |
| Light Source Life | 70,000 hours (LED) |
| Connectivity Technology | HDMI, USB, SD card, VGA, WiFi |
| Display Type | LCD |
| Product Dimensions | 22 x 17.02 x 8.99 cm; 1.25 kg |
| Recommended Uses | Home Cinema, Gaming |
| Special Features | Portable, USB Connect, Built-In Wi-Fi |
| Mounting Type | Ceiling Mount |
| Included Components | User Manual, RCA Cable, Remote, HDMI Cable, Mini Projector, Power Supply |
Warranty and Support
For warranty information and technical support, please refer to the contact details provided in the included user manual or visit the official DXQ website. Keep your purchase receipt as proof of purchase for any warranty claims.


