1. Introduction
Thank you for choosing the ZMUIPNG 12-in-1 USB C Docking Station. This versatile hub is designed to expand the connectivity of your USB-C enabled laptop, providing multiple ports for display, data transfer, networking, and power delivery. Please read this manual carefully to ensure proper setup and operation.

Figure 1.1: ZMUIPNG 12-in-1 USB C Docking Station
2. Product Features
The ZMUIPNG 12-in-1 USB C Docking Station offers a comprehensive set of ports to enhance your productivity:
- Dual Monitor Output: 2x HDMI (4K@30Hz) and 1x VGA (1080P@60Hz) for extended or mirrored displays.
- High-Speed Data Transfer: 2x USB 3.0 ports (up to 5Gbps) and 2x USB 2.0 ports for peripherals.
- Gigabit Ethernet: RJ45 port for stable and fast wired network connection (10/100/1000Mbps).
- Power Delivery: USB C PD charging port (up to 100W) to power your laptop while using the hub.
- Card Readers: SD and Micro SD card slots (up to 104MB/s).
- Audio Connectivity: 3.5mm Mic/Audio jack for headphones or speakers.

Figure 2.1: Detailed Port Overview
3. Setup Guide
Follow these steps to set up your ZMUIPNG Docking Station:
- Verify Laptop USB-C Port: Ensure your laptop's USB-C port supports video output (DisplayPort Alternate Mode) and Power Delivery for full functionality. Not all USB-C ports are created equal. Refer to your laptop's manual or manufacturer for details.
- Connect Docking Station: Plug the USB-C cable from the docking station into your laptop's compatible USB-C port.
- Connect Power Adapter (Optional but Recommended): For stable operation and laptop charging, connect your laptop's original USB-C power adapter to the PD (Power Delivery) port on the docking station. The docking station supports up to 100W power input.
- Connect Displays: Connect your HDMI or VGA monitors to the corresponding ports on the docking station.
- Connect Peripherals: Plug in your USB devices (keyboard, mouse, external hard drives), Ethernet cable, SD/Micro SD cards, and audio devices as needed.

Figure 3.1: Understanding Your Laptop's USB-C Port Functionality

Figure 3.2: Power Delivery Connection
4. Operating Instructions
4.1 Display Configuration
The docking station supports various display modes for Windows and Mac OS. The maximum resolution and refresh rate depend on your laptop's graphics card and the connected monitors.
Windows Systems:
Windows laptops with a fully functional USB-C port (supporting DisplayPort Alternate Mode) can achieve dual or triple monitor setups in both Mirror and Extended modes.

Figure 4.1: Windows Dual and Triple Display Modes
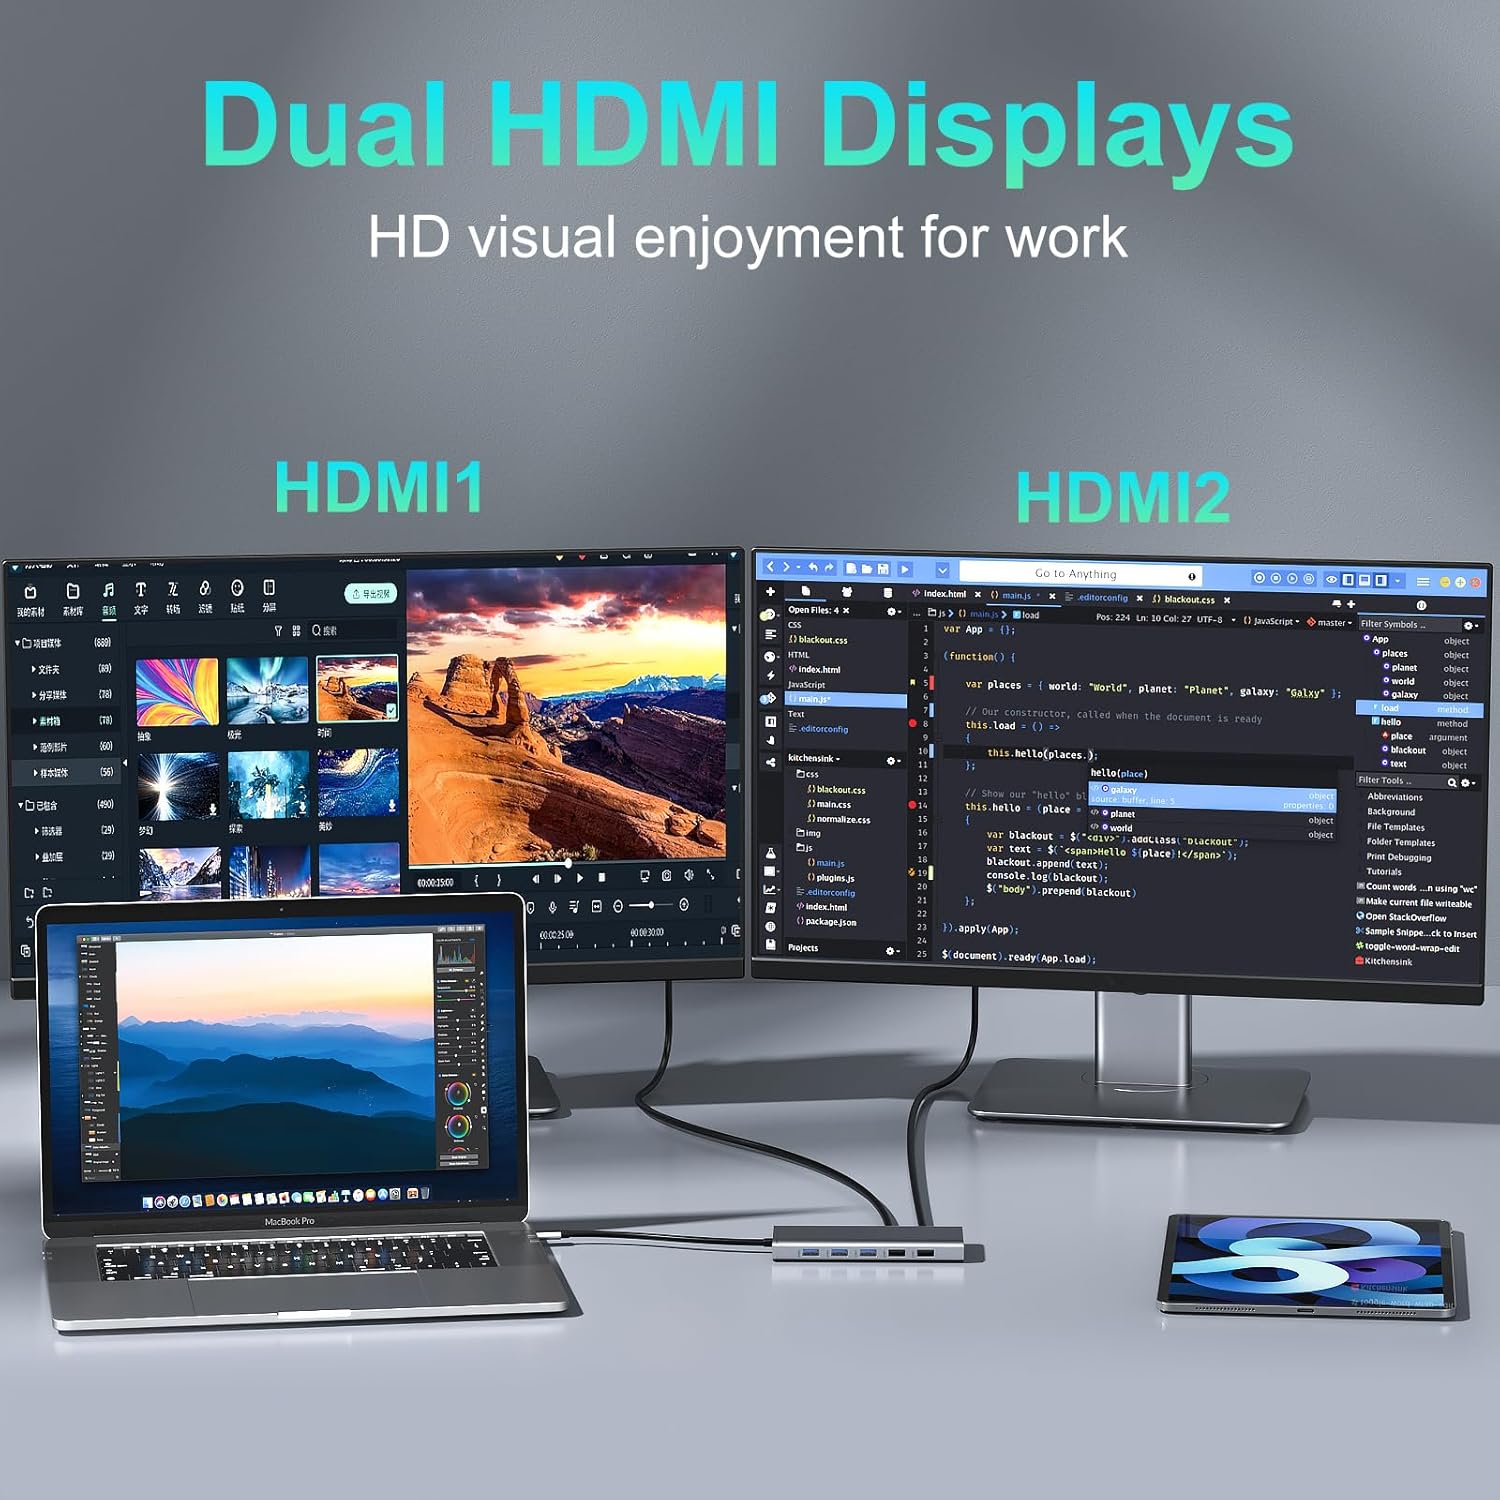
Figure 4.2: Triple Display Docking Station Setup
Mac OS Systems:
Mac OS laptops support Mirror Mode and Non-Mirror Mode (extended display) for dual monitors. Please note that Mac OS does not support extending different content across three external displays simultaneously.

Figure 4.3: Mac OS Display Modes
4.2 Data Transfer
Utilize the USB 3.0 ports for high-speed data transfer (up to 5Gbps) with external hard drives, USB flash drives, and other compatible devices. The USB 2.0 ports are ideal for connecting keyboards, mice, and other low-bandwidth peripherals without lag. Insert SD or Micro SD cards into the dedicated slots for quick photo and file transfers.

Figure 4.4: SD/TF and USB Ports
4.3 Network Connection
For a stable and reliable internet connection, plug an Ethernet cable into the RJ45 Gigabit Ethernet port. This provides speeds up to 1000Mbps, ideal for online gaming, streaming, and large file downloads, avoiding Wi-Fi instability.
4.4 Audio Connectivity
Connect your wired headphones or speakers to the 3.5mm Mic/Audio port for private listening or audio output.

Figure 4.5: Ethernet and Audio Ports
5. Maintenance
To ensure the longevity and optimal performance of your docking station, please follow these maintenance guidelines:
- Keep the device clean by wiping it with a soft, dry cloth. Avoid using liquid cleaners or aerosols.
- Do not expose the docking station to extreme temperatures, humidity, or direct sunlight.
- Avoid dropping or subjecting the device to strong impacts.
- Ensure proper ventilation around the docking station to prevent overheating.
- Disconnect the device from power and your laptop when not in use for extended periods.
6. Troubleshooting
If you encounter issues with your ZMUIPNG Docking Station, please refer to the following common problems and solutions:
| Problem | Possible Cause / Solution |
|---|---|
| No display output or flickering screen. |
|
| USB devices not recognized or slow. |
|
| Ethernet connection issues. |
|
| Laptop not charging via PD port. |
|
7. Specifications
| Feature | Detail |
|---|---|
| Model Number | ZM18219 |
| Dimensions (LxWxH) | 5.31 x 2.56 x 0.59 inches |
| Weight | 4.7 ounces |
| HDMI Output | 2x 4K@30Hz |
| VGA Output | 1x 1080P@60Hz |
| USB 3.0 Ports | 2x (up to 5Gbps) |
| USB 2.0 Ports | 2x |
| USB-C PD Charging | Up to 100W |
| Ethernet Port | RJ45 Gigabit (10/100/1000Mbps) |
| Card Reader | SD/Micro SD (up to 104MB/s) |
| Audio Port | 3.5mm Mic/Audio |
| Compatible OS | Windows 7/10, Mac OS 9 and above |
8. Warranty and Support
ZMUIPNG products are designed for reliability and performance. For any questions, technical support, or warranty inquiries, please contact our customer service team. We are committed to providing professional assistance and ensuring your satisfaction.
Customer Support Email: zmuipng@outlook.com
Please have your product model number (ZM18219) and purchase details ready when contacting support.


