1. Introduction
This manual provides essential information for the proper installation, operation, and maintenance of your Delixike replacement chipper blade for Troy-Bilt Super Tomahawk chippers. Please read these instructions carefully before attempting any installation or maintenance to ensure safety and optimal performance.
2. Product Overview
The Delixike chipper blade is a high-quality replacement part designed for specific Troy-Bilt Super Tomahawk models. It includes the chipper blade, bolts, and locknuts necessary for secure attachment.
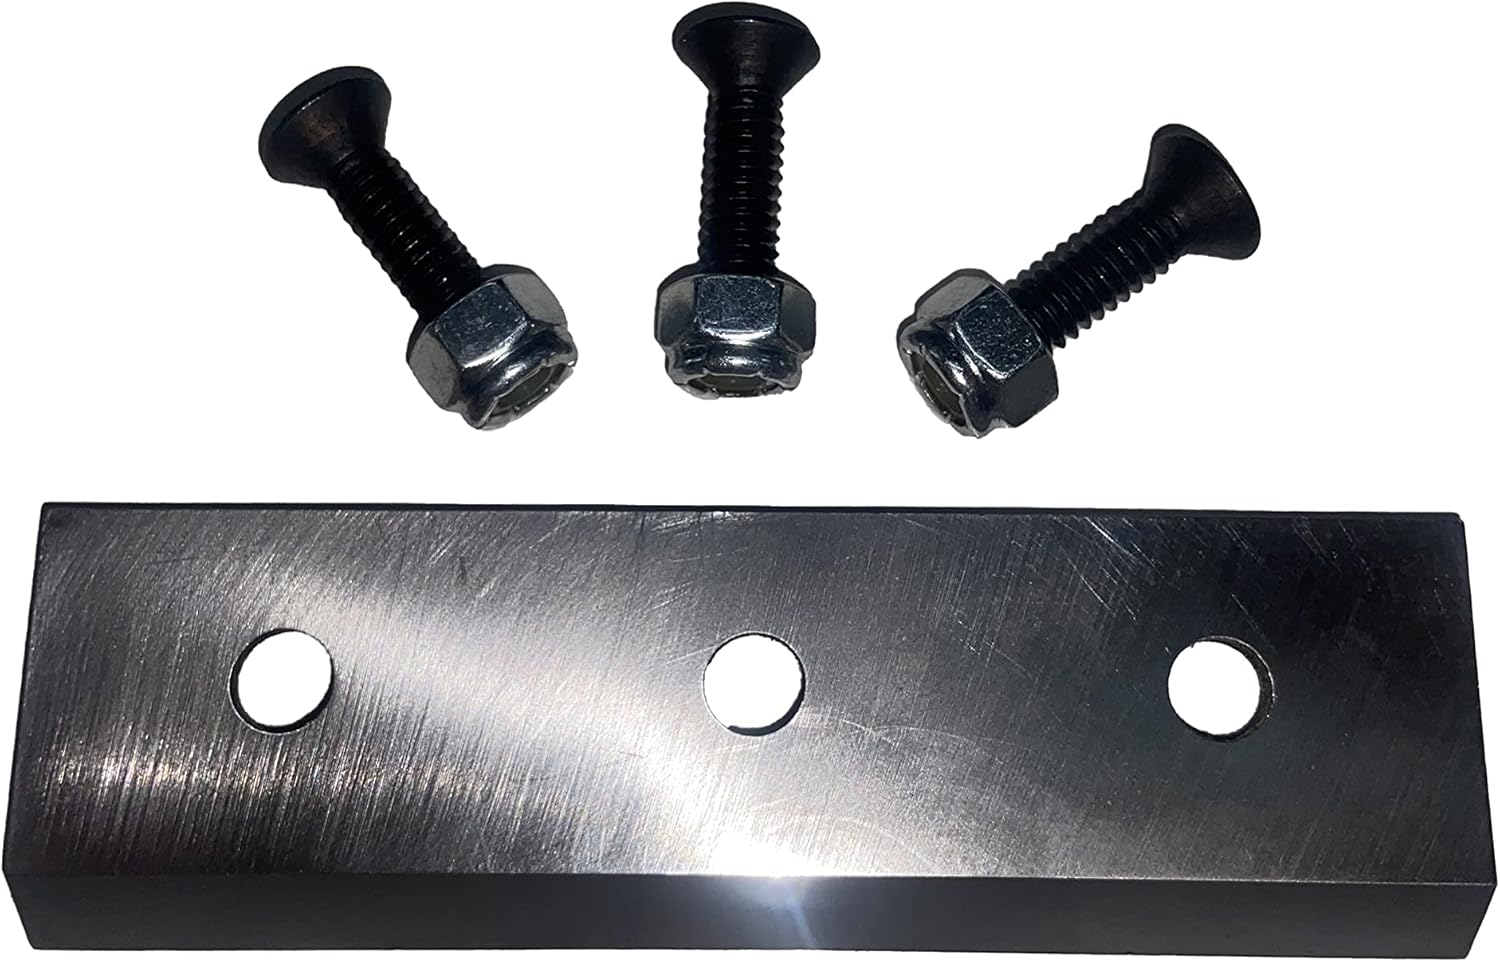
Image 2.1: Delixike chipper blade with accompanying bolts and nuts.
Video 2.2: A rotating view of the Delixike chipper blade and fasteners, showcasing the product components.

Image 2.3: The chipper blade shown alongside the individual bolts and nuts.
3. Compatibility
This replacement chipper blade is compatible with the following Troy-Bilt Super Tomahawk models and part numbers:
- Chipper Blade Part Numbers: 1901824, 1908600, 1900104, 1901303, W2030905, W782, 1901782MA
- Screw Part Number: 9592
- Locknut Part Number: 1908125
Compatible Chipper Models:
- Tomahawk II: 10633, 10634, 10635, 10636
- Tomahawk IV: 11086, 11087, 11088, 15028S
- Tomahawk V: 11389, 11390, 47254
- Tomahawk VI: 15012, 15014, 15014S, 15015, 15016, 47251
- Tomahawk VII: 47255, 47257, 47259
- Other Models: 47247 Tomahawk, 470101, 4979 Tomahawk I, 4979M Tomahawk I, 47260-4726001 (4HP Push), 47261-4726101 (5HP SP), 47279-4727901 (5HP SP), 47282-4728201 (5HP SP), 47287-4728702 (8HP SP), 47287C-47287C02 (8HP SP)
4. Setup and Installation
Safety First: Always ensure the chipper is turned off, unplugged (if electric), and the spark plug wire is disconnected (if gas-powered) before performing any maintenance or installation. Wear appropriate personal protective equipment, including heavy-duty gloves and eye protection.
Blade Replacement Steps:
- Access the Chipper Mechanism: Refer to your chipper's original manual for instructions on safely accessing the chipper blade compartment. This usually involves removing covers or guards.
- Remove Old Blade: Carefully loosen and remove the bolts and nuts securing the old chipper blade. Note the orientation of the blade for correct installation of the new one. Dispose of the old blade responsibly.
- Clean Mounting Area: Clean any debris, wood chips, or rust from the blade mounting surface to ensure a flush fit for the new blade.
- Install New Blade: Position the new Delixike chipper blade onto the mounting surface, ensuring it is correctly oriented. Insert the new bolts through the blade and secure them with the new locknuts.
- Tighten Fasteners: Gradually tighten all bolts and nuts evenly. Do not overtighten. Ensure the blade is firmly seated and does not wobble. Refer to your chipper's manual for specific torque specifications if available.
- Reassemble: Reattach any covers or guards that were removed. Double-check that all fasteners are secure before proceeding.

Image 4.1: The chipper blade with bolts and nuts correctly assembled, ready for installation.

Image 4.2: An underside view of the chipper blade showing the secure attachment of the bolts and nuts.
5. Operating (Usage Considerations)
After installing the new chipper blade, ensure all safety guards are in place and properly secured. Before operating the chipper, perform a brief visual inspection to confirm the blade is correctly installed and there are no loose parts.
Always follow the operating instructions provided in your original Troy-Bilt chipper manual. Do not feed materials larger or harder than recommended by the chipper manufacturer. Overloading the chipper can damage the blade and the machine.
6. Maintenance
Regular maintenance of your chipper blade will extend its lifespan and ensure efficient operation.
- Inspection: Periodically inspect the blade for signs of wear, dullness, chips, or cracks. A dull blade will reduce chipping efficiency and put extra strain on the chipper engine.
- Cleaning: After each use, clean the blade and chipper housing of any accumulated debris, sap, or moisture. This prevents rust and maintains performance.
- Sharpening: Chipper blades can often be sharpened by a professional or with appropriate tools. Consult a specialist if you are unsure. Ensure the blade remains balanced after sharpening.
- Replacement: Replace the blade if it shows significant damage, excessive wear, or if sharpening no longer restores its effectiveness.
7. Troubleshooting
If you experience issues after installing your new chipper blade, consider the following:
- Poor Chipping Performance:
- Ensure the blade is installed with the correct cutting edge facing forward.
- Check for any debris obstructing the blade or chipper mechanism.
- Inspect the blade for dullness or damage; it may require sharpening or replacement.
- Excessive Vibration:
- Verify that all blade mounting bolts are securely tightened.
- Ensure the blade is properly seated and balanced. An unbalanced blade can cause severe vibration.
- Blade Not Engaging:
- Confirm that all safety interlocks and covers are correctly engaged.
- Refer to your chipper's original manual for troubleshooting the chipper's power or engagement system.
8. Specifications
| Manufacturer | Delixike |
| Part Number | 1901824 |
| Item Weight | 5.9 ounces |
| Package Dimensions | 4.96 x 3.5 x 0.63 inches |
| Item Model Number | 1901824 |
9. Warranty Information
Warranty details for this specific Delixike product are not provided in the available product data. Please refer to the seller or manufacturer's official website for any applicable warranty policies.
10. Support
For further assistance or inquiries regarding this product, please contact the seller, Delixike, directly through their official channels. Specific support contact information was not available in the provided product data.