1. Introduction
This document provides instructions for the Easytry123 Replacement Remote Control, designed to operate various Sanyo Air Conditioner models. Please note that as a replacement unit, some advanced or specific functions present on your original remote may not be supported or may operate differently. This remote is intended to provide essential control over your air conditioning unit.
2. Package Contents
- 1 x Easytry123 Replacement Remote Control
Batteries are not included and must be purchased separately.
3. Product Overview
Familiarize yourself with the layout and functions of your new remote control.

Image 1: Front View of Remote Control. This image displays the front of the white remote control, showing its various buttons and the LCD screen. Key buttons visible include ON-I/OFF-O, TEMP ▲/▼, MODE, FAN SPEED, 1HR, ON TIMER OFF, ECONOMY, QUIET, LED CLEAN, and FLAP.
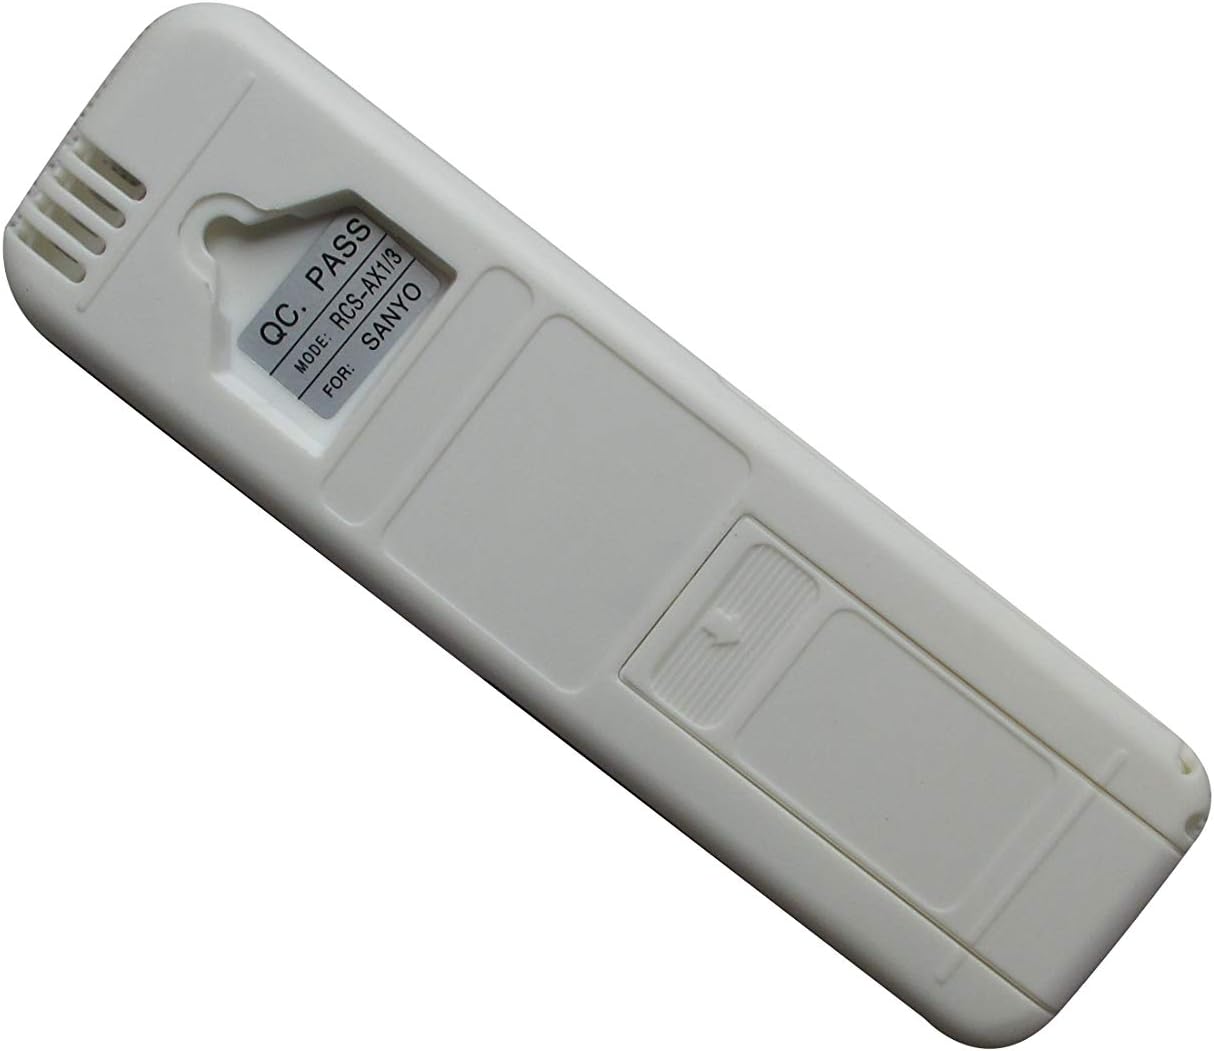
Image 2: Back View of Remote Control. This image shows the rear side of the remote control. A label is visible near the top, indicating "QC PASS" and "MODE: RCS-AX1/3 FOR: SANYO", confirming the remote's model and intended brand compatibility.
4. Setup
4.1 Battery Installation
- Locate the battery compartment on the back of the remote control.
- Slide the battery compartment cover downwards and remove it.
- Insert two (2) AAA batteries, ensuring the positive (+) and negative (-) terminals align correctly with the markings inside the compartment.
- Replace the battery compartment cover by sliding it back into place until it clicks securely.

Image 3: Battery Compartment Open. This image shows the back of the remote control with the battery cover removed, revealing the empty battery slots where two AAA batteries are to be inserted.
4.2 Initial Use
This remote control uses infrared (IR) technology and typically does not require pairing. Once batteries are installed, point the remote directly at your Sanyo Air Conditioner unit and press a button to test its functionality.
5. Operating Instructions
Below are the functions of the primary buttons on your remote control:
- ON-I/OFF-O Button: Press to turn the air conditioner unit ON or OFF.
- TEMP ▲ / ▼ Buttons: Press ▲ to increase the temperature setting, and ▼ to decrease it.
- MODE Button: Cycles through the available operating modes (e.g., Cool, Heat, Fan, Dry, Auto). The active mode will typically be displayed on the remote's LCD screen.
- FAN SPEED Button: Adjusts the fan speed (e.g., Low, Medium, High, Auto).
- 1HR Button: Activates a 1-hour timer function. Consult your air conditioner's original manual for specific timer behaviors.
- ON TIMER OFF Button: Used to set or cancel the ON/OFF timer for the air conditioner.
- ECONOMY Button: Activates the energy-saving or economy mode, which may adjust temperature settings for reduced power consumption.
- QUIET Button: Engages a quiet operation mode, typically reducing fan speed and noise output.
- LED CLEAN Button: May activate a self-cleaning function for the indoor unit or control the display LED. Refer to your AC unit's manual for exact functionality.
- FLAP Button: Controls the direction or swing of the air flaps/louvers.
6. Maintenance
6.1 Cleaning
Wipe the remote control with a soft, dry cloth. Do not use liquid cleaners or abrasive materials, as they may damage the surface or internal components.
6.2 Battery Replacement
Replace batteries when the remote's response becomes sluggish or the display fades. Always replace both batteries at the same time with new AAA batteries. Remove batteries if the remote will not be used for an extended period to prevent leakage.
6.3 Storage
Store the remote control in a cool, dry place away from direct sunlight and extreme temperatures.
7. Troubleshooting
- Remote not responding:
- Check if the batteries are inserted correctly and are not depleted. Replace if necessary.
- Ensure there is a clear line of sight between the remote's infrared emitter and the air conditioner's receiver. Obstructions can block the signal.
- Make sure you are within the effective operating range of the air conditioner's IR receiver.
- Not all functions work as expected:
- As a replacement remote, it may not support all specific or advanced functions of your original air conditioner remote. This is common for universal or replacement remotes.
- Verify that your air conditioner model is listed as compatible.
8. Specifications
| Feature | Detail |
|---|---|
| Model | RCS-AX1/3 |
| Power Source | 2 x AAA Batteries (not included) |
| Connectivity Technology | Infrared (IR) |
| Compatible Devices | Sanyo Air Conditioners (e.g., SAP-K182AH, SAP-K242AH, SAP-K92AH, KHS2672R, RCS-7S1E, SAP-K127SG6A, SAP-K122AH, 18KS72-KS1872) |
| Special Feature | Ergonomic design |
| Max Number of Supported Devices | 1 |
9. Warranty and Support
As a replacement product, specific warranty details may vary. Please refer to the seller or your purchase documentation for any warranty information or support inquiries. For technical assistance or questions regarding compatibility, it is recommended to contact the seller directly.


