1. Introduction
The Audient EVO 8 is a 4-in, 4-out USB audio interface designed for musicians, producers, and podcasters seeking high-quality audio capture and intuitive functionality. This bundle includes essential accessories to get you started immediately. The EVO 8 combines Audient's renowned audio performance with innovative features like Smartgain and Audio Loop-back, all powered conveniently via USB.

Figure 1.1: The Audient EVO 8 audio interface shown with the included instrument cable, XLR cable, and Austin Bazaar polishing cloth, highlighting the complete bundle contents.
2. Setup Guide
2.1 Connecting the EVO 8
Connect the EVO 8 to your computer using a standard USB-C to USB-A/C cable. The device is bus-powered, meaning it draws power directly from your computer via the USB connection, eliminating the need for an external power supply.
2.2 Software Installation
Before connecting, visit the official Audient website to download and install the latest drivers and the EVO Control software for your operating system (Windows/macOS). The EVO Control software provides a customizable mixer and advanced settings for your interface.
2.3 Connecting Microphones and Instruments
The EVO 8 features four combo XLR/TRS inputs on the rear panel for microphones and line-level instruments, and two dedicated JFET instrument inputs on the front. Use the included XLR cable for microphones and the instrument cable for guitars or basses.
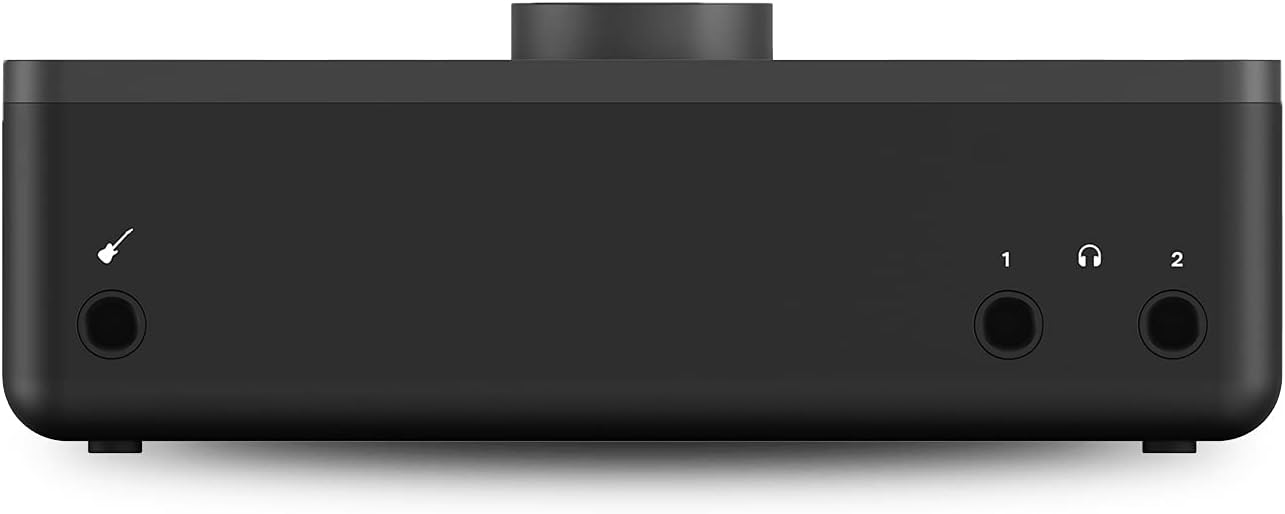
Figure 2.1: Rear view of the Audient EVO 8, illustrating the four combo XLR/TRS inputs for microphones and line-level sources, along with the main monitor outputs.
2.4 Connecting Headphones and Monitors
Connect your studio monitors to the main outputs on the rear panel. The EVO 8 also features two independent headphone outputs on the front panel for monitoring. Connecting headphones will automatically mute the main speaker outputs if SmartMuting is enabled.
3. Operation
3.1 Front Panel Controls

Figure 3.1: Top view of the Audient EVO 8, detailing the main control knob, input selection buttons (1-4), 48V phantom power button, and monitor output selection buttons (1 and 2).
- Large Central Knob: Controls input gain, monitor volume, and headphone volume depending on the selected mode.
- Input Buttons (1-4): Selects the corresponding input channel to adjust its gain using the large central knob.
- 48V Button: Activates phantom power for condenser microphones on the selected input.
- Monitor Buttons (1 & 2): Selects which monitor output (main or headphone) the large central knob controls.
- Smartgain Button (Microphone Icon): Initiates the Smartgain process.
3.2 Smartgain Mode
Smartgain mode automatically sets the optimal input gain for your microphones. Press the Smartgain button (microphone icon) and then begin playing or singing into your microphone. The EVO 8 will analyze the input signal and automatically adjust the gain to an appropriate level, preventing clipping and ensuring a clean recording.
3.3 SmartMuting
When headphones are connected to either of the front panel headphone outputs, SmartMuting automatically mutes the corresponding main speaker outputs. This allows for seamless switching between loudspeaker and headphone monitoring without manual intervention.
3.4 Audio Loop-back
The Audio Loop-back feature allows you to record audio playing on your computer (e.g., from a web browser, game, or media player) simultaneously with your microphone or instrument inputs. This is particularly useful for live streaming, podcasting, or creating content that incorporates computer audio.
3.5 EVO Control Software
The EVO Control software provides a comprehensive digital mixer for your interface. Here you can fine-tune input levels, monitor mixes, route audio, and access advanced settings. Refer to the software's built-in help or the Audient website for detailed instructions on using the EVO Control application.
4. Features & Benefits
- 4 x EVO Preamps: Offers 58dB of gain range, providing clean and detailed audio capture for a wide variety of microphones and instruments.
- High Performance Converters: Delivers 113dB of dynamic range, ensuring pristine audio quality during recording and playback.
- Customizable Software Mixer: The EVO Control application allows for effortless setup and routing of inputs and outputs, providing ultra-low latency monitoring and flexible mixing capabilities.
- Audio Loop-back: Enables simultaneous recording of computer audio and live inputs, ideal for content creation and streaming.
- Smartgain Mode: Automatically sets input levels for microphones, simplifying the setup process and preventing clipping.
- SmartMuting: Automatically mutes speaker outputs when headphones are connected, streamlining monitoring workflow.
- USB Bus Powered: Operates solely on power from your computer's USB port, making it highly portable and convenient for mobile setups.
- Included Accessories: The bundle comes with an instrument cable, an XLR cable, and an Austin Bazaar polishing cloth, providing immediate utility and care for your equipment.
5. Maintenance
To ensure the longevity and optimal performance of your Audient EVO 8, follow these simple maintenance guidelines:
- Cleaning: Use a soft, dry, lint-free cloth to wipe down the exterior of the unit. For stubborn marks, slightly dampen the cloth with water. Avoid using harsh chemicals, solvents, or abrasive cleaners.
- Storage: When not in use, store the interface in a clean, dry environment away from direct sunlight, extreme temperatures, and excessive dust.
- Cable Care: Handle all cables with care. Avoid sharp bends, kinks, or excessive pulling, which can damage the internal wiring.
- Ventilation: Ensure the unit has adequate ventilation to prevent overheating. Do not block any vents or place the unit in an enclosed space without airflow.
6. Troubleshooting
If you encounter issues with your Audient EVO 8, try the following troubleshooting steps:
- No Power/No Lights: Ensure the USB cable is securely connected to both the EVO 8 and your computer. Try a different USB port or cable. Verify your computer's USB port is providing sufficient power.
- No Sound Input: Check that the correct input channel is selected on the EVO 8. Verify that 48V phantom power is enabled for condenser microphones. Ensure the microphone/instrument is properly connected and functioning. Check input levels in the EVO Control software and your DAW.
- No Sound Output: Verify that your speakers or headphones are connected correctly. Check the monitor volume on the EVO 8 and in the EVO Control software. Ensure the correct output is selected in your computer's sound settings and your DAW. If using headphones, check SmartMuting settings.
- Distorted Audio: Reduce the input gain using the large central knob or Smartgain. Check for damaged cables. Ensure sample rates and buffer sizes are correctly set in your DAW and the EVO Control software.
- Software Not Recognizing EVO 8: Reinstall the latest drivers from the Audient website. Restart your computer and the EVO 8. Try a different USB port.
- Intermittent Connection: Ensure the USB cable is not loose. Avoid using unpowered USB hubs.
For further assistance, refer to the Audient support website or contact their customer service.
7. Specifications
| Specification | Detail |
|---|---|
| Item Model Number | AUS-EVO8-COMBO-STD |
| Item Weight | 3.3 pounds |
| Package Dimensions | 10.31 x 10.28 x 4.57 inches |
| Connectivity Technology | USB |
| Number of Channels | 4-In, 4-Out (8 total) |
| Preamps | 4 x EVO Preamps (58dB gain range) |
| Dynamic Range | 113dB (converters) |
| Compatible Devices | Personal Computer |
| Operating System | Windows, macOS (check Audient website for specific versions) |
| Supported Software | All major audio software and plugins |
8. Warranty and Support
The Audient EVO 8 comes with a manufacturer's warranty. For specific details regarding warranty coverage, duration, and terms, please refer to the warranty card included with your product or visit the official Audient website. For technical support, driver updates, FAQs, and additional resources, please visit the Audient support page:
Always ensure you are using the latest drivers and firmware for optimal performance and compatibility.


