1. Introduction
Thank you for choosing the FERM PDM1037s 13mm 1010W Drill. This instruction manual provides important information regarding the safe operation, setup, maintenance, and troubleshooting of your new power tool. Please read this manual thoroughly before using the drill and keep it for future reference.
The FERM PDM1037s is a robust corded electric rotary drill designed for various drilling tasks in wood, metal, and masonry. It features a powerful 1010W motor, a 13mm keyed chuck, adjustable speed, reverse rotation, and a hammer function for efficient performance.
2. Safety Instructions
WARNING: Read all safety warnings, instructions, illustrations, and specifications provided with this power tool. Failure to follow all instructions listed below may result in electric shock, fire, and/or serious injury.
General Power Tool Safety Warnings:
- Work Area Safety: Keep your work area clean and well-lit. Cluttered or dark areas invite accidents. Do not operate power tools in explosive atmospheres, such as in the presence of flammable liquids, gases, or dust.
- Electrical Safety: Power tool plugs must match the outlet. Never modify the plug in any way. Do not use any adapter plugs with earthed (grounded) power tools. Avoid body contact with earthed or grounded surfaces such as pipes, radiators, ranges, and refrigerators.
- Personal Safety: Always wear eye protection. Use hearing protection when operating noisy tools. Wear a dust mask if operations create dust. Dress properly; do not wear loose clothing or jewelry. Keep hair and clothing away from moving parts.
- Power Tool Use and Care: Do not force the power tool. Use the correct power tool for your application. Disconnect the plug from the power source before making any adjustments, changing accessories, or storing power tools.
- Service: Have your power tool serviced by a qualified repair person using only identical replacement parts. This will ensure that the safety of the power tool is maintained.
3. Product Components
The FERM PDM1037s drill consists of several key components for its operation. Familiarize yourself with these parts before use.
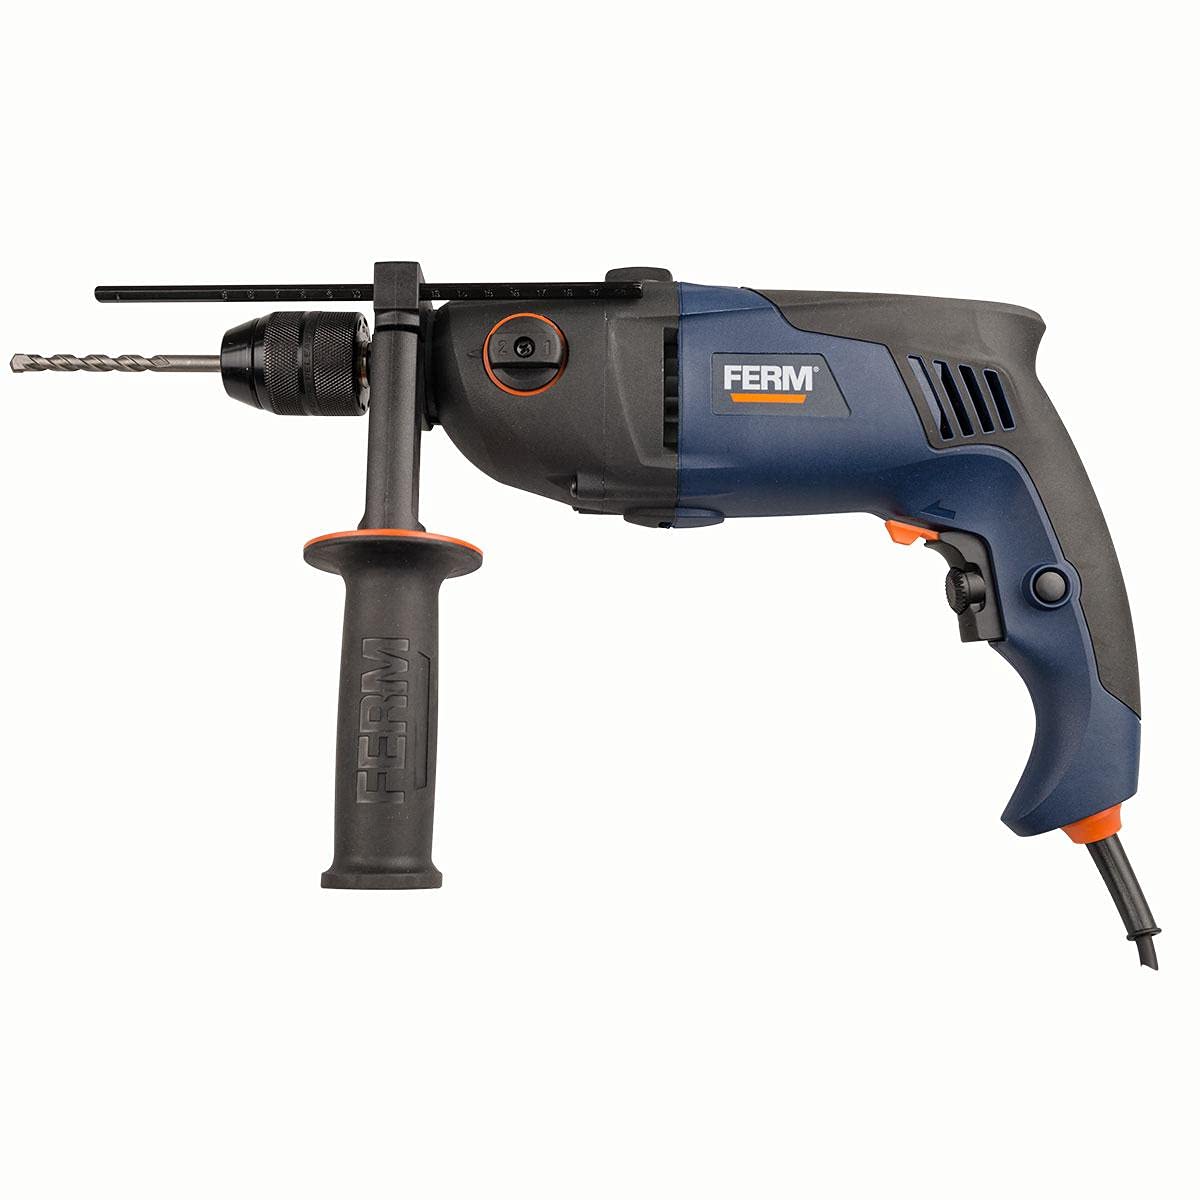
Figure 1: Overview of the FERM PDM1037s drill. This image shows the main body of the drill, including the chuck, auxiliary handle, and power cord connection point.
- Chuck: Holds the drill bits securely. This model uses a keyed chuck.
- Depth Stop: Used to set the desired drilling depth.
- Auxiliary Handle: Provides additional grip and control during operation.
- Mode Selector Switch: For switching between rotary drilling and hammer drilling modes.
- Speed Control Dial: Adjusts the maximum rotational speed.
- Trigger Switch: Activates the drill.
- Lock-on Button: For continuous operation without holding the trigger.
- Forward/Reverse Switch: Changes the direction of rotation.
- Power Cord: Connects the drill to the electrical supply.
4. Technical Specifications
Below are the technical specifications for the FERM PDM1037s drill:
| Feature | Specification |
|---|---|
| Model Number | FERM PDM1037s |
| Brand | FERM |
| Power Source | Corded Electric |
| Maximum Power | 1010 Watts |
| Chuck Type | Keyed Chuck |
| Chuck Size | 13 mm |
| Maximum Rotational Speed | 3000 RPM |
| Adjustable Speed | Yes |
| Reverse Function | Yes |
| Hammer Function | Yes |
| Screwdriver Function | Yes |
| Item Weight | 11 grams |
| Color | Multi-color |
| Batteries Required | No |
| Date First Available | July 7, 2021 |
| ASIN | B098TZFVWC |
5. Setup
5.1 Attaching the Auxiliary Handle
The auxiliary handle provides better control and stability. Loosen the handle by twisting it counter-clockwise. Slide it over the chuck and position it to your desired angle. Tighten the handle by twisting it clockwise until secure.
5.2 Installing the Depth Stop
Insert the depth stop into the hole on the auxiliary handle. Adjust the depth stop to the desired drilling depth by sliding it in or out. Secure it by tightening the screw or lever on the auxiliary handle.
5.3 Inserting and Removing Drill Bits
- Ensure the drill is unplugged from the power source.
- Use the chuck key to loosen the chuck jaws by turning it counter-clockwise.
- Insert the drill bit fully into the chuck, ensuring it is centered.
- Tighten the chuck jaws firmly using the chuck key by turning it clockwise. Ensure the bit is securely held.
- To remove, loosen the chuck jaws with the chuck key and pull out the bit.
6. Operating Instructions
6.1 Power Connection
Connect the power cord to a suitable electrical outlet. Ensure the voltage matches the drill's requirements.
6.2 Selecting Operating Mode
Use the mode selector switch (typically located on the top or side of the drill) to choose between:
- Rotary Drilling: For drilling in wood, metal, plastics, and ceramics.
- Hammer Drilling: For drilling in masonry, concrete, and stone.
6.3 Adjusting Speed
The drill features an adjustable speed control dial. Rotate the dial to set the maximum speed for your application. Lower speeds are suitable for larger drill bits, softer materials, or screwdriving. Higher speeds are for smaller bits and harder materials.
6.4 Forward/Reverse Rotation
Use the forward/reverse switch (usually near the trigger) to select the direction of rotation. Forward rotation (clockwise) is for drilling and tightening screws. Reverse rotation (counter-clockwise) is for removing screws or freeing a jammed drill bit.
6.5 Starting and Stopping the Drill
- To Start: Press the trigger switch. The speed is variable depending on how far the trigger is pressed.
- For Continuous Operation: Press the trigger switch fully and then press the lock-on button. Release the trigger.
- To Stop (from continuous operation): Press the trigger switch again and release it.
- To Stop (from momentary operation): Release the trigger switch.
6.6 Drilling Tips
- Always secure your workpiece to prevent it from moving.
- Apply steady, even pressure. Do not force the drill.
- For deep holes, periodically withdraw the drill bit to clear chips and allow cooling.
- When drilling metal, use cutting oil to prolong bit life and improve cutting efficiency.
- When drilling masonry, ensure the hammer function is engaged and use appropriate masonry drill bits.
7. Maintenance
Regular maintenance ensures the longevity and safe operation of your FERM PDM1037s drill.
7.1 Cleaning
- Always unplug the drill before cleaning.
- Keep the ventilation openings clean to prevent overheating. Use a soft brush or compressed air to clear dust and debris.
- Wipe the tool housing with a damp cloth. Do not use harsh chemicals or abrasive cleaners.
7.2 Carbon Brushes
The motor is equipped with carbon brushes. If the drill experiences excessive sparking or reduced performance, the carbon brushes may need replacement. This should be performed by a qualified service technician.
7.3 Storage
Store the drill in a dry, secure location out of reach of children. Protect it from moisture and direct sunlight.
8. Troubleshooting
This section addresses common issues you might encounter with your drill.
| Problem | Possible Cause | Solution |
|---|---|---|
| Drill does not start | No power supply; Faulty power cord/plug; Faulty switch; Worn carbon brushes | Check power outlet and cord; Contact qualified service technician for switch or brush replacement. |
| Reduced power/speed | Worn carbon brushes; Overload; Incorrect speed setting | Replace carbon brushes (by technician); Reduce load; Adjust speed dial to higher setting. |
| Excessive sparking from motor | Worn carbon brushes; Dirty commutator | Have carbon brushes and commutator checked/replaced by a qualified service technician. |
| Drill bit jams | Incorrect bit for material; Excessive pressure; Material too hard | Use appropriate bit; Reduce pressure; Consider hammer function for masonry. |
9. Warranty and Support
FERM products are manufactured to high-quality standards and are guaranteed against manufacturing defects for a period specified by local regulations from the date of purchase. This warranty does not cover damage caused by misuse, abuse, normal wear and tear, or unauthorized repairs.
For warranty claims, technical support, or service inquiries, please contact your local FERM dealer or authorized service center. Please have your proof of purchase and the product model number (PDM1037s) available when contacting support.
For more information, visit the official FERM website: www.ferm.com


