Important Safety Information
Please read and understand all instructions before beginning installation. Failure to do so may result in electric shock, fire, or other injuries that could be fatal or cause property damage. All electrical connections must be in accordance with local codes, ordinances, or the National Electric Code (NEC). If you are unfamiliar with electrical wiring, consult a qualified electrician.
- Always disconnect power at the main circuit breaker before installation or maintenance.
- Do not exceed the recommended wattage for bulbs.
- Ensure all connections are secure and properly insulated.
- This fixture is ETL Certified and Damp Rated for indoor locations only.
Package Contents
Carefully unpack the fixture and check that all parts are included. Keep the packaging materials until you are certain all parts are present and in good condition.
- Chandelier Body (9-Light)
- Mounting Hardware (Crossbar, Screws, Wire Nuts)
- Canopy and Chain Assembly
- Clear Glass Shades (9 pieces)
Setup and Installation
This section outlines the general steps for installing your Minka Lavery Camrin Chandelier. Professional installation is recommended.
1. Prepare for Installation
- Turn off power: Locate the main circuit breaker and turn off the power to the junction box where the fixture will be installed.
- Clear the area: Ensure the installation area is clear and stable.
- Unpack components: Carefully remove all parts from the packaging.
2. Mount the Crossbar and Canopy
Attach the mounting crossbar to the junction box using the provided screws. Secure the canopy to the crossbar, allowing for wiring access. The fixture includes hardware to mount to an existing junction box (junction box not included).

Image: Chandelier canopy and chain assembly. This image shows the top portion of the chandelier, including the ceiling canopy, the hanging chain, and the ring that connects to the main support rod of the fixture.
3. Adjust Hanging Height
The chandelier's hanging height is adjustable from a minimum of 29.88 inches to a maximum of 100.38 inches. Determine the desired length of the chain and remove any excess links using appropriate tools. Feed the electrical wires through the chain and canopy.
4. Electrical Connections
Connect the fixture's wires to the house wiring using the provided wire nuts. Ensure proper polarity:
- Connect the black wire from the fixture to the black (hot) wire from the junction box.
- Connect the white wire from the fixture to the white (neutral) wire from the junction box.
- Connect the bare copper or green ground wire from the fixture to the ground wire from the junction box.
After making connections, carefully tuck all wires into the junction box.
5. Secure the Fixture Body and Shades
Once wiring is complete, secure the chandelier body to the canopy. Then, carefully install each of the nine clear glass shades onto their respective sockets. Ensure they are seated firmly but do not overtighten.

Image: Chandelier light sockets and glass shades. This image provides a close-up view of the individual light arms, the E26 bulb sockets, and the clear, textured glass shades.
6. Install Bulbs
Screw in nine A19 medium base (E26) bulbs, up to a maximum of 60 watts each. Do not exceed the maximum wattage. This fixture is dimmable, so compatible dimmable bulbs and a dimmer switch can be used for adjustable light output.
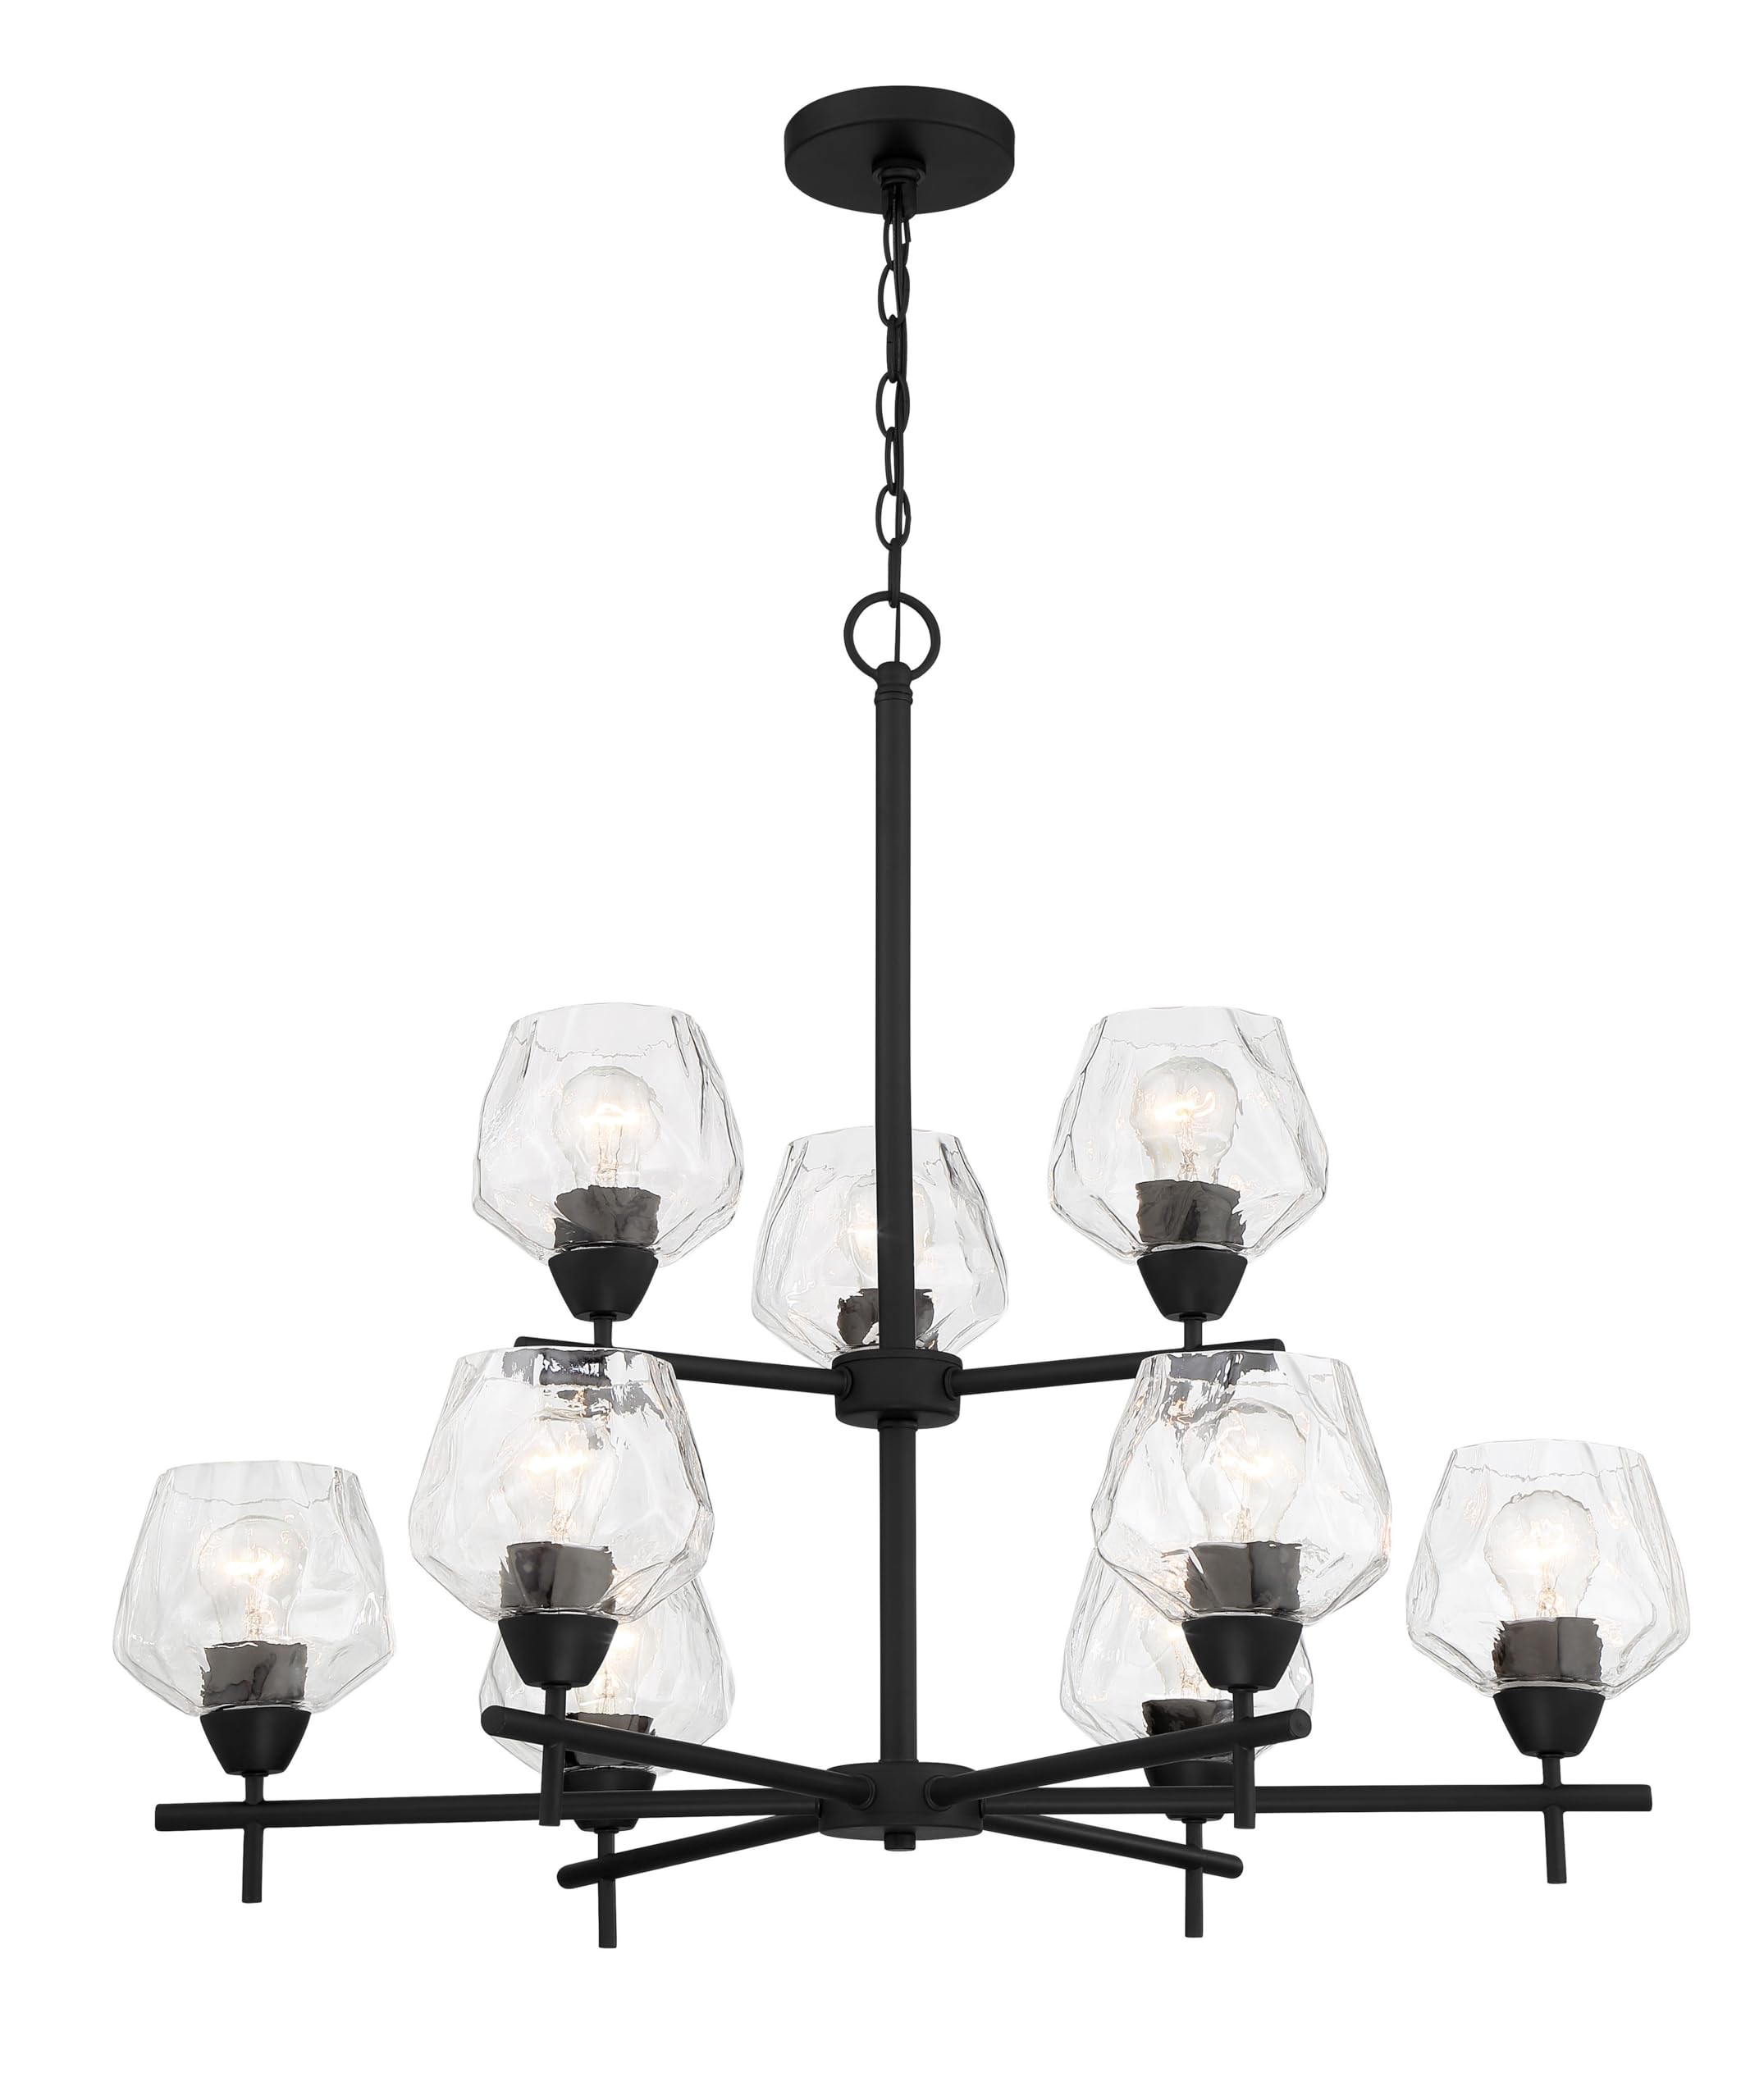
Image: Minka Lavery Camrin Chandelier, 9-Light, Coal Black. This image displays the complete chandelier with all nine lights and glass shades installed, showcasing its overall design.
7. Restore Power
Once installation is complete, restore power at the main circuit breaker and test the fixture.
Operating Instructions
The Minka Lavery Camrin Chandelier operates via a standard wall switch. For dimming functionality, ensure you have installed dimmable E26 bulbs and a compatible dimmer switch (sold separately). The control method is typically through a wall-mounted switch.
Maintenance
Cleaning
To clean the fixture, ensure power is off. Wipe the metal parts with a soft, dry cloth. For the glass shades, use a mild glass cleaner and a soft cloth. Avoid abrasive cleaners or harsh chemicals that may damage the finish or glass.
Bulb Replacement
Always turn off power at the circuit breaker before replacing bulbs. Allow bulbs to cool completely before touching them. Unscrew the old bulb and replace it with a new A19 medium base (E26) bulb, not exceeding 60 watts. Restore power after replacement.
Troubleshooting
| Problem | Possible Cause | Solution |
|---|---|---|
| Fixture does not light | No power to fixture; Loose wiring connection; Faulty bulb; Faulty wall switch | Check circuit breaker; Verify all wire connections are secure; Replace bulb; Test wall switch |
| Lights flicker | Loose bulb; Incorrect bulb type for dimmer; Loose wiring connection | Tighten bulbs; Ensure dimmable bulbs are used with a dimmer; Check wiring connections |
| Dimming not working | Non-dimmable bulbs installed; Incompatible dimmer switch; Faulty dimmer switch | Install dimmable bulbs; Ensure dimmer switch is compatible with LED/Halogen bulbs; Replace dimmer switch |
Specifications
| Feature | Detail |
|---|---|
| Model Number | 2179-66A |
| Dimensions (L x W x H) | 31 inches x 31 inches x 26.88 inches |
| Item Weight | 11.9 pounds |
| Color | Coal Black |
| Material | Metal, Glass |
| Number of Lights | 9 |
| Bulb Base | E26 (Medium Base) |
| Max Wattage Per Bulb | 60 Watts |
| Total Max Wattage | 540 Watts |
| Voltage | 120 Volts |
| Light Source Type | Halogen (compatible with LED/Incandescent) |
| Dimmable | Yes (with compatible bulbs and dimmer switch) |
| Installation Type | Semi Flush Mount |
| Adjustable Hanging Height | 29.88 inches (Min) to 100.38 inches (Max) |
| Certification | ETL Certified |
| Location Use | Damp Rated (Indoor) |
Warranty Information
This Minka Lavery product is covered by a one-year limited warranty from the date of purchase. This warranty covers defects in materials and workmanship under normal use. For specific details regarding warranty claims, please refer to the official Minka Lavery warranty policy or contact customer support.
Customer Support
For technical assistance, missing parts, or warranty inquiries, please contact Minka Lavery customer support. Visit the official Minka Lavery website for contact information and additional resources.
Manufacturer: Minka Lighting LLC.