Introduction
Thank you for purchasing the Ikon Bread Maker with LCD Display, model IK-902D. This appliance is designed to simplify the bread-making process, offering a variety of programs to create delicious homemade bread. Please read this manual thoroughly before first use to ensure safe and optimal operation.
Important Safety Instructions
When using electrical appliances, basic safety precautions should always be followed, including the following:
- Read all instructions carefully.
- Do not touch hot surfaces. Use handles or knobs.
- To protect against electric shock, do not immerse cord, plugs, or the bread maker in water or other liquid.
- Close supervision is necessary when any appliance is used by or near children.
- Unplug from outlet when not in use and before cleaning. Allow to cool before putting on or taking off parts.
- Do not operate any appliance with a damaged cord or plug, or after the appliance malfunctions or has been damaged in any manner.
- The use of accessory attachments not recommended by the appliance manufacturer may cause injuries.
- Do not use outdoors.
- Do not let cord hang over edge of table or counter, or touch hot surfaces.
- Do not place on or near a hot gas or electric burner, or in a heated oven.
- Extreme caution must be used when moving an appliance containing hot oil or other hot liquids.
- To disconnect, turn any control to "off", then remove plug from wall outlet.
- Do not use appliance for other than intended use.
Product Overview
Familiarize yourself with the components of your Ikon Bread Maker.
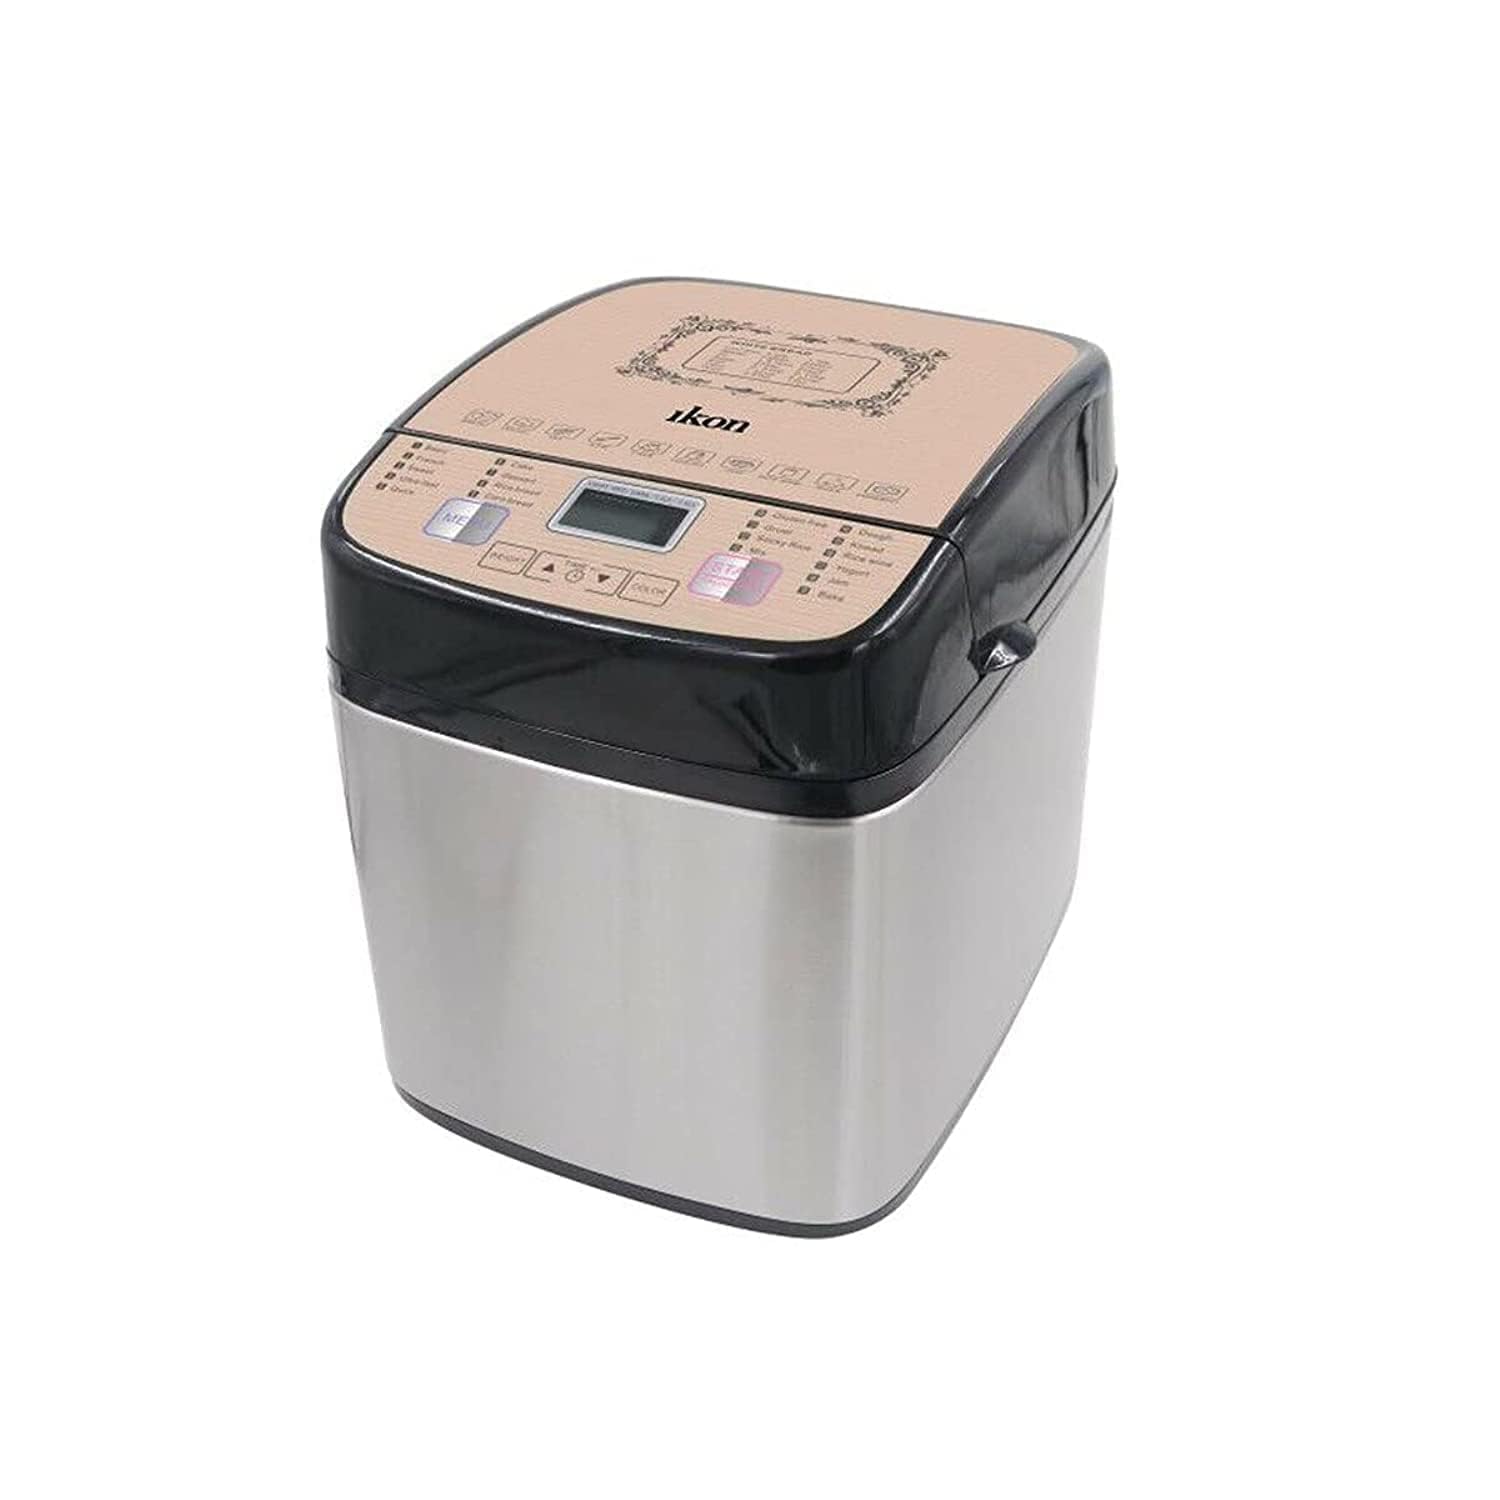
Image: The Ikon Bread Maker model IK-902D, showing its compact design, control panel with LCD display, and viewing window on the lid.
Main Components:
- Lid with Viewing Window: Allows monitoring of the baking process.
- Control Panel with LCD Display: For program selection, time adjustment, and status display.
- Baking Pan: Removable non-stick pan for ingredients.
- Kneading Paddle: Mixes and kneads the dough.
- Measuring Cup and Spoon: For accurate ingredient measurement.
- Housing: The main body of the bread maker.
Setup and First Use
- Unpacking: Carefully remove the bread maker and all accessories from the packaging.
- Cleaning: Wash the baking pan and kneading paddle with warm, soapy water. Rinse thoroughly and dry all parts. Wipe the exterior of the bread maker with a damp cloth.
- Placement: Place the bread maker on a stable, flat, heat-resistant surface, away from direct sunlight and heat sources. Ensure adequate ventilation around the appliance.
- Initial Burn-off (Optional): It is recommended to run the "Bake" program (Program 12) for about 10 minutes without ingredients to burn off any manufacturing oils. Ensure the area is well-ventilated during this process. Allow the unit to cool completely afterward.
- Power Connection: Plug the power cord into a grounded 220-240V, 50/60Hz electrical outlet. The bread maker will beep, and the default program will display on the LCD.
Operating Instructions
Adding Ingredients:
Always add ingredients in the order specified by your recipe, typically liquids first, then dry ingredients, and finally yeast. Ensure the kneading paddle is correctly installed in the baking pan before adding ingredients.
- Remove the baking pan from the bread maker by lifting the handle.
- Insert the kneading paddle onto the shaft at the bottom of the pan.
- Add all liquid ingredients (water, milk, oil, eggs) to the baking pan.
- Add dry ingredients (flour, sugar, salt, powdered milk, etc.). Ensure the dry ingredients cover the liquids.
- Make a small indentation in the center of the dry ingredients (do not reach the liquid) and add the yeast.
- Place the baking pan back into the bread maker, pressing down firmly until it clicks into place. Close the lid.
Program Selection:
The Ikon Bread Maker features 19 digital programs. Use the "MENU" button to cycle through the programs displayed on the LCD. Refer to the "Programs" section for a detailed list.
Loaf Size and Crust Color:
- Loaf Size: Use the "LOAF SIZE" button to select between 1.0 LB (500g) or 1.5 LB (750g) capacity, depending on your recipe.
- Crust Color: Use the "CRUST" button to select Light, Medium, or Dark crust.
Starting and Stopping:
- Start: After selecting your desired program, loaf size, and crust color, press the "START/STOP" button once. The bread maker will beep, and the program will begin.
- Stop/Cancel: To stop a program or cancel the delay timer, press and hold the "START/STOP" button for approximately 3 seconds until a beep sounds.
Delay Timer Function:
The delay timer allows you to program the bread maker to finish baking at a later time, up to 13 hours. After selecting your program, loaf size, and crust color, use the "+" and "-" buttons to adjust the delay time. Each press increases or decreases the time by 10 minutes. Press "START/STOP" to activate the delay timer. The display will count down until the program begins.
Note: Do not use the delay timer with recipes containing highly perishable ingredients like milk, eggs, or fresh fruit.
Programs
The Ikon Bread Maker IK-902D offers 19 versatile programs:
- Basic: For white and mixed breads, mainly consisting of wheat flour.
- French: For light breads made from fine flour.
- Whole Wheat: For breads with a high proportion of whole wheat flour.
- Quick: For quick preparation of basic breads.
- Sweet: For breads with high sugar, fats, and proteins.
- Gluten-Free: For gluten-free recipes.
- Super Rapid: For very fast baking of basic bread.
- Dough: For preparing dough for rolls, pizza, or pastries without baking.
- Knead: For kneading only.
- Cake: For mixing and baking cakes and quick breads.
- Dessert: For sweet desserts.
- Bake: For additional baking of light or under-baked bread.
- Jam: For making homemade jams and marmalades.
- Yogurt: For making homemade yogurt.
- Rice Bread: For bread made with rice flour.
- Stir-fry: For specific cooking functions (refer to recipe book for details).
- Ferment: For fermentation processes.
- Defrost: For defrosting ingredients.
- Custom: Allows manual setting of kneading, rising, and baking times.
Maintenance and Cleaning
Proper cleaning and maintenance will extend the life of your bread maker.
- Before Cleaning: Always unplug the appliance and allow it to cool completely before cleaning.
- Baking Pan and Kneading Paddle: Remove the baking pan and kneading paddle. Wash them with warm, soapy water. If the kneading paddle is difficult to remove, fill the pan with warm water and let it soak for about 30 minutes. Do not use abrasive cleaners or metal scouring pads, as these will damage the non-stick coating.
- Exterior: Wipe the exterior of the bread maker with a soft, damp cloth. Do not immerse the bread maker in water or spray it with water.
- Interior: Wipe the interior of the baking chamber with a damp cloth. Remove any bread crumbs.
- Storage: Ensure all parts are thoroughly dry before storing the bread maker in a clean, dry place.
Product care instructions: Wipe with Dry Cloth (for exterior).
Troubleshooting
If you encounter issues with your bread maker, refer to the following common problems and solutions:
| Problem | Possible Cause | Solution |
|---|---|---|
| Bread does not rise. | Expired yeast, incorrect water temperature, too much salt, not enough sugar. | Check yeast expiration date. Use lukewarm water (35-40°C). Ensure correct ingredient measurements. |
| Bread is too dense. | Too much flour, not enough liquid, old yeast. | Measure ingredients precisely. Ensure liquids are at room temperature. |
| Bread collapses in the middle. | Too much liquid, too much yeast, high humidity. | Reduce liquid slightly. Reduce yeast slightly. |
| Kneading paddle stuck in bread. | Common occurrence. | Remove bread from pan, then carefully remove paddle using a non-metallic utensil. |
| Bread maker not starting. | Not plugged in, program not selected, START/STOP not pressed. | Check power connection. Select a program. Press START/STOP button. |
Specifications
| Model: | IK-902D |
| Brand: | Ikon (Generic) |
| Voltage: | 220-240 V |
| Frequency: | 50/60 Hz |
| Capacity: | 1.0 LB / 1.5 LB (500g / 750g) |
| Number of Programs: | 19 Digital Programs |
| Display: | LCD Display |
| Motor Type: | DC Motor |
| Noise Level: | Low noise |
| Materials: | Aluminum, Plastic, Stainless Steel |
| Product Dimensions (L x W x H): | 23.9 x 35.5 x 28.4 cm (approx.) |
Warranty and Support
For warranty information and customer support, please refer to the warranty card included with your product or contact the retailer/manufacturer directly. Keep your purchase receipt as proof of purchase.
Manufacturer: Ikon


