1. Introduction
The Metronic 495348 Universal Remote Control is designed to operate a wide range of air conditioners and heat pumps. This manual provides comprehensive instructions for setup, operation, and basic maintenance to ensure optimal performance and ease of use. Please read this guide carefully before using the remote control.

Image 1.1: The Metronic 495348 remote control in use, demonstrating its compatibility with various air conditioning units.
2. Product Overview
The Metronic 495348 features a clear LCD screen and intuitively placed buttons for easy control of your air conditioning unit. Familiarize yourself with the remote's layout:

Image 2.1: Front view of the Metronic 495348 Universal Remote Control, highlighting the LCD display and control buttons.
- LCD Screen: Displays current temperature, mode, fan speed, timer settings, and other indicators.
- POWER Button: Turns the air conditioner ON or OFF.
- TEMP+ / TEMP- Buttons: Adjusts the temperature setting.
- Q.COOL Button: Activates the Quick Cool function for rapid cooling.
- Q.HEAT Button: Activates the Quick Heat function for rapid heating.
- MODE Button: Cycles through operating modes (Auto, Cool, Heat, Dry, Fan).
- FAN Button: Adjusts the fan speed.
- SWING Button: Controls the vertical louver swing function.
- VANE Button: Controls the horizontal louver position (if supported by AC unit).
- TIMER ON / TIMER OFF Buttons: Sets the automatic ON/OFF timer.
- SELECT Button: Used for brand code selection during setup.
- ENTER (OK) Button: Confirms selections and settings.
3. Battery Installation
The remote control requires two AAA 1.5V LR03 batteries (not included). Follow these steps for proper installation:
- Locate the battery compartment cover on the back of the remote control.
- Slide the cover downwards or press the latch to open it.
- Insert two AAA batteries, ensuring the correct polarity (+ and -) as indicated inside the compartment.
- Replace the battery compartment cover, sliding it back into place until it clicks securely.
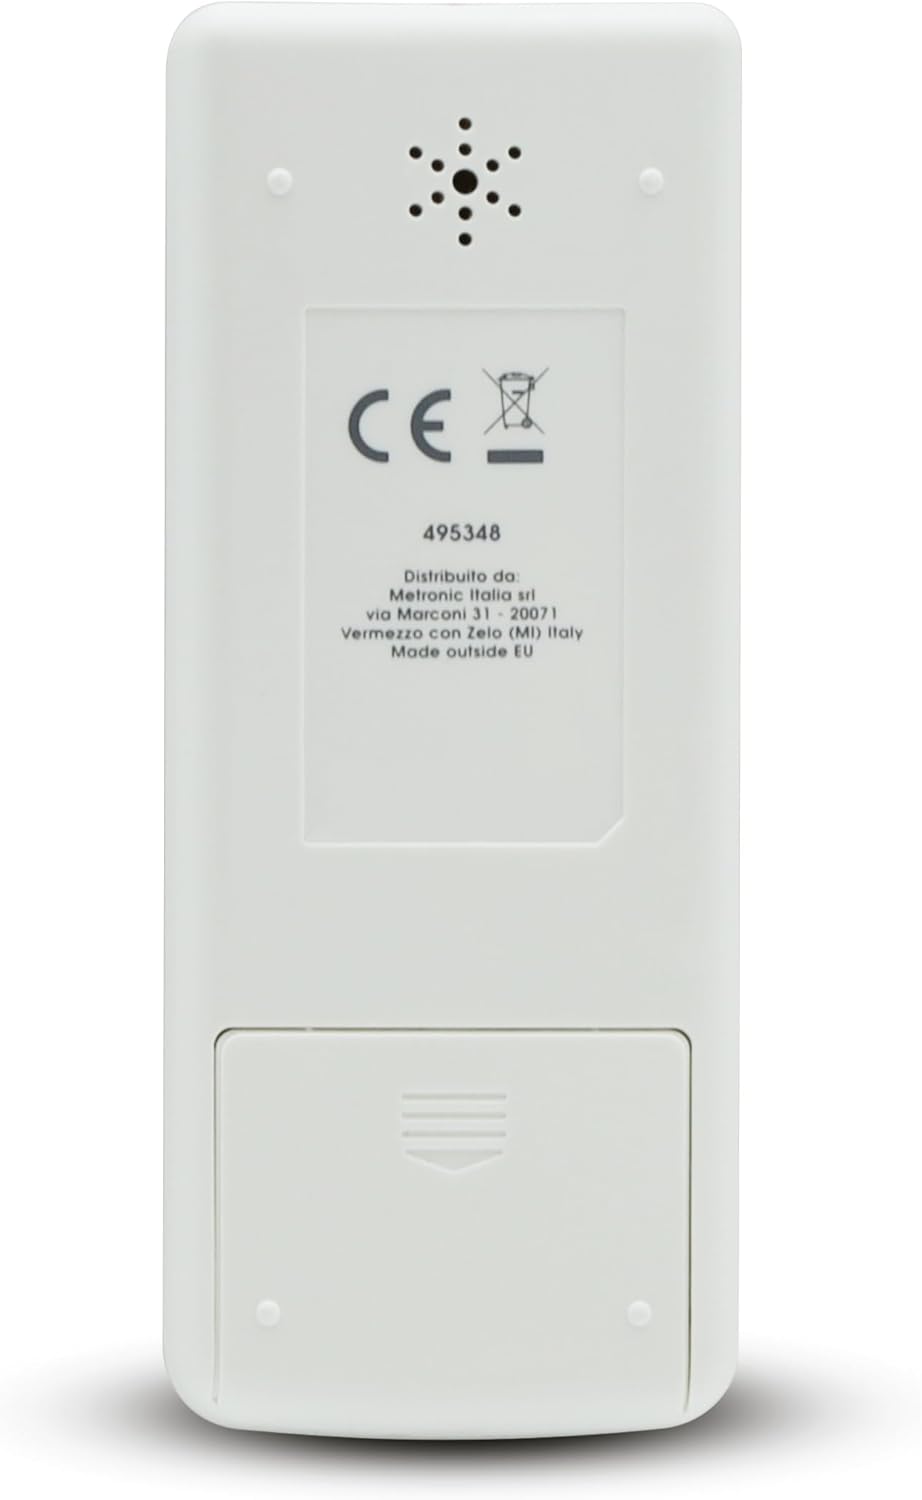
Image 3.1: Rear view of the remote control, illustrating the battery compartment location.
Note: If the remote control is not used for an extended period, remove the batteries to prevent leakage and damage.
4. Setup Procedures
The Metronic 495348 offers two methods for connecting to your air conditioner: automatic search and manual code entry.
4.1. Automatic Search Method
This method allows the remote to automatically scan for compatible codes.
- Ensure your air conditioner unit is powered ON manually.
- Press and hold the 'SELECT' button on the remote control. The brand code on the LCD screen will start flashing.
- Release the 'SELECT' button. The remote will begin transmitting power signals, cycling through various codes.
- Observe your air conditioner. As soon as your AC unit turns OFF, immediately press the 'ENTER' (OK) button to confirm the code. This stops the automatic search.
- Test all functions (e.g., ON/OFF, temperature adjustment, mode changes). If all functions work correctly, the setup is complete.
- If some functions do not work, repeat the automatic search process. There might be multiple compatible codes for your brand, and the next one might offer full functionality.
4.2. Manual Code Entry Method
This method requires you to manually input a specific code for your air conditioner brand.
- Refer to the code list provided in the original product manual (a physical list of codes is typically included with the remote).
- Press and hold the 'SELECT' button until the brand code on the LCD screen starts flashing.
- Use the 'TEMP+' or 'TEMP-' buttons to navigate through the 3-digit codes until you find the code corresponding to your air conditioner's brand.
- Once the correct code is displayed, press the 'ENTER' (OK) button to confirm the selection.
- Test all functions of the remote control with your air conditioner.
- If not all functions work, try the next code listed for your brand in the code list.
5. Operating Modes
The remote control supports 5 primary operating modes and quick functions:
- Automatic (AUTO): Press the 'MODE' button until 'AUTO' appears. The air conditioner automatically selects the optimal mode (cooling or heating) based on the ambient room temperature.
- Cooling (COOL): Press the 'MODE' button until 'COOL' appears. Use 'TEMP+' or 'TEMP-' to set the desired cooling temperature.
- Heating (HEAT): Press the 'MODE' button until 'HEAT' appears. Use 'TEMP+' or 'TEMP-' to set the desired heating temperature.
- Dehumidifier (DRY): Press the 'MODE' button until 'DRY' appears. This mode reduces humidity in the room without significant temperature change.
- Fan (FAN): Press the 'MODE' button until 'FAN' appears. This mode circulates air without cooling or heating. You can adjust the fan speed using the 'FAN' button.
5.1. Quick Functions
- Quick Cool (Q.COOL): Press the 'Q.COOL' button for rapid cooling of the room.
- Quick Heat (Q.HEAT): Press the 'Q.HEAT' button for rapid heating of the room.
6. Timer Functions
The remote allows you to program your air conditioner to turn ON or OFF automatically at specific times.
6.1. Timer ON
To set the air conditioner to turn ON automatically:
- Press the 'TIMER ON' button. The time display on the LCD screen will flash.
- Use the 'TEMP+' or 'TEMP-' buttons to adjust the desired ON time.
- Press the 'ENTER' (OK) button to confirm the setting. The timer indicator will appear on the screen.
6.2. Timer OFF
To set the air conditioner to turn OFF automatically:
- Press the 'TIMER OFF' button. The time display on the LCD screen will flash.
- Use the 'TEMP+' or 'TEMP-' buttons to adjust the desired OFF time.
- Press the 'ENTER' (OK) button to confirm the setting. The timer indicator will appear on the screen.
To cancel a set timer, press the corresponding 'TIMER ON' or 'TIMER OFF' button again before the set time, or turn off the air conditioner manually.
7. Advanced Functions
Beyond basic operation, the remote offers additional controls for enhanced comfort:
- Fan Speed (FAN): In Cool, Heat, or Fan modes, press the 'FAN' button repeatedly to cycle through available fan speeds (e.g., Auto, Low, Medium, High).
- Swing (SWING): Press the 'SWING' button to activate or deactivate the automatic vertical louver swing function of your air conditioner. This helps distribute air more evenly.
- Vane (VANE): Press the 'VANE' button to adjust the position of the horizontal louvers. This function's availability and specific operation depend on your air conditioner model.
8. Troubleshooting
If you encounter issues with your Metronic 495348 remote control, refer to the following common problems and solutions:
| Problem | Possible Cause | Solution |
|---|---|---|
| Remote not responding to AC unit. | Low or depleted batteries. Incorrect battery polarity. No line of sight to AC unit's IR receiver. Incorrect brand code selected. | Replace batteries with new AAA batteries. Check battery orientation (+/-). Ensure no obstructions between remote and AC unit. Repeat the setup procedure (automatic or manual). |
| Some functions (e.g., Swing, Vane) do not work. | The selected code does not fully support all features of your specific AC model. Your AC unit may not have the specific function. | Try another code for your brand using the manual code entry method. Consult your AC unit's manual to confirm supported features. |
| LCD screen is dim or blank. | Low batteries. | Replace batteries. |
9. Specifications
Key technical details for the Metronic 495348 Universal Remote Control:
- Brand: Metronic
- Model: 495348
- Product Dimensions: 16.5 x 5.5 x 2 cm
- Item Weight: 50 grams
- Batteries Required: 2 x AAA 1.5V LR03 (not included)
- Connection Type: Infrared
- Maximum Range: 8 meters
- Compatible Devices: Air conditioners, Heat pumps
- Operating Modes: 5 (Automatic, Cool, Heat, Dehumidifier, Fan)
- Additional Features: Quick Cool, Quick Heat, Timer ON/OFF
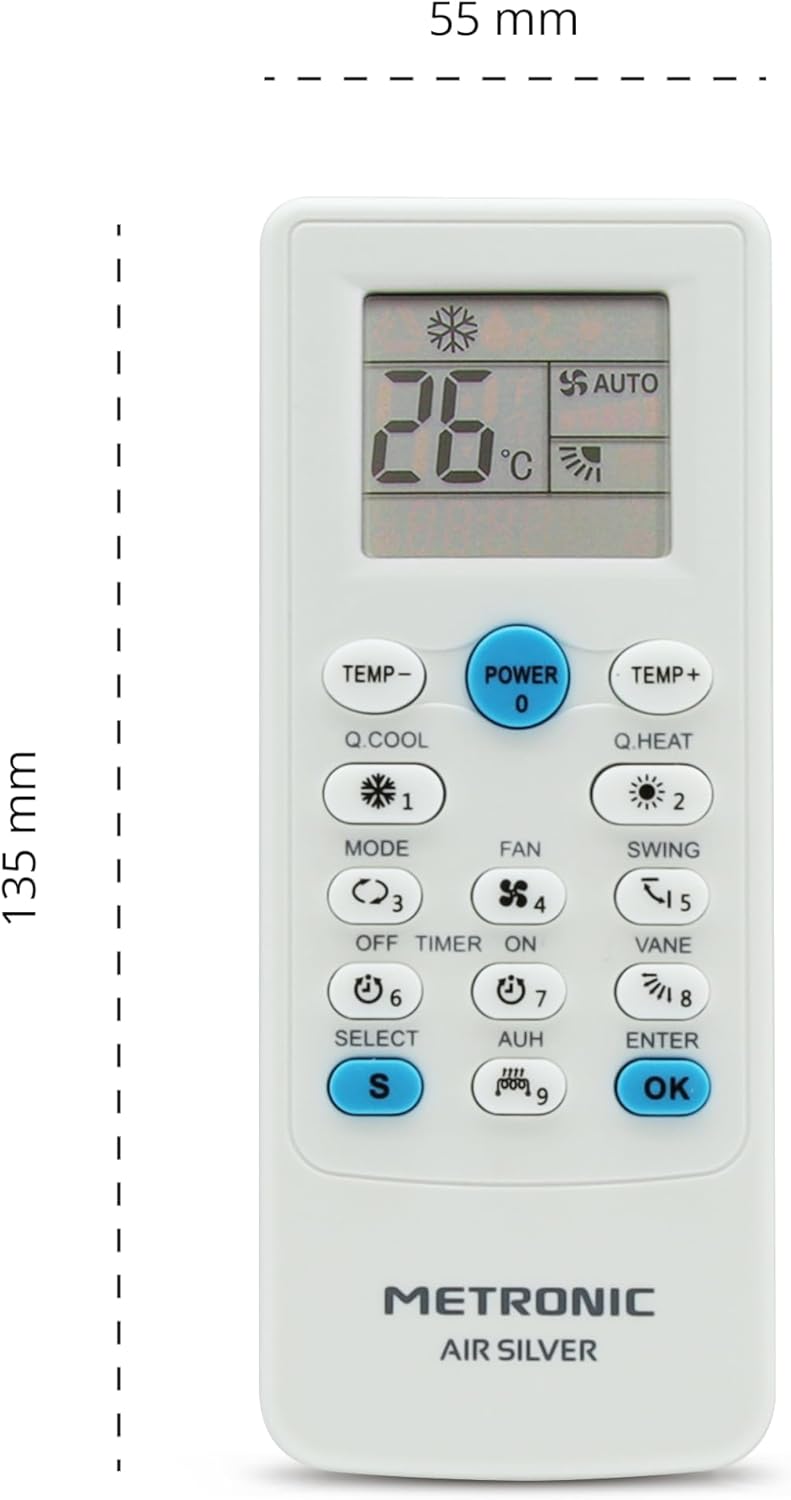
Image 9.1: Dimensions of the Metronic 495348 Universal Remote Control.
10. Warranty and Support
For detailed warranty information, technical assistance, or customer support, please refer to the documentation included with your purchase or visit the official Metronic website. You may also contact Metronic customer service directly for further assistance.


