1. Introduction
Thank you for choosing the Ourlife Kids 1080P HD Digital Camera. This manual provides essential information for the safe and effective use of your new camera. Please read it thoroughly before operation and retain it for future reference.
This camera is designed to encourage creativity and exploration in children aged 3-12, allowing them to capture photos and videos of their world.
2. Product Overview
Key Features:
- 12 Megapixel Photo Resolution & 1080P HD Video Recording (1440x1080P)
- 2.0-inch IPS Screen for clear viewing
- Built-in MP3 Music Player
- 8 Special Effects Filters and 10 Funny Frames
- Burst Shooting and Interval Timer Shooting functions
- Durable, kid-friendly, and shockproof silicone material
- Built-in 3.7V rechargeable lithium battery (1.5-2 hours continuous use)
- Includes an 8GB SD Card (supports up to 32GB)
Camera Components:
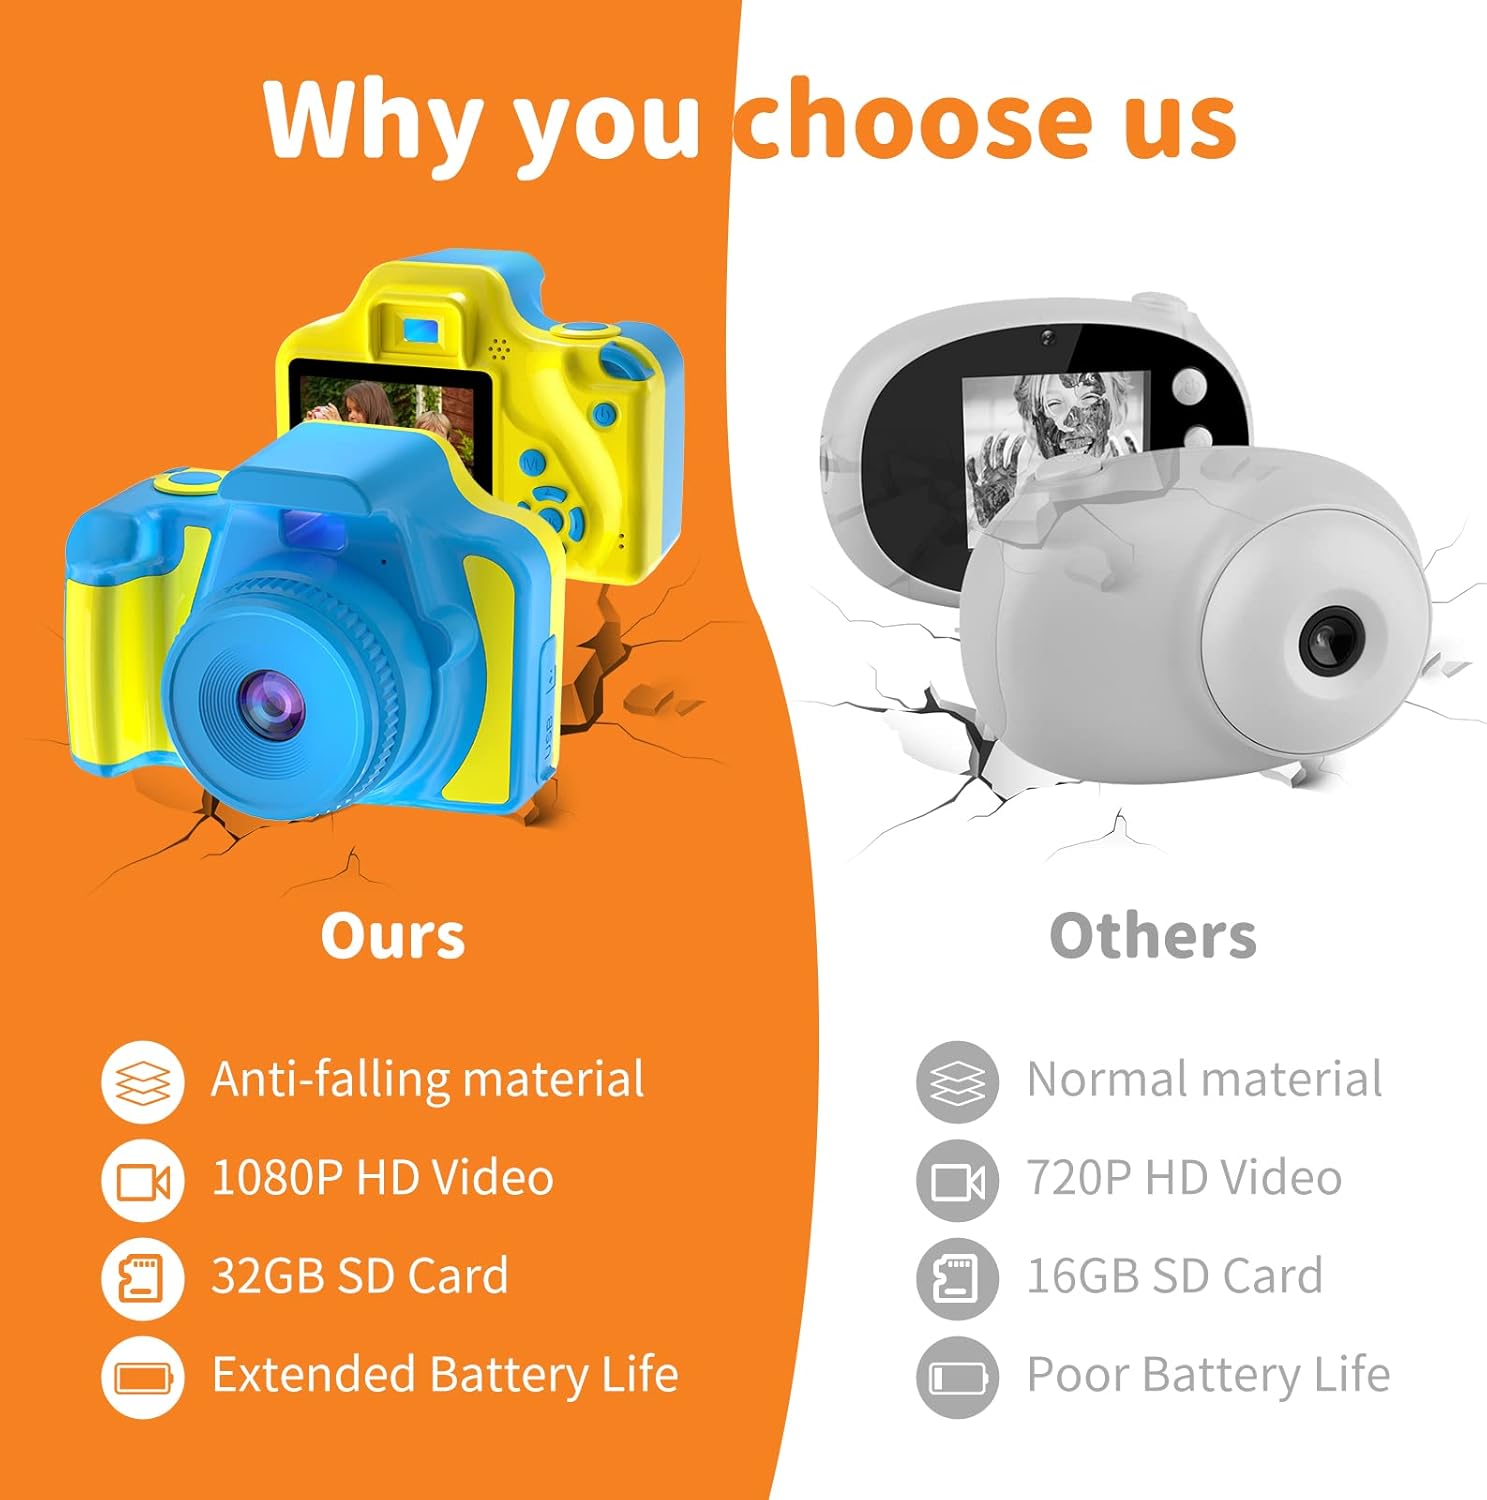
Image Description: This diagram illustrates the key components of the Ourlife Kids Camera. Visible parts include the Shutter button, Window, Lens, Speaker, Screen, Power on/off/Delete button, Menu/Album/Return button, directional buttons (Up, Right, Left, Down), Confirm button, SD Card Slot, and Micro USB port.
Familiarize yourself with the following parts:
- Lens: Captures images and videos.
- Screen: 2.0-inch IPS display for viewing and navigation.
- Shutter Button: Press to take a photo or start/stop video recording.
- Power Switch: Located on the side/bottom to turn the camera on or off.
- Menu/Album/Return Button: Accesses camera settings, photo/video album, or returns to the previous screen.
- Directional Buttons (Up, Down, Left, Right): Navigate through menus and options.
- Confirm Button: Selects an option or confirms a setting.
- Micro USB Port: For charging and data transfer.
- SD Card Slot: Insert the memory card for storage.
3. Setup
3.1 Charging the Camera
The camera has a built-in 3.7V rechargeable lithium battery. Before first use, fully charge the camera.
- Locate the Micro USB port on the side of the camera.
- Connect the provided Micro USB cable to the camera and a USB power adapter (not included) or a computer USB port.
- The charging indicator light will illuminate. Once fully charged (approximately 1.5-2 hours), the light may change color or turn off.
- Important: Charging must be supervised by an adult.
3.2 Inserting the SD Card
An 8GB SD card is included with your camera. The camera supports up to a 32GB SD card.
- Locate the SD card slot on the side of the camera.
- Gently insert the SD card into the slot with the metal contacts facing down until it clicks into place.
- To remove, push the card in slightly until it springs out.
3.3 Powering On/Off

Image Description: A close-up view of the Ourlife Kids Camera's power switch, located on the side of the device, with 'ON' and 'OFF' clearly marked.
- To turn on the camera, slide the power switch to the 'ON' position.
- To turn off the camera, slide the power switch to the 'OFF' position.
4. Operating Instructions
4.1 Taking Photos

Image Description: A young child is shown holding the Ourlife Kids Camera, looking through the viewfinder, demonstrating how to take a picture.
- Ensure the camera is powered on.
- Navigate to the photo mode using the directional buttons and confirm button.
- Aim the camera at your subject.
- Press the Shutter button to capture the photo.
4.2 Recording Videos
- Ensure the camera is powered on.
- Navigate to the video recording mode using the directional buttons and confirm button.
- Press the Shutter button once to start recording. A timer or indicator will show recording is in progress.
- Press the Shutter button again to stop recording.
4.3 Using Filters and Frames

Image Description: The Ourlife Kids Camera's screen shows a grid of multiple images of a child, each framed differently, illustrating the variety of frames and filters available.
The camera includes 8 special effects filters and 10 funny frames to add creativity to your photos.
- In photo or video mode, press the Left or Right directional buttons to cycle through available filters and frames.
- Select your desired effect before capturing the image or video.
4.4 Timed Photo Function

Image Description: This image displays three children posing for photos, with text indicating timed photo options of 3, 5, and 10 seconds, demonstrating the camera's self-timer feature.
Use the timed photo feature for group shots or when you want to be in the picture yourself.
- In photo mode, access the settings menu.
- Select the 'Timer' option and choose your desired delay (e.g., 3s, 5s, 10s).
- Press the Shutter button; the camera will count down before taking the photo.
4.5 MP3 Music Player
The camera includes an MP3 music player for entertainment.
- Navigate to the MP3 player icon on the main menu.
- Use the directional buttons to select and play music files stored on the SD card.
4.6 Playback
View your captured photos and videos directly on the camera's screen.
- From the main menu, select the 'Album' or 'Playback' icon.
- Use the directional buttons to browse through your media files.
- Press the Confirm button to view a photo or play a video.
4.7 Transferring Files
To transfer photos and videos to a computer:
- Connect the camera to a computer using the Micro USB cable.
- The camera should appear as a removable disk drive.
- Open the drive and copy the files to your computer.
- Alternatively, remove the SD card and insert it into an SD card reader connected to your computer.
5. Maintenance
5.1 Cleaning
- Use a soft, dry cloth to clean the camera body.
- For the lens and screen, use a specialized lens cleaning cloth to avoid scratches.
- Do not use liquid cleaners or solvents.
5.2 Battery Care
- Avoid fully discharging the battery frequently.
- Charge the camera regularly, even if not in use, to maintain battery health.
- Store the camera in a cool, dry place when not in use for extended periods.
5.3 Storage
- Store the camera away from direct sunlight, high temperatures, and humidity.
- Keep it out of reach of very young children when not in use.
6. Troubleshooting
- Camera not turning on: Ensure the power switch is in the 'ON' position. Check if the battery is charged. Connect to a charger to see if the charging indicator lights up.
- Cannot take photos/videos: Check if an SD card is properly inserted and has sufficient free space.
- Poor image quality / Green tint: Ensure adequate lighting conditions. The camera performs best in bright environments.
- Camera freezes: Try turning the camera off and then on again. If unresponsive, allow the battery to fully discharge and then recharge.
- No sound from MP3 player: Check volume settings. Ensure MP3 files are correctly stored on the SD card.
7. Specifications
| Feature | Specification |
|---|---|
| Brand | Ourlife |
| Model Name | Kids Camera |
| Maximum Webcam Image Resolution | 12 MP |
| Photo Sensor Technology | CMOS |
| Video Resolution | 1080p |
| Screen Size | 2 Inches |
| Display Type | LCD |
| Memory Storage Capacity | 8 GB (Included) |
| Flash Memory Supported Size Maximum | 32 GB |
| Battery Cell Type | Lithium Ion |
| Battery Average Life | 2 Hours (continuous photograph time) |
| Connectivity Technology | USB |
| Hardware Interface | Secure Digital Card, USB |
| Item Weight | 86 Grams |
| Color | Blue |
8. Warranty and Support
The manufacturer, Ourlife, states that there is no specific warranty description provided for this product. For any product inquiries or support, please refer to the retailer where the product was purchased or visit the official Ourlife brand store if available.
Manufacturer: Ourlife
9. Product Videos
9.1 Ourlife Kids Camera Unboxing and Features
Video Description: This video provides an unboxing experience of the Ourlife Kids Camera, demonstrating its physical appearance, included accessories like the charging cable and lanyard, and a quick overview of its basic functions and menu interface. It shows how to power on the device and navigate through the different modes such as photo, video, and music player.
9.2 Ourlife Kids Camera: Easy to Use Features
Video Description: This video highlights the user-friendly aspects of the Ourlife Kids Camera. It showcases a child interacting with the camera, demonstrating how simple it is to take pictures, record videos, and explore the various creative features like filters and frames. The video also mentions the camera's durability and suitability for young users.


