1. Introduction
This manual provides detailed instructions for the installation, operation, and maintenance of your Athom Smart Wall Switch. This device is designed to integrate seamlessly with Apple HomeKit, offering convenient control via Siri voice commands, remote access, and scheduling features. It supports both no-neutral line and neutral line electrical systems, making it versatile for various installations.
2. Safety Information
- Always turn off power at the circuit breaker before installation, removal, or maintenance.
- Installation should be performed by a qualified electrician or in accordance with local electrical codes.
- Do not operate the switch with wet hands.
- Ensure the switch is installed in a dry environment, away from moisture and extreme temperatures.
- Verify correct wiring connections to prevent damage to the switch or connected appliances.
3. Package Contents
Please check the package for the following items:
- Athom Smart Wall Switch (3-Key)
- User Manual
- Capacitor (for no-neutral line installations)
- Mounting Screws

Image: Contents of the Athom Smart Wall Switch package, including the switch, manual, capacitor, and screws.
4. Product Overview
The Athom Smart Wall Switch features a sleek glass panel with three touch-sensitive buttons for manual control. A Wi-Fi indicator is located on the top left of the panel. The rear of the switch houses the wiring terminals for electrical connection.
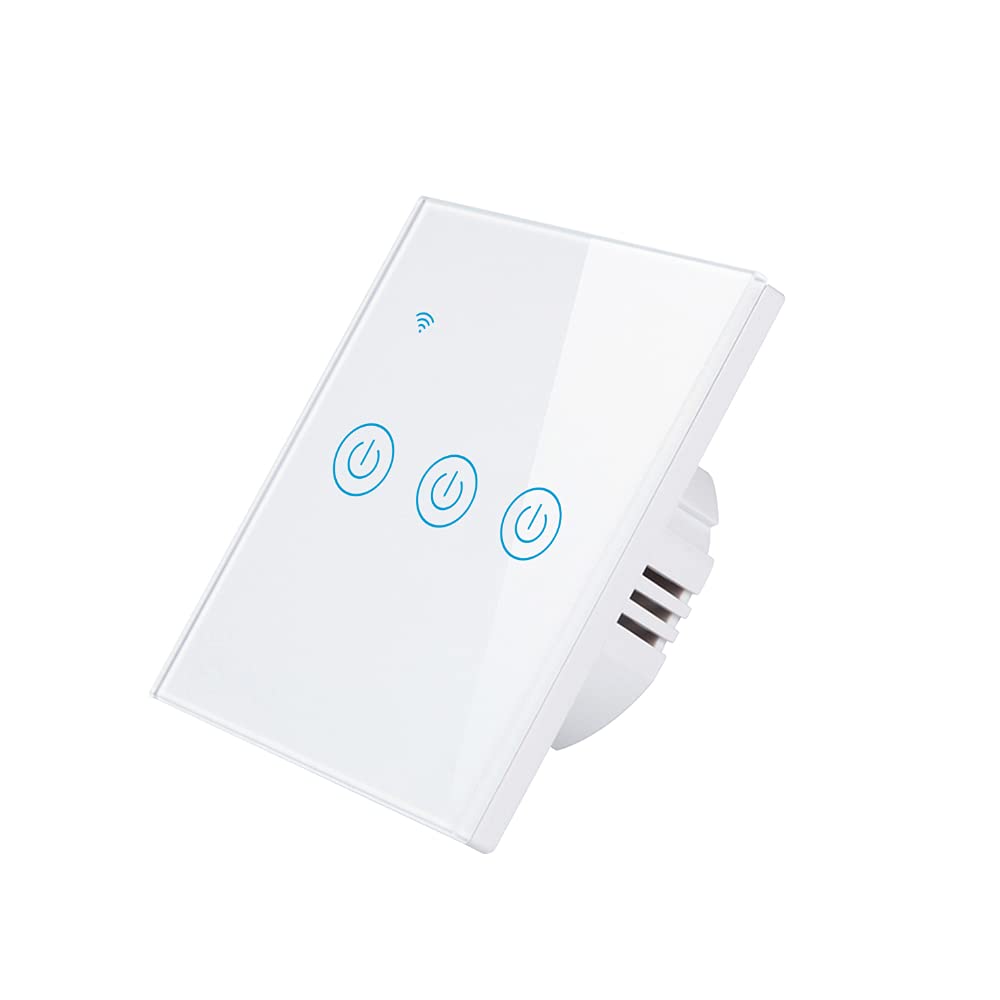
Image: Front view of the Athom Smart Wall Switch, showing the three touch-sensitive buttons and Wi-Fi indicator.

Image: Display of multiple Athom Smart Wall Switches, highlighting compatibility with Apple HomeKit.
5. Setup and Installation
5.1 Wiring Diagrams
The Athom Smart Wall Switch supports both no-neutral line and neutral line installations. Please identify your home's wiring configuration before proceeding.
5.1.1 No Neutral Line Mode
This mode is common in older installations where a neutral wire is not present at the switch box. A capacitor must be installed across the light fixture for proper operation.

Image: Detailed wiring diagram illustrating the connection for the Athom Smart Wall Switch when a neutral line is not available, including capacitor installation across the bulb.
5.1.2 Neutral Line Mode
For installations where a neutral wire is available in the switch box, connect the Live (L) wire to the 'L' terminal, the Neutral (N) wire to the 'N' terminal, and the Load wires (L1, L2, L3) to their respective terminals. The capacitor is not required in this mode.
5.2 Installation Steps
- Turn off Power: Locate your circuit breaker and turn off the power to the switch you are replacing. Verify power is off using a voltage tester.
- Remove Old Switch: Carefully remove the existing wall plate and switch. Disconnect the wires.
- Wire the Smart Switch: Connect the wires to the Athom Smart Wall Switch according to the appropriate wiring diagram (Section 5.1). Ensure all connections are secure.
- Mount the Switch: Gently push the wired switch into the wall box and secure it with the provided mounting screws.
- Install Wall Plate: Attach the new wall plate.
- Restore Power: Turn the power back on at the circuit breaker.
- Pair with HomeKit: Follow the instructions in Section 6.1 to pair your switch with Apple HomeKit.
6. Operating Instructions
The Athom Smart Wall Switch offers multiple control methods:
6.1 Apple HomeKit and Siri Voice Control
The switch is designed for direct integration with Apple HomeKit without requiring a separate app or registration. To add the switch to HomeKit:
- Ensure your iPhone, iPad, or iPod Touch is connected to the same 2.4GHz Wi-Fi network as the switch.
- Open the Apple Home app.
- Tap the '+' icon in the top right corner and select 'Add Accessory'.
- Scan the HomeKit setup code located on the switch or in the manual.
- Follow the on-screen prompts to assign the switch to a room and give it a name.
Once added, you can control the switch using Siri. For example, say: "Hey Siri, turn on the living room light."
6.2 Remote Control
After successfully adding the switch to Apple HomeKit, you can control it remotely using the Home app on your Apple devices. Ensure your Home Hub (e.g., Apple TV, HomePod, or iPad) is set up and online to enable remote access.
6.3 Timing and Scheduling
Utilize the Apple Home app to set up schedules and automations for your smart switch. You can configure lights or appliances to turn on or off at specific times, or based on other conditions like sunrise/sunset or sensor triggers.
7. Maintenance
- Cleaning: Gently wipe the switch's glass panel with a soft, dry cloth. Avoid using abrasive cleaners or solvents.
- Firmware Updates: Periodically check for firmware updates through the Apple Home app to ensure optimal performance and security.
- Environmental Conditions: Ensure the switch is not exposed to excessive heat, cold, or humidity, which can affect its lifespan and functionality.
8. Troubleshooting
- Switch Not Responding:
- Check if the circuit breaker is on.
- Verify all wiring connections are secure.
- If in no-neutral mode, ensure the capacitor is correctly installed across the light fixture.
- Try resetting the switch by turning off power at the breaker for 10 seconds, then turning it back on.
- Cannot Connect to HomeKit:
- Ensure your Wi-Fi network is 2.4GHz. The switch does not support 5GHz networks.
- Check that your iPhone/iPad is connected to the same 2.4GHz Wi-Fi network.
- Move closer to your Wi-Fi router during the pairing process.
- If the issue persists, try resetting the switch to factory defaults (refer to specific reset procedure if available, otherwise power cycle).
- Lights Flicker (No Neutral Mode):
- This often indicates an issue with the capacitor installation or a low-wattage bulb. Ensure the capacitor is correctly wired across the light fixture.
- Some very low-wattage LED bulbs may still flicker; consider using a compatible bulb or a neutral line installation if possible.
9. Specifications
| Brand | Athom |
| Model | Smart Wall Switch 3-Key EU Dual Mode |
| Voltage | 220-240V AC, 50-60Hz |
| Load per Gang | 5-200W |
| Dimensions | 86x86x35mm |
| Operation Mode | Off, Smart Switch |
| Current Rating | 10 Amps |
| Operating Voltage | 240 Volts |
| Connector Type | Wireless |
| International Protection Rating | IP54 |
| Number of Positions | 3 |
| Controller Type | Apple HomeKit |
| Control Method | Remote |
| Connectivity Protocol | Wi-Fi (2.4GHz b/g/n) |
| Hub Requirement | No |
| Working Temperature | -20°C to 50°C |
| Certifications | CE, RoHS |
10. Warranty and Support
For warranty information and technical support, please refer to the documentation provided with your purchase or visit the official Athom website. Keep your purchase receipt as proof of purchase for warranty claims.


