Product Overview
The BAXI A7790606 Modulating Chronothermostat is designed for precise temperature control in your home. It allows for regulation of desired room temperature, sanitary temperature, and offers various operating modes. The device displays ambient temperature, operating status of the boiler, and error codes for easy diagnostics.
This chronothermostat is compatible with specific Baxi boiler models including Luna Alux, Luna Duo-tec E, Duo-tec Compact E, and Nuvola Duo-tec+. It is not compatible with Luna Style, Evolution Prime, Luna Duo-tec E Mago, and Duo-tec Compact E Mago models.
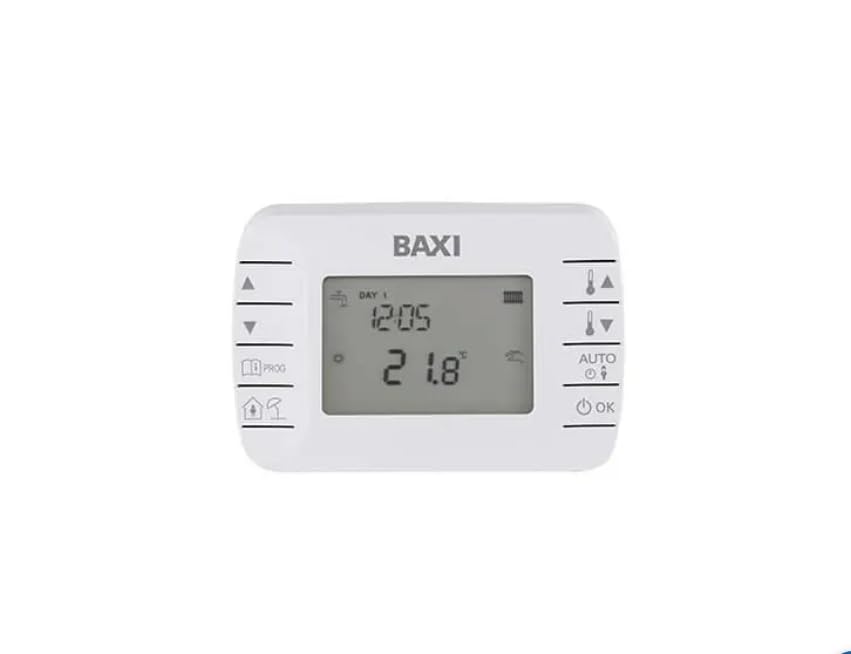
Image: BAXI A7790606 Modulating Chronothermostat, front view showing the display and control buttons.
Setup and Installation
Proper installation is crucial for the optimal performance of your chronothermostat. Please follow these steps carefully. If you are unsure about any step, consult a qualified technician.
1. Unpacking and Preparation
Carefully remove the chronothermostat from its packaging. Ensure all components are present: the main unit, mounting plate, screws, and any included documentation. Keep packaging materials for future reference or transport.
2. Battery Installation
The chronothermostat requires 2 AA batteries for operation. To install them:
- Gently open the rear panel of the device using a small flat-head screwdriver or a similar tool.
- Locate the battery compartment.
- Insert 2 AA batteries, ensuring correct polarity (+ and -).
- Close the battery compartment cover securely.
Video: Demonstrates how to open the rear panel and install batteries in a similar thermostat model. This video is provided by Zara-HH, a seller.
3. Wiring Connection
The chronothermostat typically connects to the "COM" and "NO" terminals of your boiler. Refer to your boiler's manual for specific wiring diagrams. Ensure the main power supply to the boiler is turned OFF before attempting any wiring.
- Identify the "COM" (Common) and "NO" (Normally Open) terminals on the chronothermostat's wiring block.
- Connect the appropriate wires from your boiler to these terminals.
- Secure the wires firmly using a screwdriver.
Video: Illustrates the wiring connection process for a thermostat, showing connections to COM and NO terminals. This video is provided by Zara-HH, a seller.
4. Mounting
Mount the chronothermostat on a flat wall surface, away from direct sunlight, drafts, or heat sources that could affect temperature readings. Use the provided screws and wall plugs to secure the mounting plate, then attach the main unit to the plate.
5. Power On
Once installation and wiring are complete, restore the main power supply to your boiler. The chronothermostat display should light up, indicating it is ready for initial setup.
Operating Instructions
1. Basic Controls
- Power Button: Press the power button to turn the chronothermostat ON or OFF.
- Mode Button: Press the mode button (often labeled with a clock or menu icon) to switch between automatic and manual operating modes.
- Up/Down Arrows: Use the up and down arrow buttons to adjust temperature settings or navigate through menu options.
Video: Shows basic button functions including power on/off and mode selection. This video is provided by Zara-HH, a seller.
2. Setting Time and Day
To set the current time and day:
- Press the clock icon button (or similar) to enter time/day setting mode.
- Use the up/down arrows to adjust the hour, then press the clock button again to move to minutes, and then to the day of the week.
- Adjust each value using the up/down arrows.
- Confirm settings by pressing the clock button or waiting for the display to return to normal operation.
3. Programming the Schedule
The chronothermostat allows you to set a weekly heating schedule with different temperature settings for various time periods throughout the day.
- Press the menu button (often labeled with a clock or program icon) to enter programming mode.
- Use the up/down arrows to select the day or group of days (e.g., Mon-Fri, Sat-Sun).
- Press the menu button again to select the time period (e.g., 06:00, 08:00, 11:30, etc.).
- Use the up/down arrows to adjust the start time and desired temperature for each period.
- Repeat for all desired periods and days.
- Exit programming mode by pressing the menu button until the display returns to normal or by waiting for a timeout.
Video: Provides instructions for programming the thermostat's schedule, including setting time periods and temperatures. This video is provided by Beok, a seller.
4. Child Lock Function
To prevent accidental changes to settings, the chronothermostat features a child lock function.
- To activate/deactivate the child lock, press and hold the clock button for approximately 5 seconds. The display will indicate "LOC" when locked.
- When locked, only the power button may remain functional, depending on the specific model's advanced settings.
5. Advanced Settings
Advanced settings allow for customization of various parameters such as temperature calibration, differential, and specific lock functions. To access advanced settings:
- Turn the thermostat OFF.
- Press and hold the "Down" arrow button and the "Power" button simultaneously for several seconds until the advanced settings menu appears.
- Use the "Mode" button to cycle through different advanced functions (e.g., dIF, SUL, FTE, LOC).
- Use the up/down arrows to adjust the values for each function.
- Exit advanced settings by pressing the power button or waiting for a timeout.
6. Wi-Fi Connection (if applicable)
If your model supports Wi-Fi connectivity, you can control it remotely via a smartphone application. Refer to the specific app's instructions for pairing your device. Typically, this involves putting the thermostat into pairing mode (often by holding a specific button for several seconds until a Wi-Fi icon flashes) and then adding the device through the app.
Video: Shows the installation of a smart thermostat and its connection to a mobile application for remote control. This video is provided by Amazon Italia, a seller.
Maintenance
To ensure the longevity and accurate operation of your chronothermostat:
- Cleaning: Wipe the display and casing with a soft, dry cloth. Do not use abrasive cleaners or solvents.
- Battery Replacement: Replace batteries annually or when the low battery indicator appears on the display. Always use new, high-quality AA alkaline batteries.
- Avoid Obstructions: Ensure no objects block the ventilation slots or the temperature sensor on the device.
Troubleshooting
| Problem | Possible Cause | Solution |
|---|---|---|
| Display is blank | No power or dead batteries. | Check power supply to the boiler. Replace batteries. |
| Incorrect temperature reading | Sensor obstructed or thermostat located near a heat/cold source. | Ensure proper airflow around the thermostat. Relocate if necessary. Check advanced settings for temperature calibration. |
| Boiler not responding | Incorrect wiring or boiler issue. | Verify wiring connections. Consult boiler manual or a technician. |
| Settings not saving | Child lock activated or improper exit from settings. | Deactivate child lock. Ensure settings are confirmed before exiting. |
Specifications
- Brand: Baxi
- Model: A7790606
- Color: White
- Product Dimensions: 3 x 12 x 8 cm
- Item Weight: 500 grams
- Controller Type: Heating Control
- Special Feature: Date display
- Compatibility: Luna Alux, Luna Duo-tec E, Duo-tec Compact E, Nuvola Duo-tec+ (Not compatible with Luna Style, Evolution Prime, Luna Duo-tec E Mago, Duo-tec Compact E Mago)
Warranty and Support
For warranty information and technical support, please refer to the documentation included with your product or visit the official Baxi website. Keep your purchase receipt as proof of purchase for warranty claims.


