
DEWENWILS HOSL04B
Contents
DEWENWILS 200W Multi-Tap Low Voltage Landscape Transformer Instruction Manual
Model: HOSL04B
Introduction
This manual provides detailed instructions for the safe installation, operation, and maintenance of your DEWENWILS 200W Multi-Tap Low Voltage Landscape Transformer. This transformer is designed to convert standard 120V AC household voltage to a safer 12V, 13V, 14V, or 15V AC output, suitable for various low voltage landscape lighting applications such as pathway lights, in-ground lights, and accent lighting.

Image: Examples of landscape lighting applications.
Safety Information
WARNING: Risk of electric shock. Read all instructions before installation and use.
- Disconnect power at the circuit breaker before servicing.
- For installation in or on non-combustible materials only.
- Suitable for indoor and outdoor use.
- Only for use with low voltage landscape luminaires or fittings and suitable for use with submersible luminaires or submersible pumps.
- Do not exceed 1.67 Amps on primary circuit.
- The total power of connected landscape lighting should not exceed 80% of the transformer's capacity (e.g., for a 200W transformer, total load should not exceed 160W).
- Ensure all connections are secure and waterproof for outdoor installations.
- This transformer is equipped with an automatic circuit breaker for overload and short circuit protection.

Image: Interior view of the transformer showing safety labels and wiring terminals.
Product Features
- Multi-tap Output: Converts 120V AC to 12V, 13V, 14V, or 15V AC for flexible voltage selection.
- Durable & Waterproof: Constructed from heavy-duty stainless steel with a locking latch to protect against severe weather conditions.
- Easy Installation: Features built-in hanging holes and a 6ft SJTW 18AWG power cord for direct wall mounting.
- Timer & Sensor Compatibility: Includes ports for adding a photocell sensor (not included) and a timer (sold separately) for automated operation.
- Automatic Circuit Breaker: Provides overload and short circuit protection.
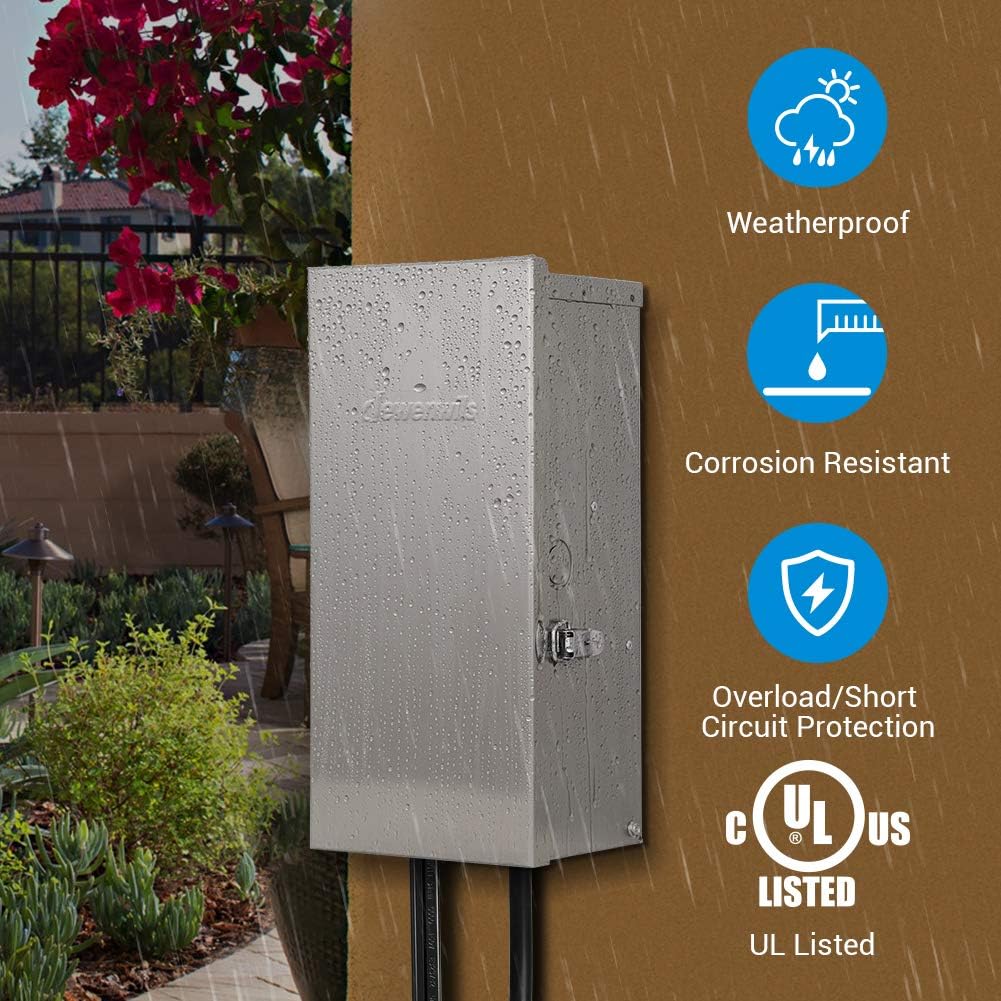
Image: Transformer exterior highlighting weatherproof and protection features.
Setup and Installation
1. Mounting the Transformer
Select a suitable location for mounting the transformer. It should be mounted vertically on a sturdy surface, such as an indoor/outdoor wall, using the built-in hanging holes. Ensure the location allows for proper ventilation and access for wiring.

Image: Transformer dimensions and power cord length.
2. Preparing for Wiring
Before connecting any wires, ensure the transformer is unplugged from the power source. Remove the knockout or the black lid at the bottom of the transformer casing to thread your low voltage wires out. The locking latch ensures the casing remains tightly sealed against water entry.

Image: Details on removing knockouts and the locking latch.
3. Connecting Low Voltage Wires
Connect your landscape lighting wires to the multi-tap voltage terminals inside the transformer. The transformer offers 12V, 13V, 14V, and 15V AC output options. Choose the appropriate voltage tap based on your lighting requirements and cable run length to compensate for voltage drop. Connect the common wires to COM1 or COM2 terminals.

Image: Detailed view of internal connections including multi-tap voltage terminals.
4. Installing Optional Accessories (Photocell/Timer)
The transformer is designed to work with external photocell sensors and timers (both sold separately).
- To add a photocell sensor, remove the knockout and insert the sensor to enable automatic dusk-to-dawn operation.
- To add a digital or mechanical timer, unplug the existing jumper connector from the TIMER MODULE RECEPTACLE and connect your timer.

Image: Instructions for connecting optional photocell and timer accessories.
Operation
1. Powering On
Once all connections are secure and the casing is closed, plug the transformer's power cord into a standard 120V AC outlet. The resettable switch on the unit controls the power to the low voltage output.
Image: Resettable switch detail.
2. Voltage Selection
The multi-tap terminals allow you to select the output voltage (12V, 13V, 14V, or 15V). Higher voltages are useful for longer cable runs to counteract voltage drop and ensure consistent brightness across all lights. Ensure your lighting fixtures are compatible with the selected voltage.
3. Using with Timer/Sensor
If an optional photocell sensor or timer is installed, the transformer will operate according to their settings. A photocell will turn lights on at dusk and off at dawn. A timer will operate lights based on programmed schedules.
Maintenance
- Periodically inspect the transformer casing for any signs of damage or corrosion.
- Ensure the locking latch is securely closed to maintain waterproof integrity.
- Check all wire connections for tightness and ensure no bare wires are exposed.
- Clean the exterior of the transformer with a damp cloth as needed. Do not use abrasive cleaners.
Troubleshooting
| Problem | Possible Cause | Solution |
|---|---|---|
| Lights not turning on. | No power to transformer; tripped circuit breaker; loose connections; faulty bulb/fixture. | Check power outlet; reset transformer's resettable switch; inspect and tighten all wiring; test individual lights. |
| Lights are dim or flickering. | Voltage drop due to long wire runs or insufficient wire gauge; overloaded circuit. | Use a higher voltage tap (13V, 14V, or 15V); ensure total wattage does not exceed 80% of transformer capacity; use thicker gauge wire for longer runs. |
| Transformer repeatedly trips circuit breaker. | Overloaded circuit; short circuit in wiring or fixture. | Reduce total wattage of connected lights; inspect wiring for damage or shorts; test fixtures individually to identify faulty ones. |
| Photocell/Timer not working. | Incorrect installation; faulty sensor/timer; sensor obstructed. | Verify correct installation of photocell/timer; ensure sensor is not blocked by debris or shadows; replace faulty accessory. |
Specifications
| Brand | DEWENWILS |
| Model Number | HOSL04B |
| Wattage | 200 Watts |
| Input Voltage | 120V AC |
| Output Voltage | 12V/13V/14V/15V AC |
| Material | Stainless Steel |
| Product Dimensions | 11.4 x 5.7 x 4.9 inches |
| Item Weight | 14.94 pounds |
| Power Source | AC |
| Special Features | Waterproof, Overload/Short Circuit Protection |
| Mounting Type | Wall Mount |
| Cord Length | 6 feet (SJTW 18AWG/3C) |
Warranty and Support
For warranty information or technical support, please refer to the contact details provided with your product packaging or visit the official DEWENWILS website. Keep your purchase receipt for warranty claims.
Ask a question about this manual
Ask about setup, troubleshooting, compatibility, parts, safety, or missing instructions. Manuals+ will review the question and use this page’s manual context to help answer it.