
Apowking R100
Contents
Apowking 146Wh Portable Power Station User Manual
Model: R100 | Brand: Apowking
1. Introduction
Thank you for choosing the Apowking 146Wh Portable Power Station. This device is a versatile and reliable power source designed to keep your electronic devices charged and operational during outdoor adventures, power outages, or any situation where grid power is unavailable. With its compact design and multiple output options, it's an essential companion for modern life.
Please read this manual carefully before using the product to ensure safe and optimal performance. Keep this manual for future reference.
2. Product Features
- High Capacity: 146Wh / 39600mAh lithium-ion battery.
- Multiple Outputs:
- 2 x 110V AC Outlets (100W Rated, 200W Peak)
- 2 x USB-A Ports (5V/3.1A)
- 1 x USB-C QC3.0 Port (5V/3A, 9V/2A)
- 1 x DC 12V Output (9-12.6V/10A Max)
- Portable Design: Weighs only 3.3 lbs (1.5 kg) with dimensions of 6.1 x 3.7 x 7.6 inches (15.5 x 9.4 x 19.3 cm), making it easy to carry.
- Integrated LED Flashlight: Features three modes: Flashlight, Strobe, and SOS for emergency situations.
- Advanced Safety: Built-in Battery Management System (BMS) provides protection against over-temperature, over-voltage, over-current, and short-circuit.
- Durable Battery Life: Designed for 1000+ charge cycles, retaining approximately 80% of its original capacity.

Figure 2.1: The Apowking 146Wh Portable Power Station, showcasing its compact design and display.

Figure 2.2: Illustration of the power station simultaneously charging a laptop, phone, and other devices, highlighting its 146Wh capacity and various output ports.
3. Package Contents
Please check the package contents upon unboxing. If any items are missing or damaged, please contact customer service.
- Apowking 146Wh Portable Power Bank x 1
- AC Power Adapter x 1
- Car Charging Cable x 1
- Carport Cable (for output only) x 1
- User Manual x 1
4. Setup
4.1 Initial Charging
Before first use, it is recommended to fully charge the power station. This ensures the battery is calibrated and ready for optimal performance.
- Connect the provided AC power adapter to the power station's input port.
- Plug the AC power adapter into a standard wall outlet.
- The digital display will show the charging progress. The unit is fully charged when the display indicates 100%.
4.2 Understanding the Display
The digital display provides real-time information about the power station's status:
- Battery Percentage: Shows the remaining power level.
- AC OUT Indicator: Illuminates when the AC output is active.
- DC OUT Indicator: Illuminates when the DC output is active.
- USB OUT Indicator: Illuminates when USB outputs are active.
5. Operating Instructions
5.1 Powering On/Off
To power on the unit, press and hold the main power button until the display illuminates. To power off, press and hold the main power button again until the display turns off.
5.2 Using AC Outlets
The power station features two 110V AC outlets for devices requiring standard wall power, up to 100W continuous and 200W peak.
- Ensure the power station is turned on.
- Press the 'AC' button to activate the AC outlets. The 'AC OUT' indicator on the display will light up.
- Plug your device into one of the AC outlets.
- To turn off AC output, press the 'AC' button again.

Figure 5.1: The power station providing 100W/110V rated AC output, suitable for laptops and other small appliances.
5.3 Using USB Ports
The power station includes multiple USB ports for charging smartphones, tablets, drones, and other USB-powered devices.
- Simply plug your USB device into any of the available USB-A or USB-C QC3.0 ports.
- The power station will automatically detect and begin charging your device.
5.4 Using DC 12V Output
The 12V DC output is suitable for car appliances such as car vacuums or air fans.
- Connect your 12V DC device to the DC output port.
- The 'DC OUT' indicator will light up, and power will be supplied.
5.5 Using the LED Flashlight
The built-in LED flashlight offers three useful modes for various situations.
- Flashlight Mode: Press the flashlight button once to turn on the steady light.
- Strobe Mode: Press the flashlight button a second time for a flashing light.
- SOS Mode: Press the flashlight button a third time for the SOS signal.
- To turn off the flashlight, press the button a fourth time.

Figure 5.2: The power station's dual LED flashlights, illustrating the three modes: SOS, Strobe, and standard Flashlight.
6. Charging Methods
The Apowking Portable Power Station can be recharged using three convenient methods:
6.1 AC Wall Adapter
The most common and fastest way to recharge the power station is using the included AC wall adapter.
- Connect the AC adapter to the power station's input port and plug it into a standard wall outlet.
- Charging time will vary based on the remaining battery level.

Figure 6.1: Recharging the power station using the standard AC wall adapter at home.
6.2 Car Charger
Recharge your power station on the go using your vehicle's 12V car outlet.
- Connect the included car charging cable to the power station's input port and plug the other end into your car's 12V cigarette lighter socket.
- This method is ideal for recharging during road trips or commutes.

Figure 6.2: Charging the power station conveniently in a car, perfect for on-the-go use.
6.3 Solar Panel (Optional)
For eco-friendly charging, the power station can be recharged using a compatible 13-23V solar panel (not included).
- Connect a compatible solar panel to the power station's input port.
- Ensure the solar panel is placed in direct sunlight for efficient charging.
- The digital display will indicate charging status.
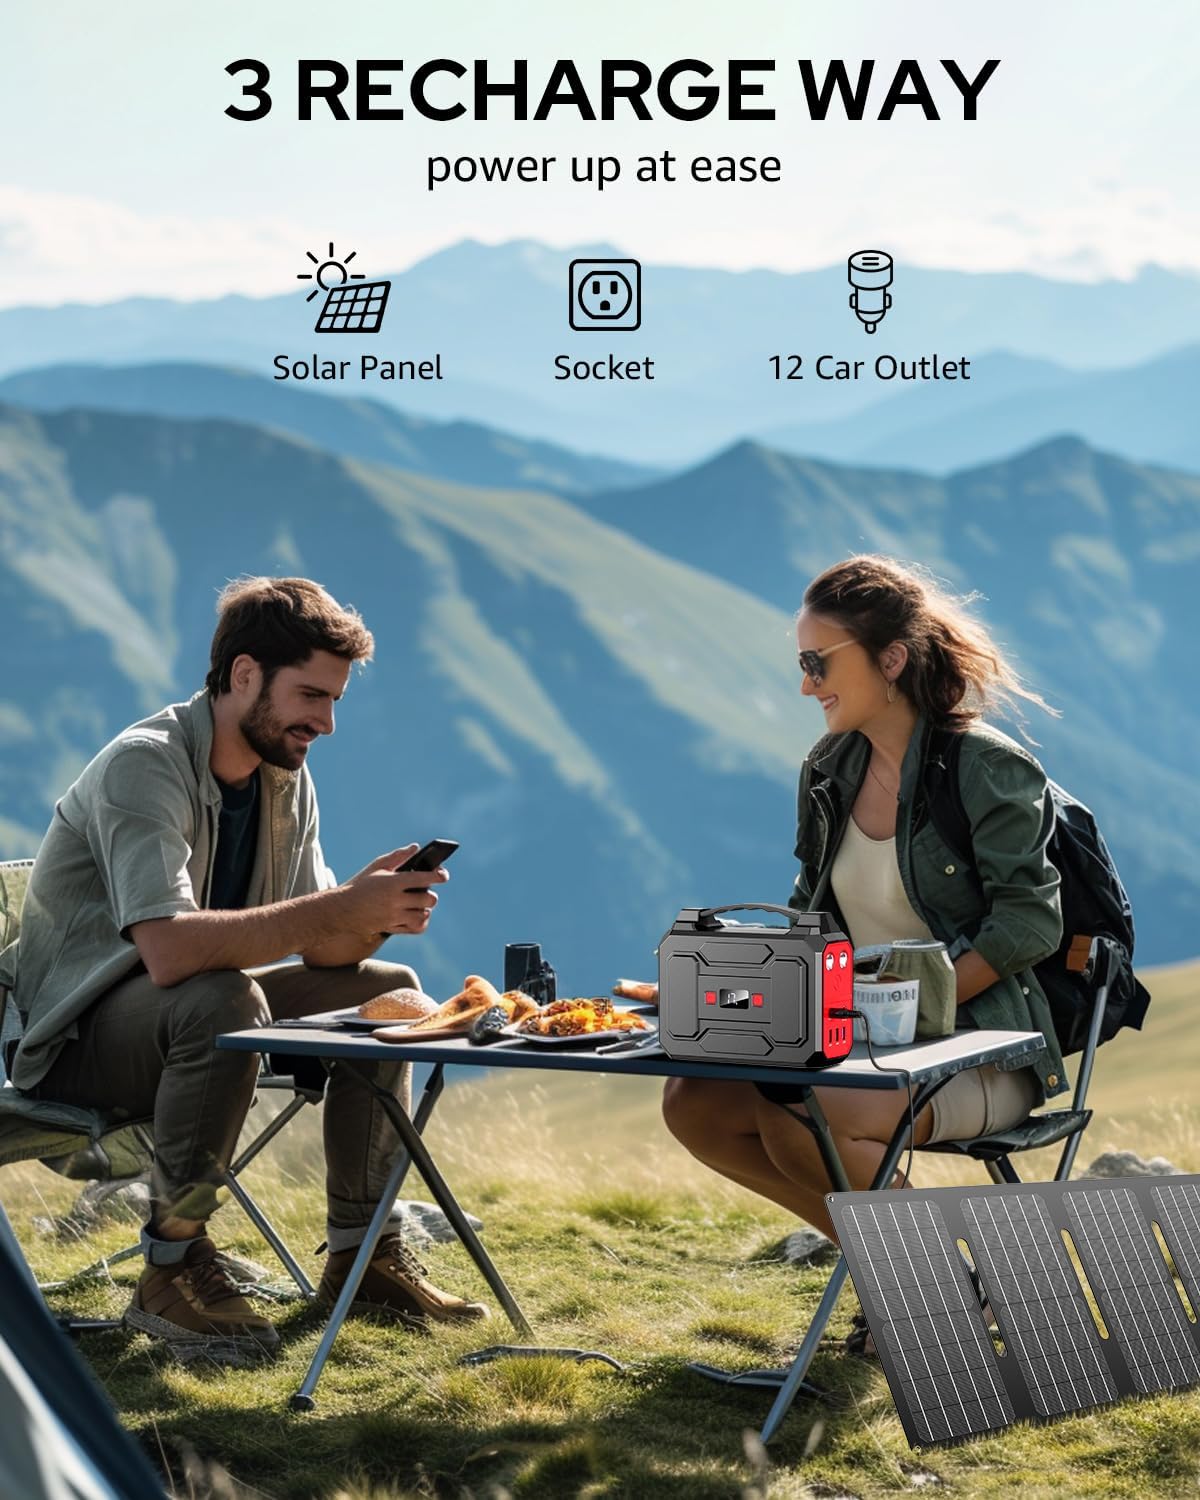
Figure 6.3: The three ways to recharge the power station: solar panel, wall socket, and 12V car outlet.
7. Safety Precautions
To ensure safe operation and prolong the lifespan of your power station, please observe the following safety guidelines:
- Do not disassemble, repair, or modify the unit.
- Keep the power station away from fire, heat sources, and direct sunlight.
- Avoid exposure to water, rain, or high humidity.
- Do not use the power station if it has been damaged or dropped.
- Ensure proper ventilation during use and charging to prevent overheating.
- Keep out of reach of children.
- Do not insert foreign objects into the ports.
- Use only the provided or approved charging cables and adapters.
- The built-in Battery Management System (BMS) protects against over-temperature, over-voltage, over-current, and short-circuit. However, always operate within specified limits.

Figure 7.1: Illustration of the advanced Battery Management System (BMS) ensuring safe and reliable power delivery.
8. Maintenance
Proper maintenance will help extend the life of your Apowking Portable Power Station.
- Cleaning: Use a dry, soft cloth to wipe the exterior of the unit. Do not use abrasive cleaners or solvents.
- Storage: If storing the power station for an extended period, charge it to approximately 50-80% every 3-6 months to maintain battery health. Store in a cool, dry place away from direct sunlight and extreme temperatures.
- Battery Health: For optimal battery longevity, avoid fully discharging the unit frequently.
9. Troubleshooting
If you encounter issues with your power station, refer to the following common problems and solutions:
| Problem | Possible Cause | Solution |
|---|---|---|
| Unit does not turn on. | Battery is fully discharged. | Charge the unit using the AC adapter. |
| AC output not working. | AC output not activated; device power exceeds 100W. | Press the 'AC' button to activate. Check device wattage; ensure it's below 100W (200W peak). |
| USB ports not charging. | Cable issue; device not compatible. | Try a different USB cable. Ensure the device is compatible with standard USB charging. |
| Unit not charging. | Charger not connected properly; charger faulty. | Ensure all connections are secure. Try a different charging method (e.g., car charger). |
| LED flashlight not working. | Flashlight button not pressed correctly. | Press the flashlight button repeatedly to cycle through modes and turn on. |
If the problem persists after trying these solutions, please contact Apowking Customer Service for further assistance.
10. Specifications
| Feature | Detail |
|---|---|
| Model Name | R100 |
| Battery Capacity | 146Wh / 39600mAh |
| Battery Type | Lithium Ion |
| AC Output | 2 x 110V, 100W Rated (200W Peak) |
| USB-A Output | 2 x 5V/3.1A |
| USB-C Output | 1 x QC3.0 (5V/3A, 9V/2A) |
| DC Output | 1 x 12V (9-12.6V/10A Max) |
| Input Voltage (AC Adapter) | 15V/2A |
| Solar Input | 13-23V (Solar Panel not included) |
| Dimensions (L x W x H) | 6.1 x 3.7 x 7.6 inches (15.5 x 9.4 x 19.3 cm) |
| Weight | 3.3 lbs (1.5 kg) |
| Operating Temperature | 0°C to 40°C (32°F to 104°F) |
11. Warranty and Support
Apowking provides excellent customer support and warranty coverage for your peace of mind.
- Warranty: This product is covered by a 12-month warranty from the date of purchase.
- Returns: Enjoy a 30-day worry-free return policy.
- Customer Service: Our dedicated customer service team is available 7 days a week, 24 hours a day to assist you with any questions or concerns.
- Technical Support: Lifetime technical support is provided for this product.
For warranty claims, technical assistance, or any other inquiries, please contact Apowking Customer Service through the contact information provided on the product packaging or the official Apowking website.

Figure 11.1: Apowking is committed to providing excellent customer support.
Ask a question about this manual
Ask about setup, troubleshooting, compatibility, parts, safety, or missing instructions. Manuals+ will review the question and use this page’s manual context to help answer it.