1. Introduction
This manual provides detailed instructions for the safe and effective operation, setup, and maintenance of your WEP 939D-II 2-IN-1 Pyrography Station. Please read this manual thoroughly before using the product to ensure proper function and safety.

Figure 1: The WEP 939D-II 2-IN-1 Pyrography Station and its complete accessory set.
2. Safety Precautions
WARNING: Failure to follow these safety instructions may result in fire, electric shock, or personal injury.
- Always operate the pyrography station in a well-ventilated area.
- Do not touch the hot tips or heating elements. Use pliers or heat-resistant gloves when changing tips.
- Ensure the unit is turned off and unplugged before cleaning or changing components.
- Keep out of reach of children.
- This product is rated for 110~127V 60Hz USA Specification. DO NOT connect this product to a 220V power socket.
- Use only WEP-approved replacement parts and accessories.
3. Package Contents
The WEP 939D-II 2-IN-1 Wood Burning Kit includes the following items:
- 1 x WEP 939D-II 2-IN-1 Pyrography Station
- 1 x Detachable Soft-Grip Pen (Wire-Nib Detailer)
- 20 x Pyrography Tips (Wire Nibs)
- 1 x Detachable Soft-Grip Pen (Solid-Point Pen)
- 51 x Pyrography Tips (Solid Point)
- 1 x Dual Barrel Pen Holder (Can be Top-Mounted)
- 1 x Cleaning Sponge
- 1 x Tip Storage Tin
- 1 x Tip Storage Box
- 1 x Screwdriver
- 1 x Pair of Pliers
- 2 x Unfinished Wood Pieces
- 2 x Letter / Number Stencils
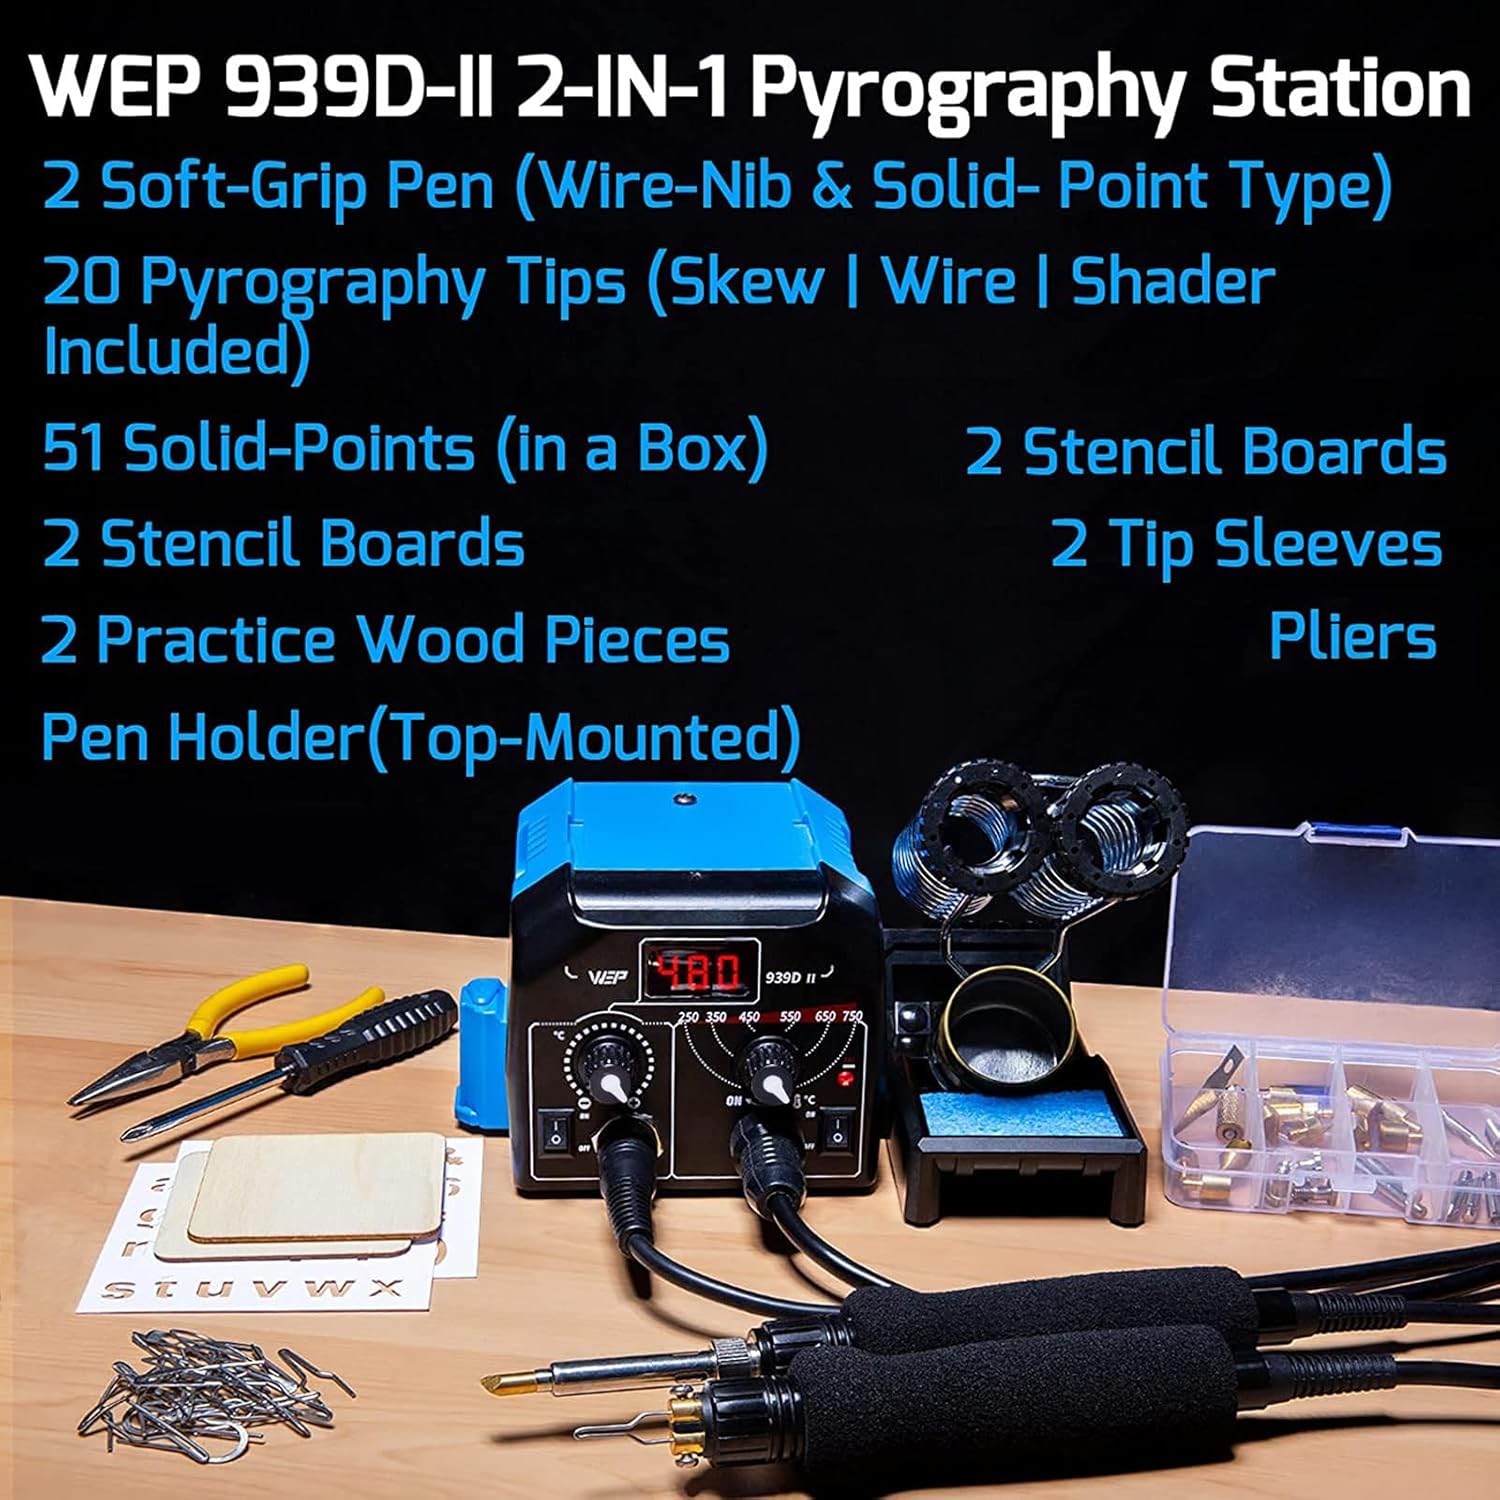
Figure 2: Visual representation of the WEP 939D-II kit contents, including the station, pens, various tips, stencils, and tools.
4. Setup Instructions
4.1 Attaching the Pen Holder
The dual barrel pen holder can be securely mounted on top of the station using the provided screw to save workspace. It also features multiple storage slots for craft tools.
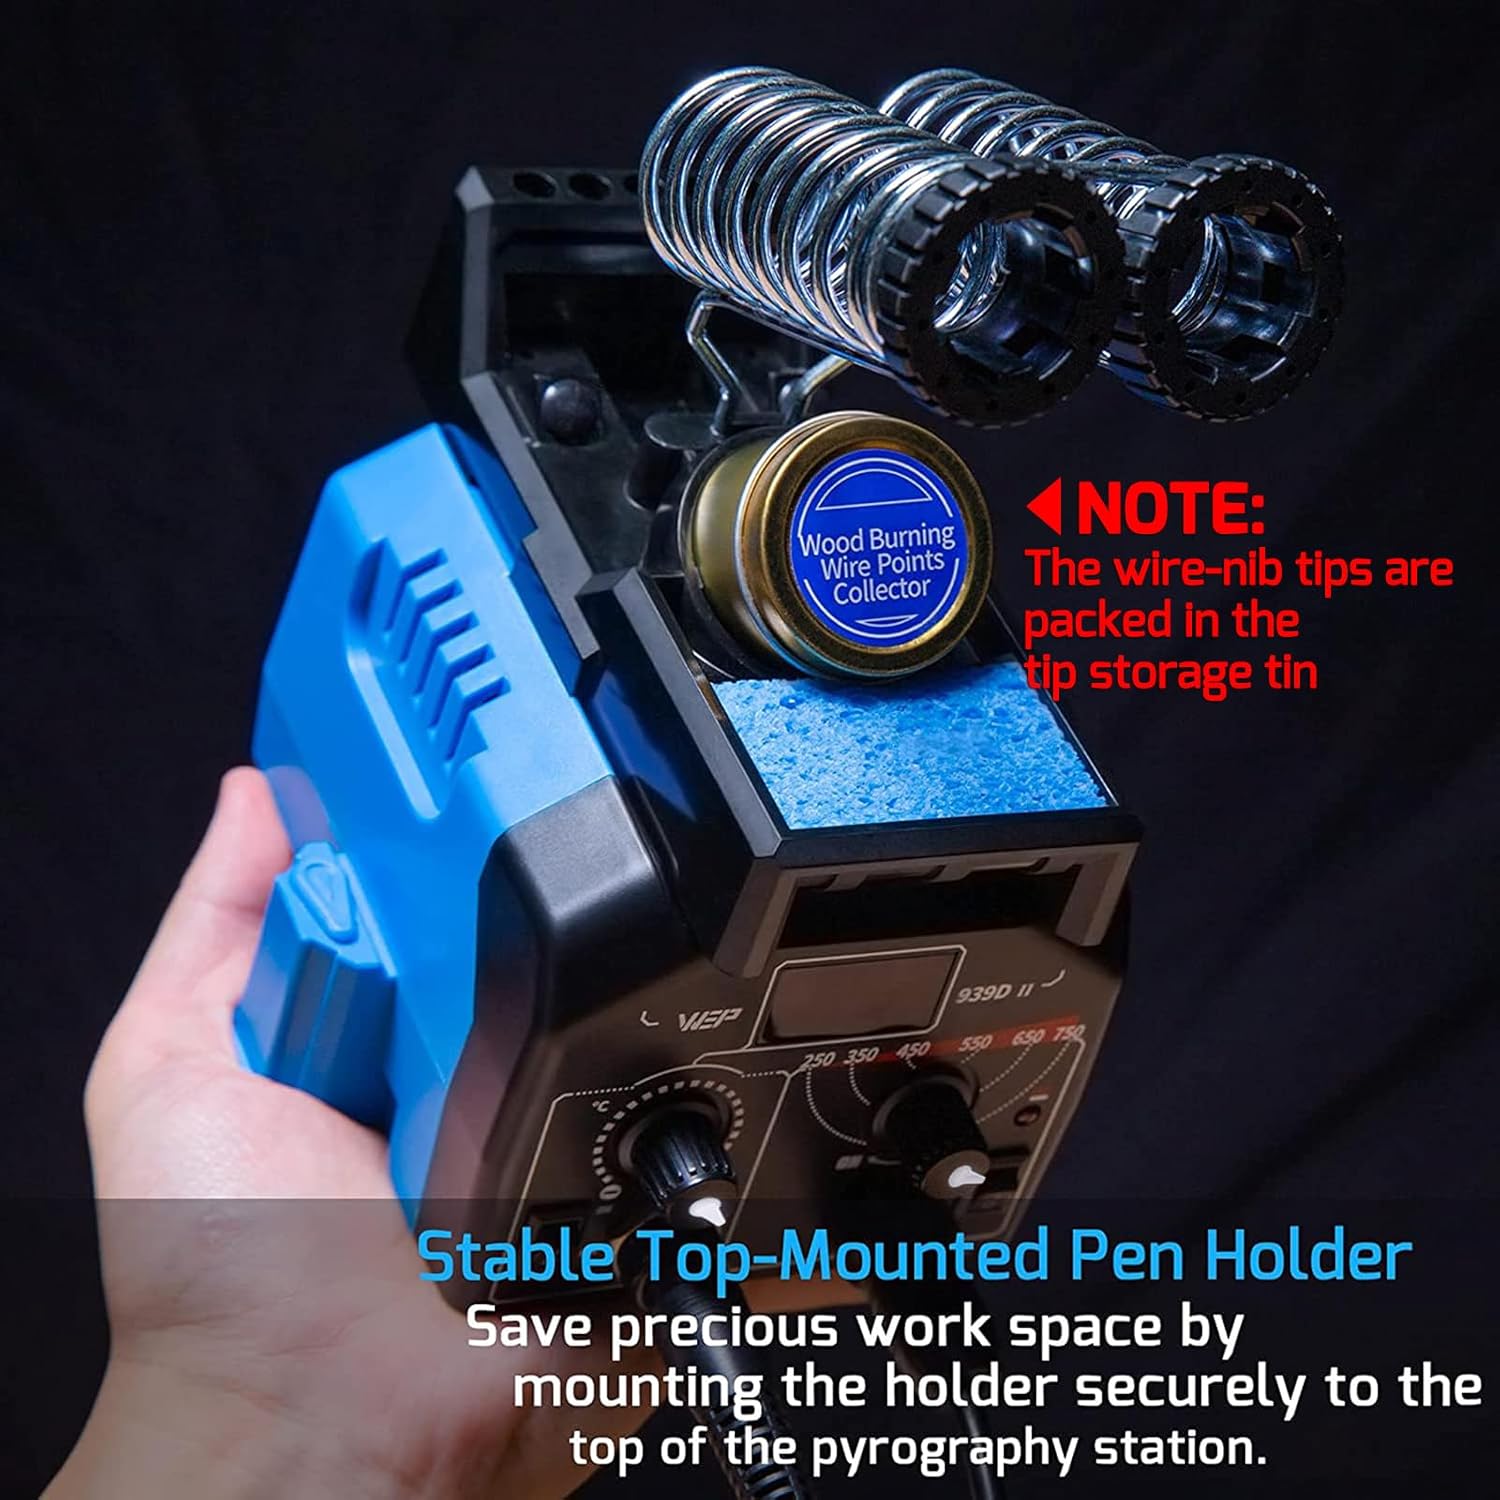
Figure 3: The pen holder attached to the top of the pyrography station, providing convenient storage and access.
Video 1: Demonstrates the setup and features of the WEP 939D-II Dual-Pen Pyrography Station, including pen attachment and holder installation.
4.2 Installing Pyrography Tips
The station supports two types of pens: solid-point and wire-nib. Ensure correct tip installation for proper heating.
- Solid-Point Pen: Insert the desired solid-point tip firmly into the pen's receptacle.
- Wire-Nib Pen: Securely fasten the wire-nib tip using the screws on the pen. Incorrect installation may lead to insufficient heating or the pen not heating up at all. Refer to the image below for correct installation.

Figure 4: Illustration of correct (left) and incorrect (right) wire-nib tip installation. Ensure the tip is properly seated and secured.
5. Operating Instructions
5.1 Powering On and Temperature Adjustment
Connect the power cord to a 110~127V 60Hz USA Specification outlet. The station has two independent channels for each pen.
- Solid-Point Pen: Turn on the solid-point pen channel. Adjust the temperature using the dial. The temperature (200°C ~ 480°C) will be shown on the digital display.
- Wire-Nib Pen: Turn on the wire-nib pen channel. Adjust the temperature (250°C ~ 750°C) using the analog dial. An indicator light will confirm operation.
Note: It takes approximately 2 to 3 minutes for the solid-point pen to heat up and 1 to 2 minutes for the wire-nib pen. Wait for the tip to heat up completely before beginning your work.

Figure 5: The control panel showing digital display for solid-point pen temperature and analog dial for wire-nib pen temperature.
5.2 Pyrography Techniques
Both pens feature soft-touch, temperature-insulating material for improved handling and comfort.
- Solid-Point Pen: Ideal for heat-transfer, shading, and outlining.
- Wire-Nib Pen: Excellent for fine outlining, feathering, and detailed work.
For consistent color and shading, maintain a consistent drawing speed. Drawing too slowly or too quickly may result in inconsistent results.
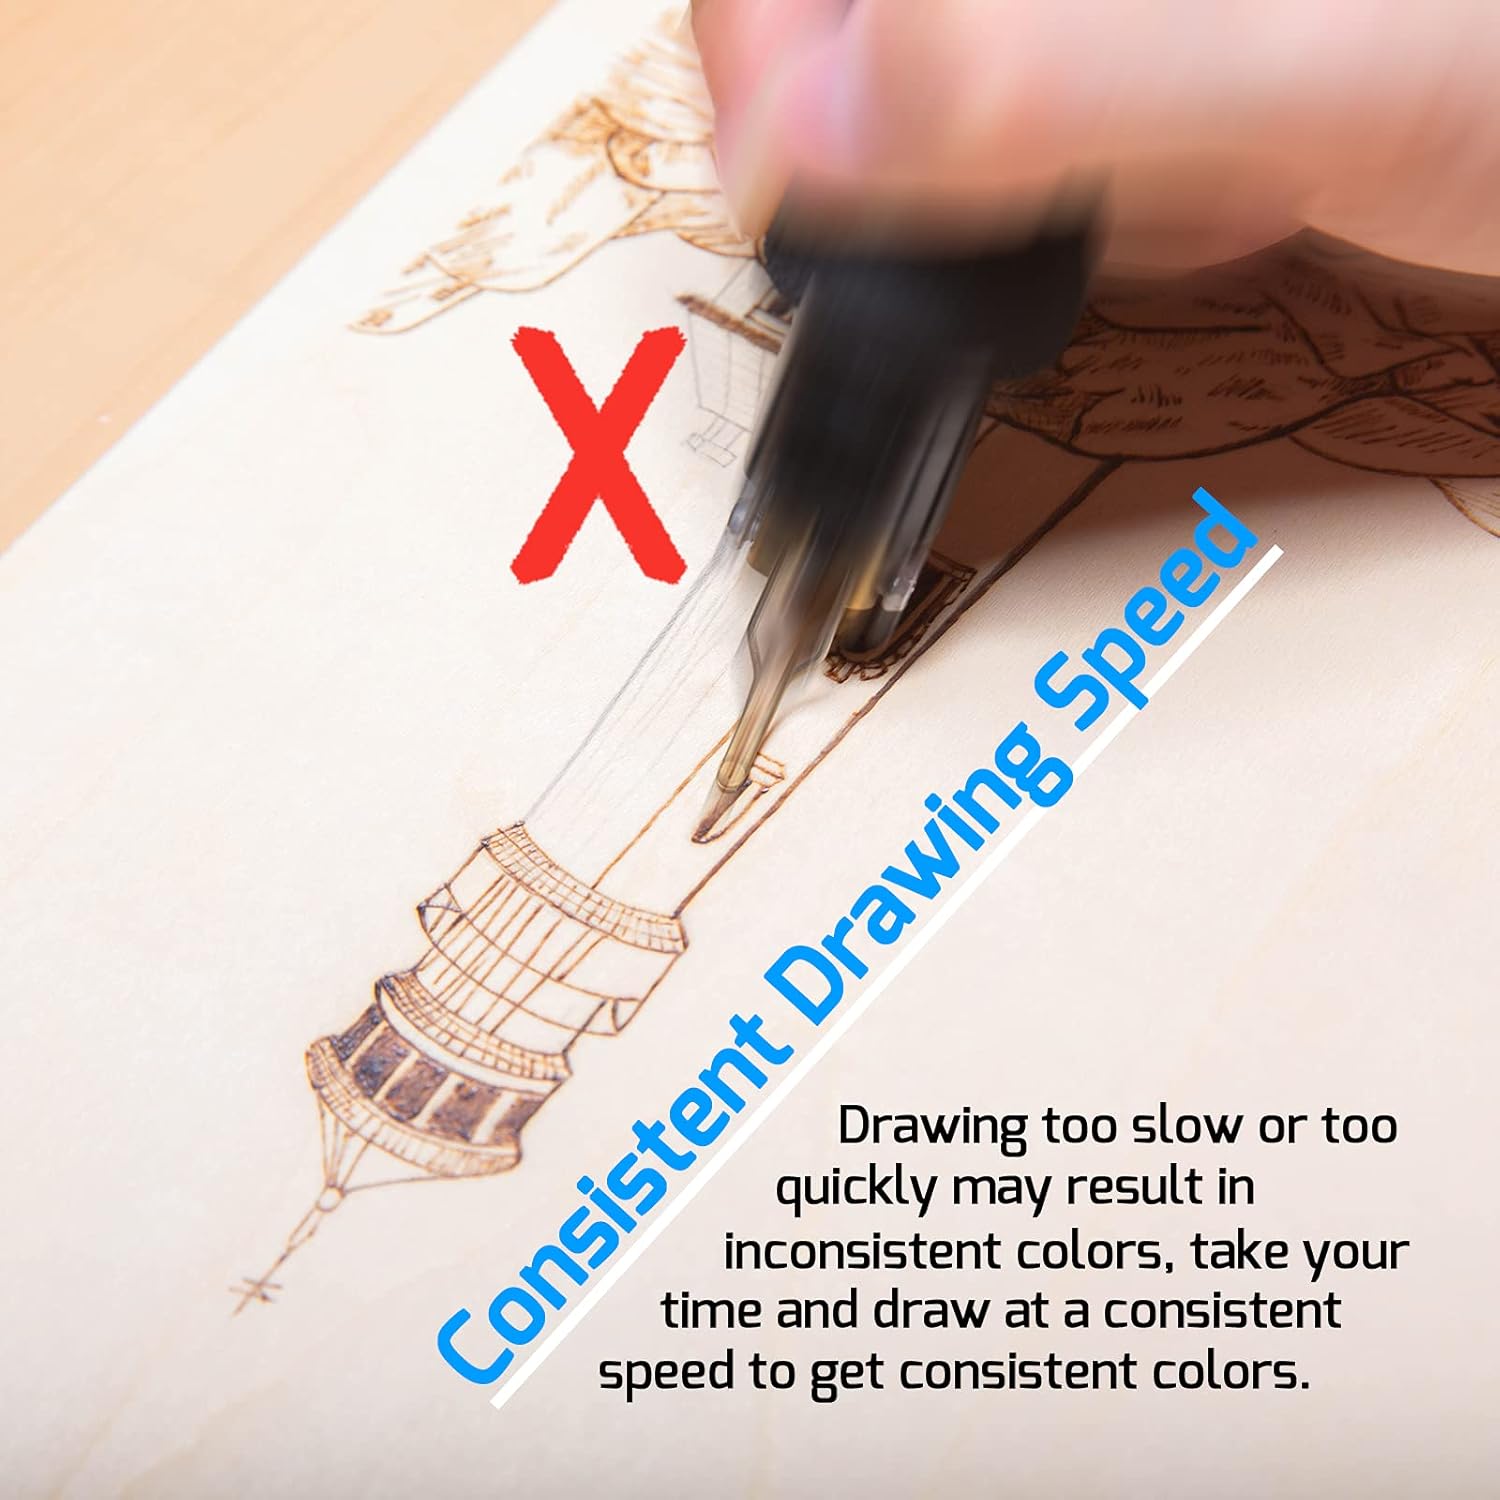
Figure 6: Demonstrating the importance of consistent drawing speed for achieving uniform burn results.
6. Maintenance
6.1 Cleaning Tips
Use the included cleaning sponge to clean or quickly cool the pyrography tips. Dampen the sponge with water before use.
Figure 7: The cleaning sponge and tip storage tin integrated into the pen holder for easy access during use.
6.2 Tip Storage
Store wire-nib tips in the provided tip storage tin and solid-point tips in the tip storage box when not in use to prevent damage and loss.
7. Troubleshooting
| Problem | Possible Cause | Solution |
|---|---|---|
| Pen not heating up or insufficient heat. |
|
|
| Inconsistent burn marks. |
|
|
| Station not powering on. |
|
|
8. Product Specifications
| Feature | Detail |
|---|---|
| Model | WEP 939D-II |
| Input Voltage | 110~127V 60Hz (USA Specification) |
| Solid-Point Pen Temperature Range | 200°C ~ 480°C (Digital Display) |
| Wire-Nib Pen Temperature Range | 250°C ~ 750°C (Analog Dial) |
| Item Weight | 4.69 pounds (2.13 kg) |
| Product Dimensions | 5.67 x 4.92 x 3.54 inches |
| Manufacturer | Guangzhou Yihua Electronic Equipment Co., Ltd. |
9. Warranty and Support
This WEP wood burner is covered by our exclusive 1-year USA technical support. For assistance, please contact our dedicated team.
For further information or support, please visit the WEP Store or refer to the WEP'S GUIDE TO PYROGRAPHY section available there.


