
1. Introduction
This manual provides instructions for the setup, operation, and maintenance of your TEKXDD FR1001 WiFi Digital Photo Frame. This device allows you to display digital photos and videos, share memories with family and friends via a dedicated app, and enjoy a high-definition viewing experience.
2. Package Contents
Please verify that all items are present in your package:
- TEKXDD FR1001 WiFi Digital Photo Frame
- Power Adapter
- Frame Stand
- User Manual
3. Product Overview
The TEKXDD FR1001 features a 9.99-inch FHD IPS LCD touch screen display. It is designed for easy interaction and versatile placement.
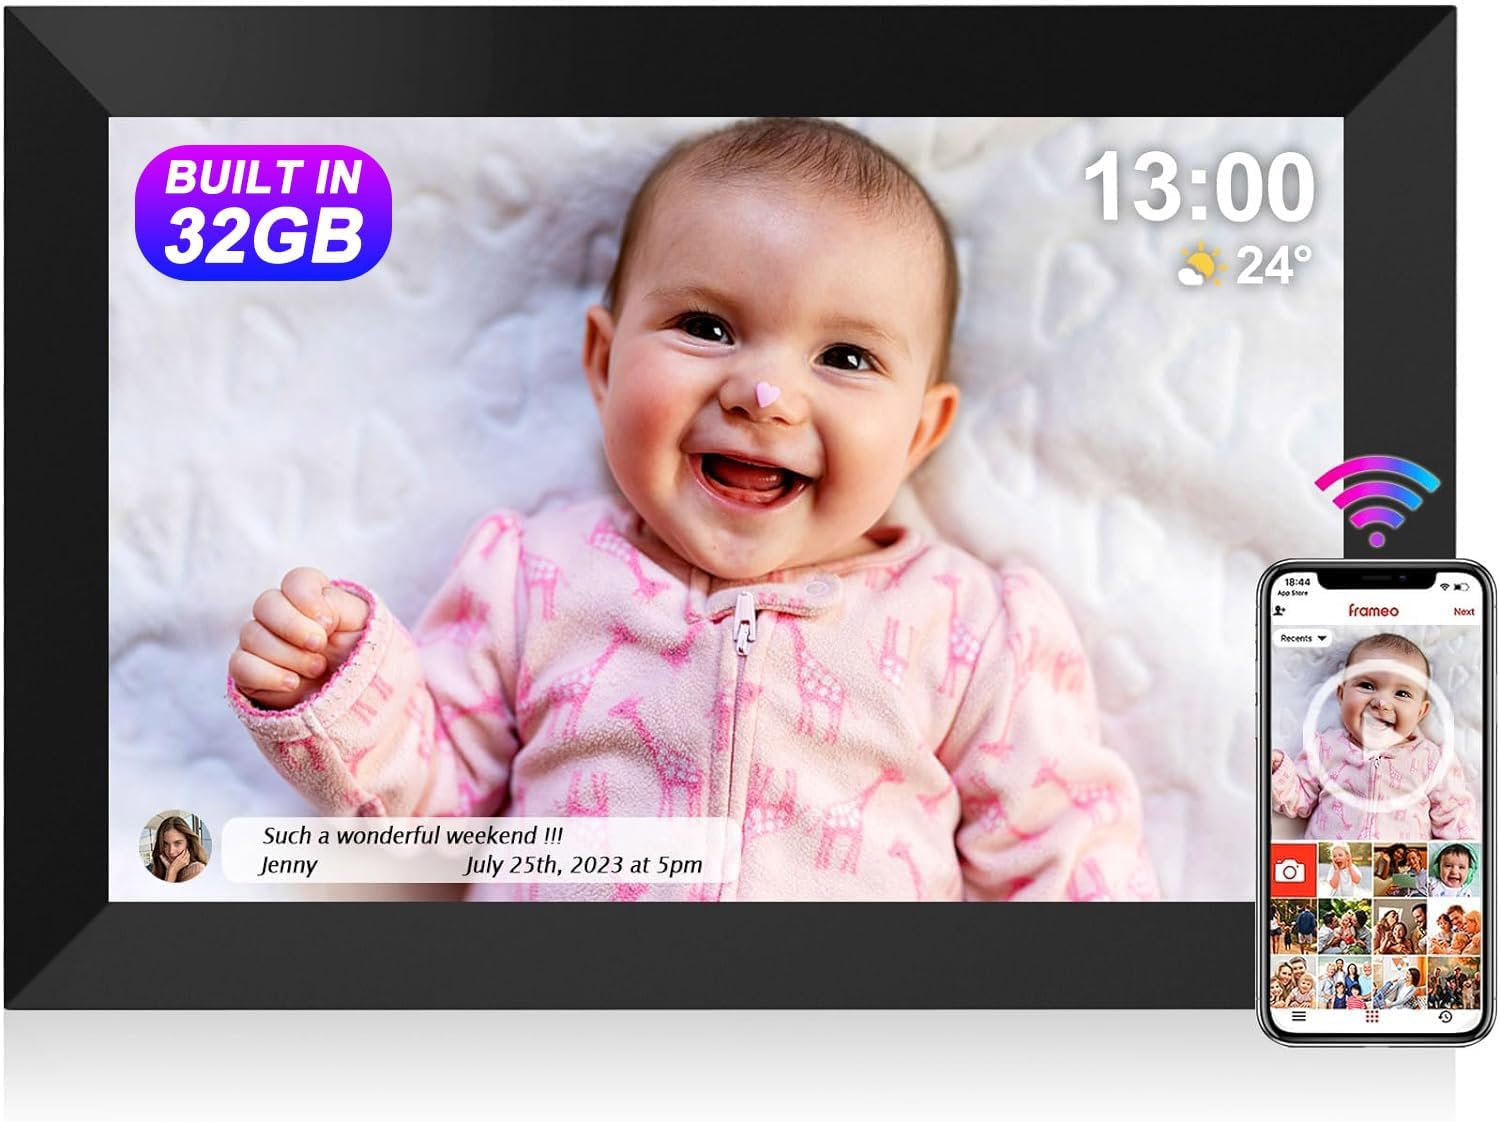
Image 3.1: Front view of the TEKXDD FR1001 Digital Photo Frame, showing a photo of a baby, time, and weather information. A smartphone displaying the Frameo app is also visible, indicating remote photo sharing capabilities.
3.1 Back Structure and Ports
The back of the frame includes essential ports and controls for operation.

Image 3.2: Back view of the TEKXDD FR1001 Digital Photo Frame, illustrating the location of the power button, sound output, hidden SD card slot, USB-C charging port, and the rotating support stand.
- Power Button: Used to turn the frame on/off or put it into sleep mode.
- Sound: Integrated speaker for video playback audio.
- SD Card Slot: Supports Micro SD cards up to 32GB for local photo/video import.
- USB-C Charging Port: For connecting the power adapter.
- Rotating Support: Adjustable stand for both landscape and portrait orientation.
4. Setup
4.1 Powering On
- Connect the provided power adapter to the USB-C charging port on the back of the frame.
- Plug the power adapter into a wall outlet.
- The frame will automatically power on. If not, press and hold the Power Button on the back.
4.2 Connecting to Wi-Fi
Upon first startup, the frame will guide you through the initial setup process, including Wi-Fi connection.
- Select your preferred language.
- Choose your Wi-Fi network from the list of available networks.
- Enter the Wi-Fi password using the on-screen keyboard.
- Confirm the connection. The frame requires a stable Wi-Fi connection to receive photos and videos remotely.
4.3 App Installation and Pairing
The TEKXDD FR1001 uses the 'Frameo' app for remote photo and video sharing.

Image 4.1: The Frameo app icon, used for sharing content with the digital photo frame.
- Download the 'Frameo' app from the Google Play Store (for Android) or the Apple App Store (for iOS) on your smartphone.
- Open the Frameo app and create an account or log in.
- On your TEKXDD FR1001 frame, navigate to the 'Add Friend' or 'Connect' section to generate a unique code.
- In the Frameo app on your smartphone, enter this code to pair your device with the frame.

Image 4.2: A visual representation of the Frameo app workflow, demonstrating steps from logging in, selecting photos, choosing recipients, and adding captions before sending to the frame.
5. Operating Instructions
5.1 Uploading Photos and Videos
You can upload content to your frame using the Frameo app or a Micro SD card.
5.1.1 Via Frameo App
Once paired, you can send photos and short videos (up to 15 seconds) directly from your smartphone to the frame.
- Open the Frameo app on your smartphone.
- Select the photos or videos you wish to send.
- Choose your TEKXDD frame as the recipient.
- Add an optional caption and send. The content will appear on your frame when connected to Wi-Fi.

Image 5.1: A user demonstrating remote photo upload to the digital photo frame via a smartphone, highlighting the Wi-Fi connection and multi-phone support.

Image 5.2: The digital photo frame displaying a family photo, with a smartphone in the foreground showing the Frameo app interface for sharing and managing images.

Image 5.3: The digital photo frame displaying a video, with a finger interacting with the touch screen, indicating support for 15-second video playback and multi-person interaction via the Frameo app.
5.1.2 Via Micro SD Card
You can import photos in batches using a Micro SD card.
- Insert a Micro SD card (up to 32GB) containing your photos/videos into the SD card slot on the back of the frame.
- The frame will detect the card and prompt you to import content.
- Follow the on-screen instructions to select and import the desired files.
5.2 Managing Photos and Videos
The frame features a touch screen for easy navigation and management of your content.

Image 5.4: A user interacting with the digital photo frame's touch screen, demonstrating its touch-enabled interface and built-in Android operating system.
- Swipe: Swipe left or right on the screen to navigate through photos and videos.
- Tap: Tap on a photo to view options such as deleting, hiding, or adjusting.
- Settings Menu: Access the main settings menu by swiping down from the top of the screen or tapping a designated icon.
5.3 Settings and Features
Customize your viewing experience through the frame's settings.
5.3.1 Auto-Rotate Function
The frame automatically adjusts the display orientation (landscape or portrait) based on its physical placement.

Image 5.5: Two digital photo frames illustrating the auto-rotation feature, showing the same image displayed correctly in both landscape and portrait orientations.

Image 5.6: A visual representation of the auto-rotate function, showing the frame seamlessly switching between landscape and portrait modes to display images correctly.
5.3.2 Display Settings
- Brightness: Adjust screen brightness for optimal viewing in different lighting conditions.
- Sleep Mode: Set a schedule for the frame to automatically turn off/on to save energy.
- Slideshow Interval: Customize the duration each photo is displayed during a slideshow.
- Slideshow Order: Choose between sequential or random playback.
5.3.3 Full View Angle
The IPS display technology provides a wide viewing angle of 180 degrees, ensuring clear visibility from various positions.

Image 5.7: The digital photo frame displaying a family photo, with an overlay illustrating a 180-degree full viewing angle, indicating clear visibility from various positions.
6. Maintenance
- Cleaning the Screen: Use a soft, lint-free cloth to gently wipe the screen. For stubborn smudges, slightly dampen the cloth with water or a screen-cleaning solution. Avoid harsh chemicals.
- Cleaning the Frame: Wipe the frame's exterior with a dry, soft cloth.
- Storage: If storing the frame for an extended period, disconnect it from power and store it in a cool, dry place.
7. Troubleshooting
| Issue | Possible Cause | Solution |
|---|---|---|
| Frame does not power on. | Power adapter not connected or faulty. | Ensure the power adapter is securely connected to the frame and a working power outlet. Try a different outlet. |
| Cannot connect to Wi-Fi. | Incorrect password, weak signal, or network issue. | Verify the Wi-Fi password. Move the frame closer to the router. Restart your router and the frame. |
| Photos/videos not appearing on frame. | No Wi-Fi connection, app not paired, or content not sent. | Check Wi-Fi connection. Ensure the frame is paired with the app. Confirm content was successfully sent from the app. |
| Touch screen unresponsive. | Temporary software glitch. | Restart the frame by holding the power button until it turns off, then power it back on. |
8. Specifications
| Feature | Detail |
|---|---|
| Model Number | FR1001 |
| Screen Size | 9.99 Inches |
| Resolution | 1280*800 (FHD IPS) |
| Internal Storage | 16GB |
| External Storage | Micro SD Card (up to 32GB) |
| Connectivity | WiFi |
| Compatible Devices | Smartphone (via Frameo App) |
| Supported Image Formats | JPG/JPEG/BMP/PNG |
| Supported Video Playback | Up to 15 seconds |
| Product Dimensions | 26.5 x 18.49 x 2.51 cm |
| Weight | 750 g |
9. Warranty and Support
For warranty information and technical support, please refer to the contact details provided with your purchase or visit the official TEKXDD website. Keep your purchase receipt for warranty claims.